網頁

Friday, March 29, 2019

Mixed Media & Fussy Cut Flowers | Hip Kit Club 相編

Hi, I'd like to share a scrapbooking layout made for Hip Kit Club!


Please see the scrapbooking process video below (or over on YouTube) to watch how I create a mixed media & fussy cut flowers layout!


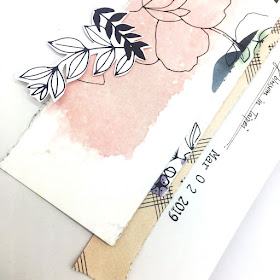
Here are some close-up :


You can find the 2019 Feb main kit and embellishment kit here: https://www.hipkitclub.net/february-2... https://www.hipkitclub.net/february-2... You can learn more about Hip Kit Club here: Website: https://www.hipkitclub.net Blog : https://blog.hipkitclub.net Facebook: https://www.facebook.com/scrapbookers... Pinterest: http://www.pinterest.com/HipKitClub/ Instagram: http://instagram.com/hipkitclub/ You can find more about me: https://www.instagram.com/weiweiwang_12/


Monday, March 25, 2019

【Interactive card process video】Double side light up card using Chibitronics and Lawn Fawn - Advanced Level【機關卡片教學】創意LED發光卡片 +立體卡 - 高階教學

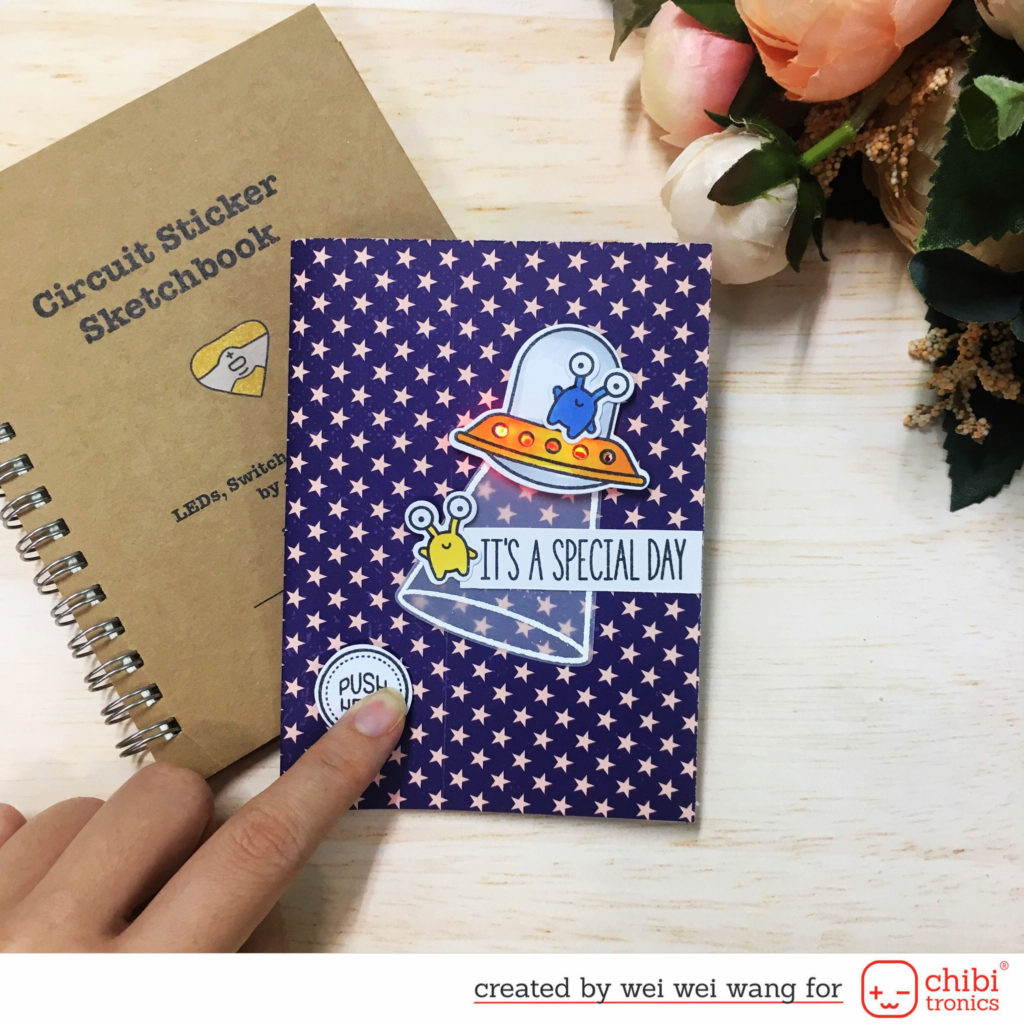
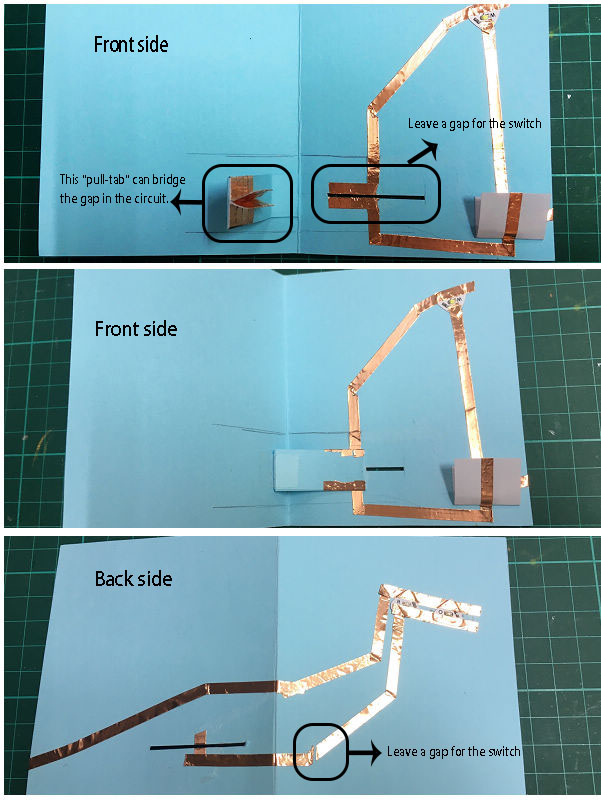
Hello there everyone and happy Monday! Today I’ll be sharing how to make double side light up card.
There’s a video of the process at the end of this post if you want to watch that instead of reading.


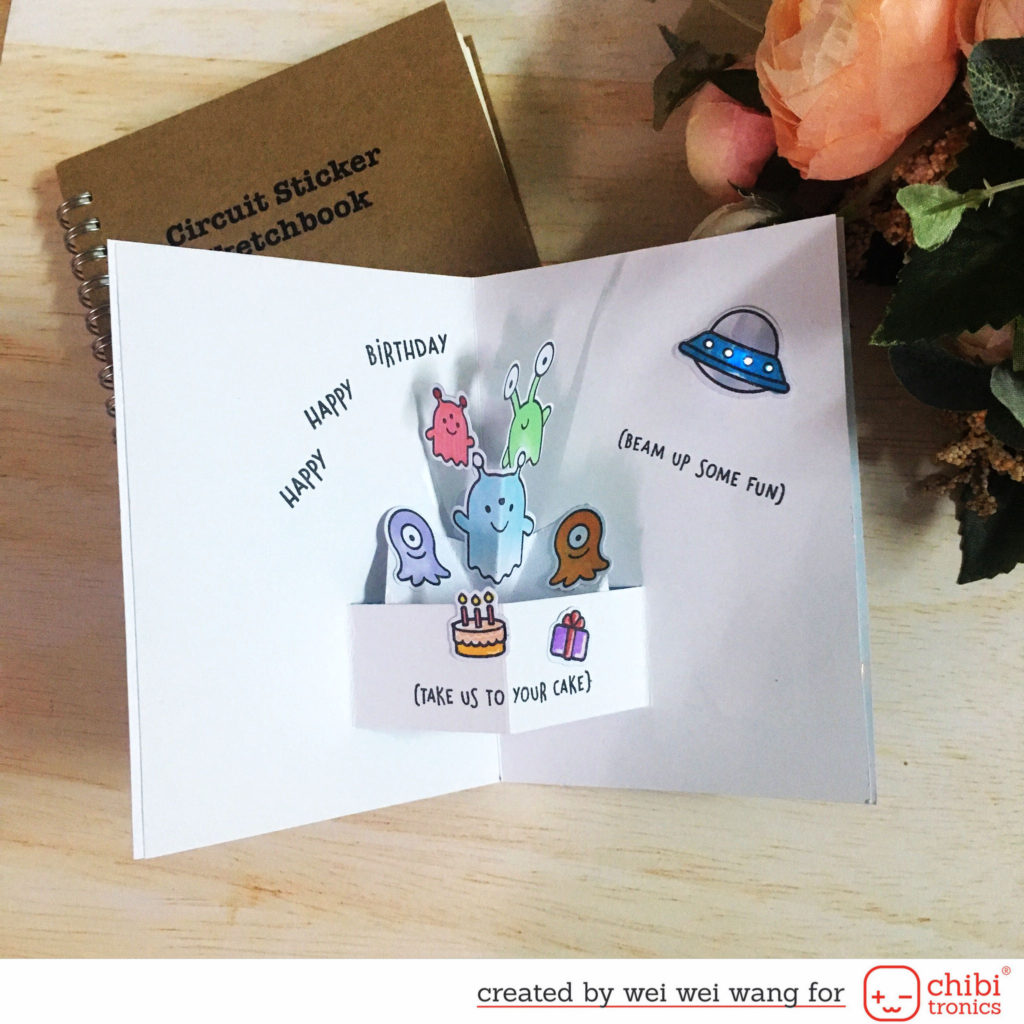
In the front of the card, when I press the button, the UFO lights up! And then, while open the card, there are birthday party held inside and the UFO also lights up!


Friday, March 22, 2019

Flower frame - Traveler's notebook spread

Hey, Today's theme is "create dimensional embellishments".
I have posted this TN spread on Hip Kit Club FB.


For this TN spread, I'm featuring the Carta Bella "Flower market" pattern paper included in HKC Feb main kit. I really love this gorgeous floral paper and decided to make a floral frame.


First, I cut out the part in the middle with scissors. Then, I glued this cut out flower paper on my TN. I also embellished the paper with some fussy cut flowers.

Next, I layered the photo with pattern paper from Pink Fresh and also added a piece of tissue paper. 


To add more interest, I decorated the layout with a few ephemera pack from Pink Fresh as well as chipboard phrases from Carta Bella. 


To finish, I wrote journaling in the middle of right page.


I hope it gives you some inspiration.
Thank you!


Monday, March 18, 2019

Adore shaker pocket - Traveler's notebook process

Hi friends, I'd like to share a Traveler's notebook spread with you.


For this TN spread, I'm showcasing Hip Kit Club 2019 Feb main kit and embellishment kit.


 The special characteristic of this TN spread is using vellum shaker pocket!
Please see the video below (or over on YouTube) to watch how I create this TN spread:


Thanks for stopping by!


Sunday, March 10, 2019

SKETCH FRIDAY | Wei Wei

Hi friends,


 I'm so excited to share my first Hip Kit Club blog post with you!

My project is a Traveler's Notebook spread and I take on HKC MARCH 8th WEEKLY SKETCH  created by Jana Maiwald-McCarthy. I also have a suggestion to your weekend: Join us over at Hip Kit Club Group (link) and create your own project take on this fabulous sketch!

Here is the sketch for this week:


I had so much fun making this layout, it came together really fast.


Since I am scrapping on a TN format, the first thing I did with this sketch was flip it. The kit I showcased is some gorgeous Pinkfresh Studio and Crate Paper products included in September 2018 Hip Kit Club Project Life  Kit and August 2018 Hip Kit Club Main Scrapbook Kit .


I started with creating my background, I used soft color patterned papers because the tone of my photos is heavy.  I thought it brought out some of the pink, grey and green in my photo well. I also decided to pull it  to the right page.
  

I had two photos that I thought went perfectly with this sketch.  I backed photos with patterned paper and tissue paper.  I also cut up some floral and layered them behind the photo. Butterfly is always match with floral project, so I added a butterfly embellishment with foam tape in front of my photo.

I thought puffy sticker is a perfect way to add title for TN, so I chose purple puffy stickers to the right side of the page.


Since the left side is full of lots of colors and details, I kept the right side more simple, but still added a bite of the floral cut from patterned paper to create some interest and also added journaling to complete my project.

Here is the full and finished spread:


Thank you so much for stopping by and have a lovely day!

Friday, March 1, 2019

STAMPlorations March Theme & Sketch Challenge

Hello Friends! 
STAMPlorations 3月的版型及主題手作卡片挑戰賽。


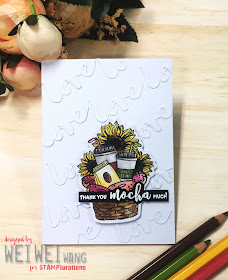
Here's my card using Bloomin' Spring Coffee Basket stamp set and Love Word Die.


I started by creating the background with word texture. I cut the "love" word using Love Word Die, and then adhered them to the background.

Next, I stamped the flower (from Bloomin' Spring Coffee Basket stamp set) in black, colored with watercolor pencils, and cut them out.


I adhered the flower to the front card with foam tape for 3D effect.

To finish off, I heat embossed the sentiment in white (from Bloomin' Spring Coffee Basket stamp set).


  • Players can link up to 6 projects -- any type of project is welcome as long as there is stamping. 
  • Projects must be based on the theme, sketch, or both. 
  • Non-STAMPlorations products are OK 
  • To qualify for the prize, players must display challenge graphic and link back to the challenge post (blogs only) 
  • Prizes: $15 GC for the winner (voted by the team); $5 GC to three (3) randomly picked players
  • Hope you play along with us! 
Please visit the STAMPlorations blog to check out other talented DT's creations.


Thank you.

Join Hip Kit Club Design Team!!!

Hi friends, today I have a good news to share with you!
I'm so glad and honored to be part of Hip Kit Club 2019 Desigh Team!
This is definitely the best thing for me, because join this awesome club is my dream! 


I can't wait to begin my project with Hip Kits!
And please check out the Hip Kit Club blog to meet other talented DT members.
Thank you!