Wednesday, September 15, 2021

Light up Halloween traveler’s notebook cover

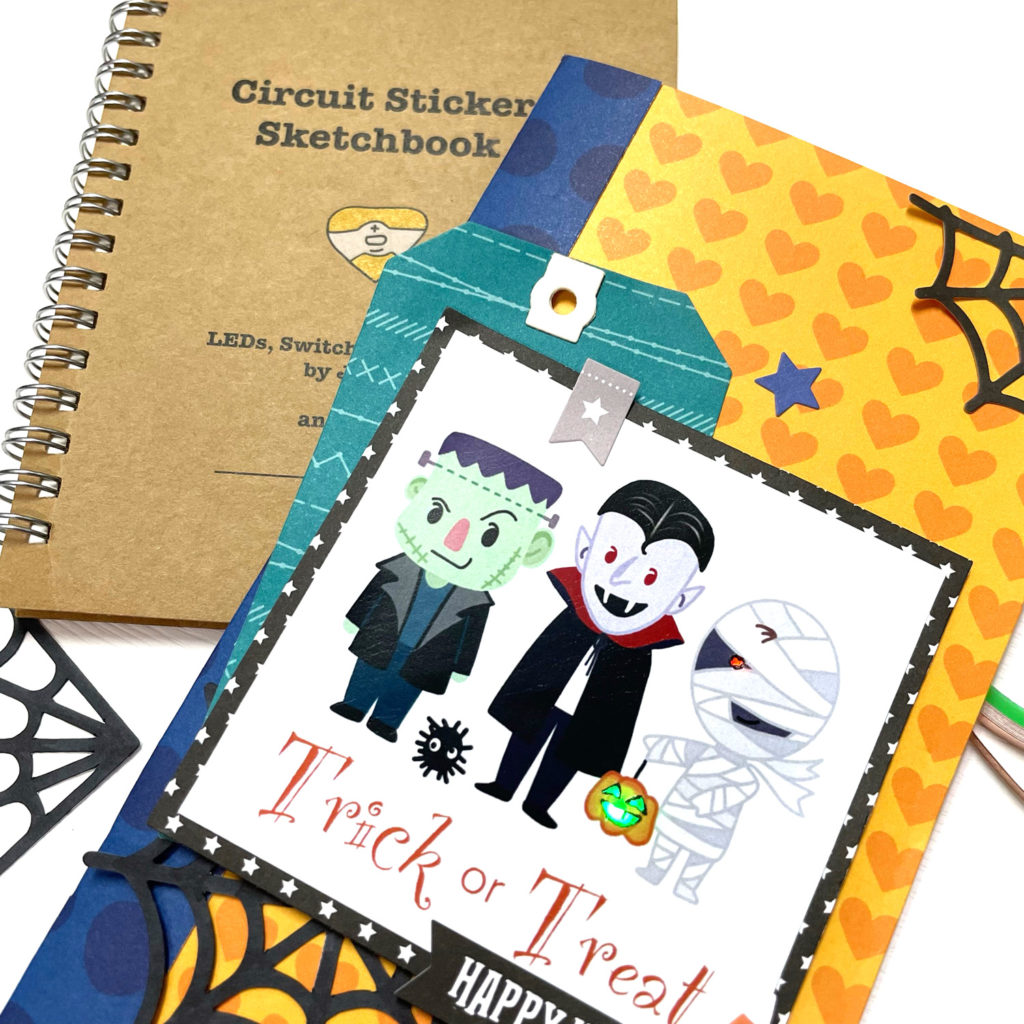
 Hi friends! I'm up on the Chibitronics blog whit this Halloween traveler’s notebook cover using Chibitronics  Pink, Orange, Green MegaPack (30 stickers).

Besides cardmaking, I love scrapbooking. Documenting my daily life in the traveler’s notebook is my favorite, so I decided to bring Chibitronics LED stickers into my layout.

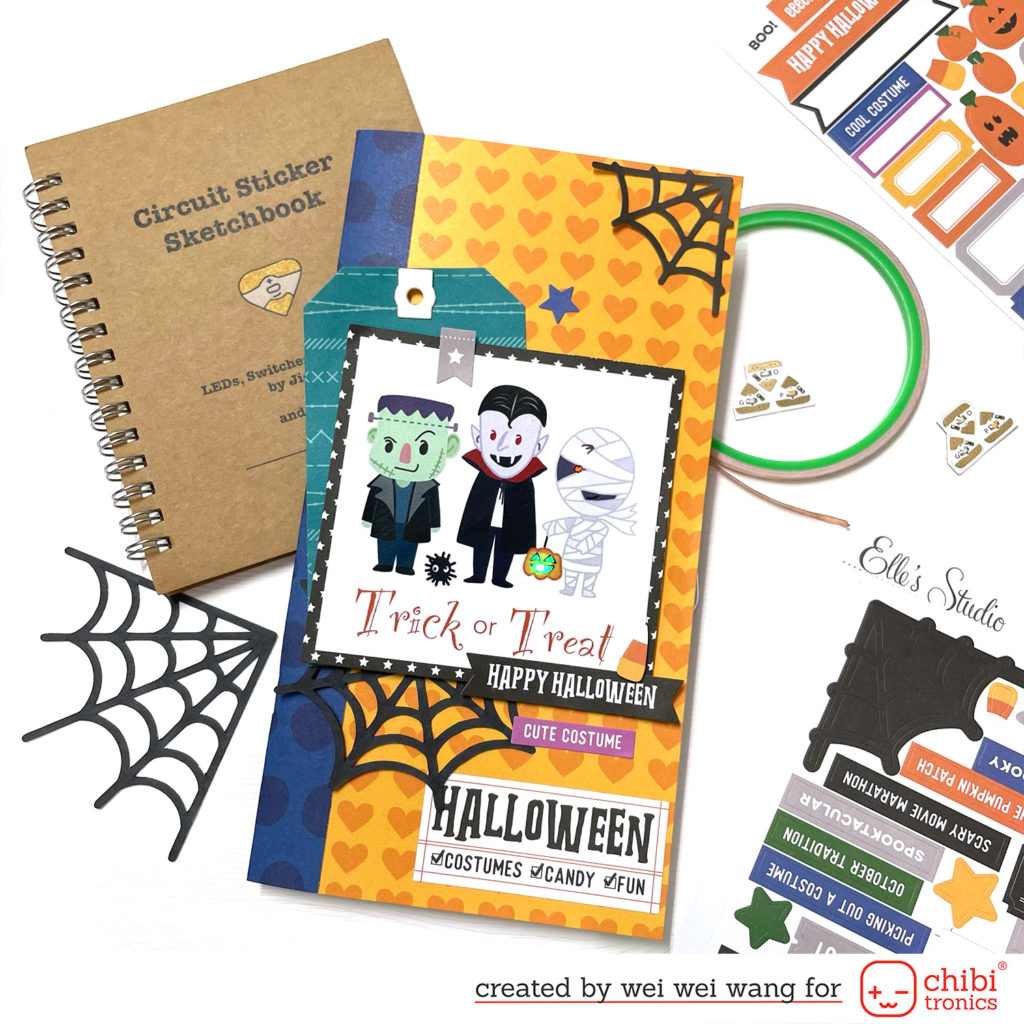
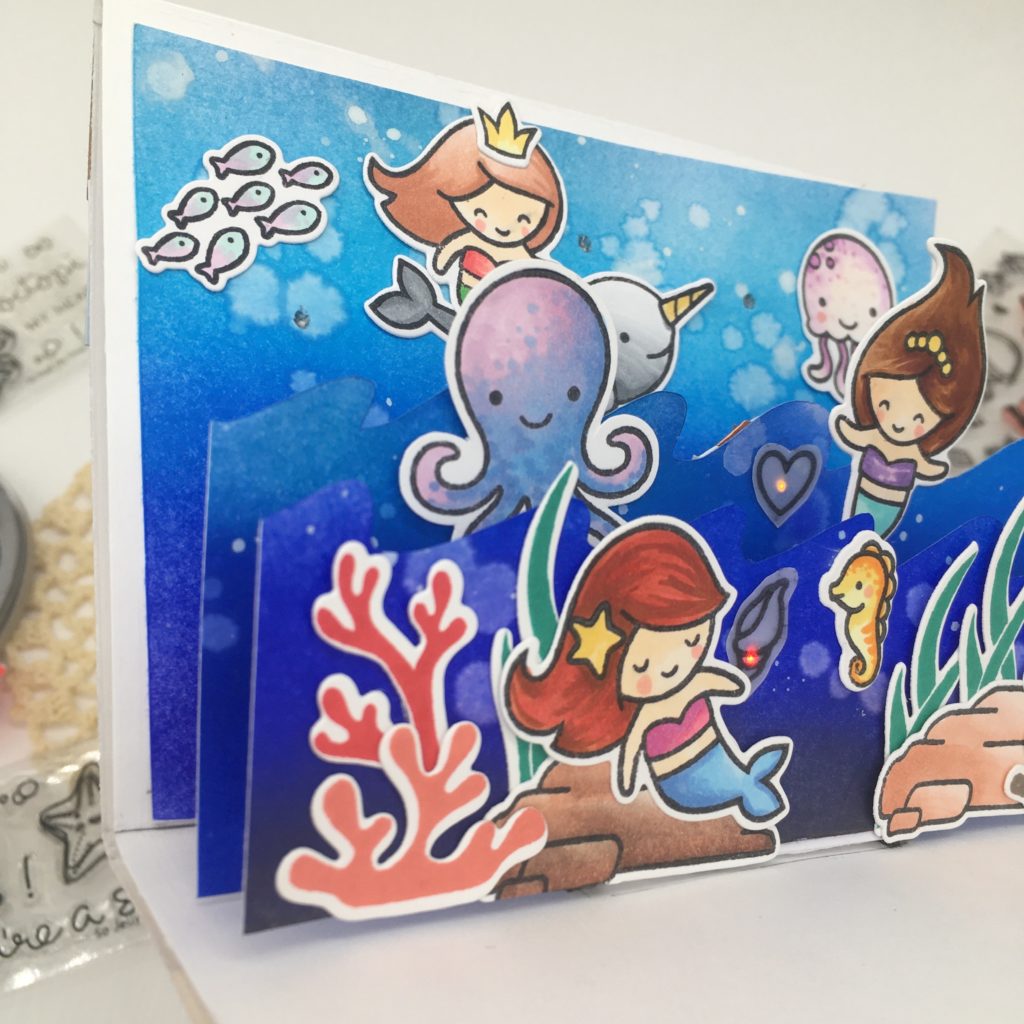
For my project today, I wanted to make my Halloween TN cover more interesting and filled with spooky vibes, so I included Chibitronics LED stickers and some Elle’s Studio scrapbooking papers and stickers to showcase how well they work together.  Let’s see how it came together!

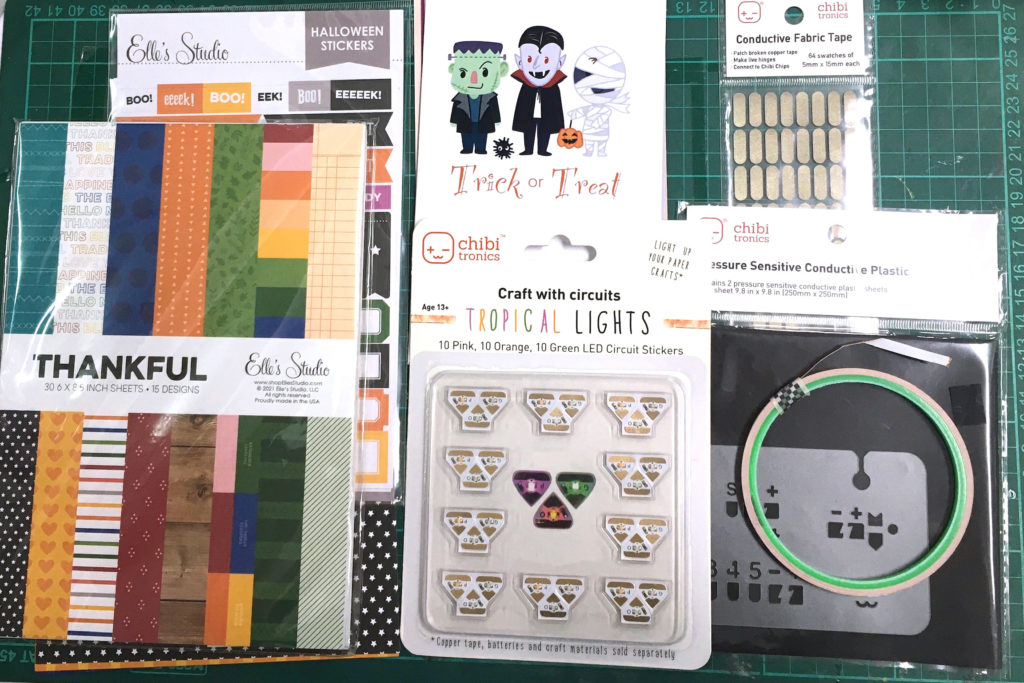
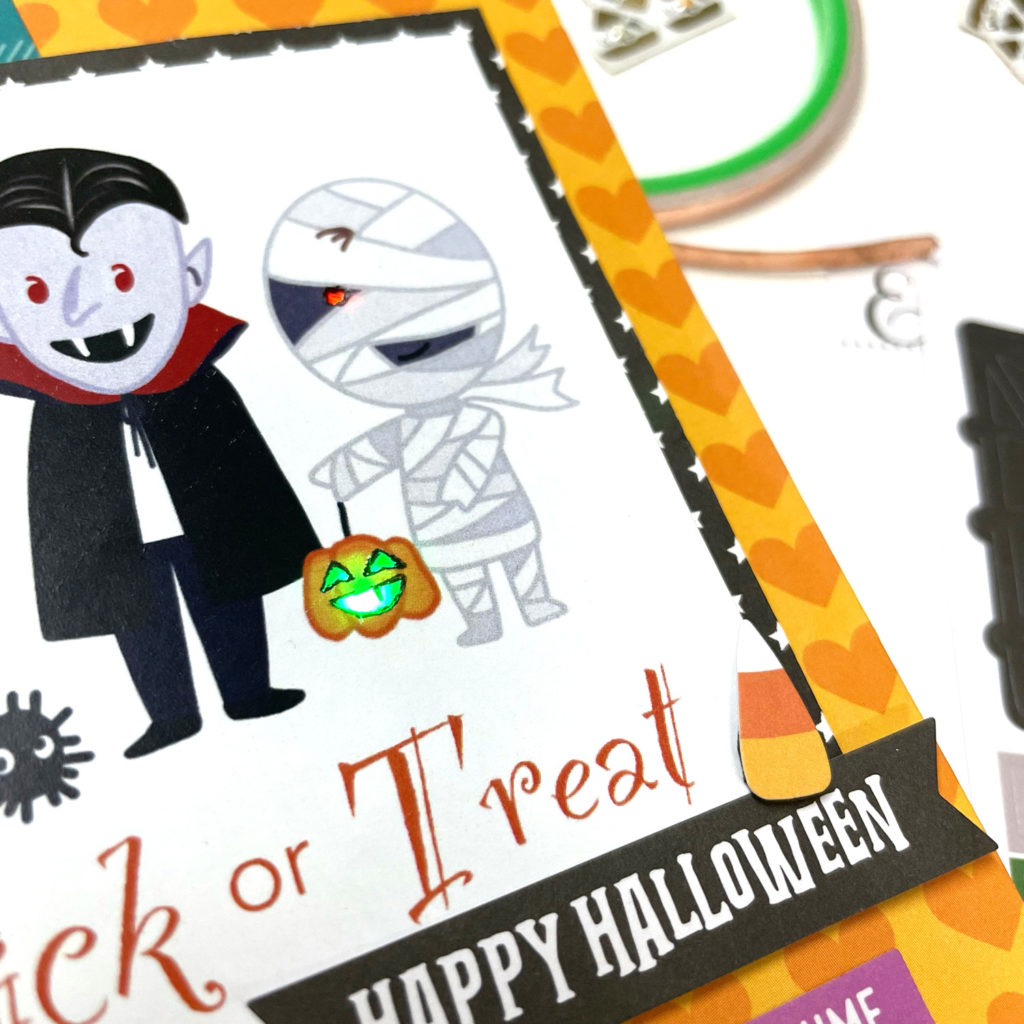
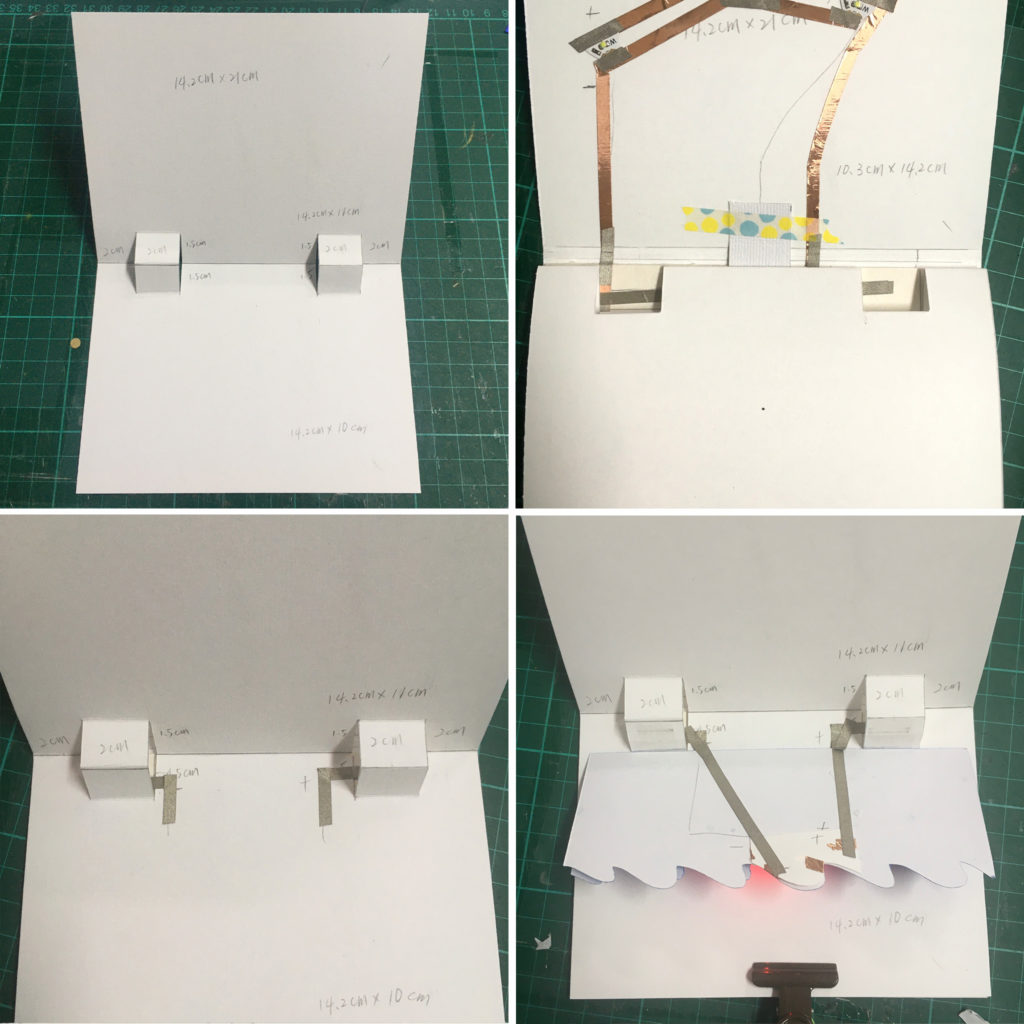
First, I prepared some patterned papers and stickers. The cute costume image which was designed by myself. I started by making the TN cover base. Then, I used the cute costume image as my theme and cut little holes on the face of the pumpkin and the mummy in order to make the LEDs light through.

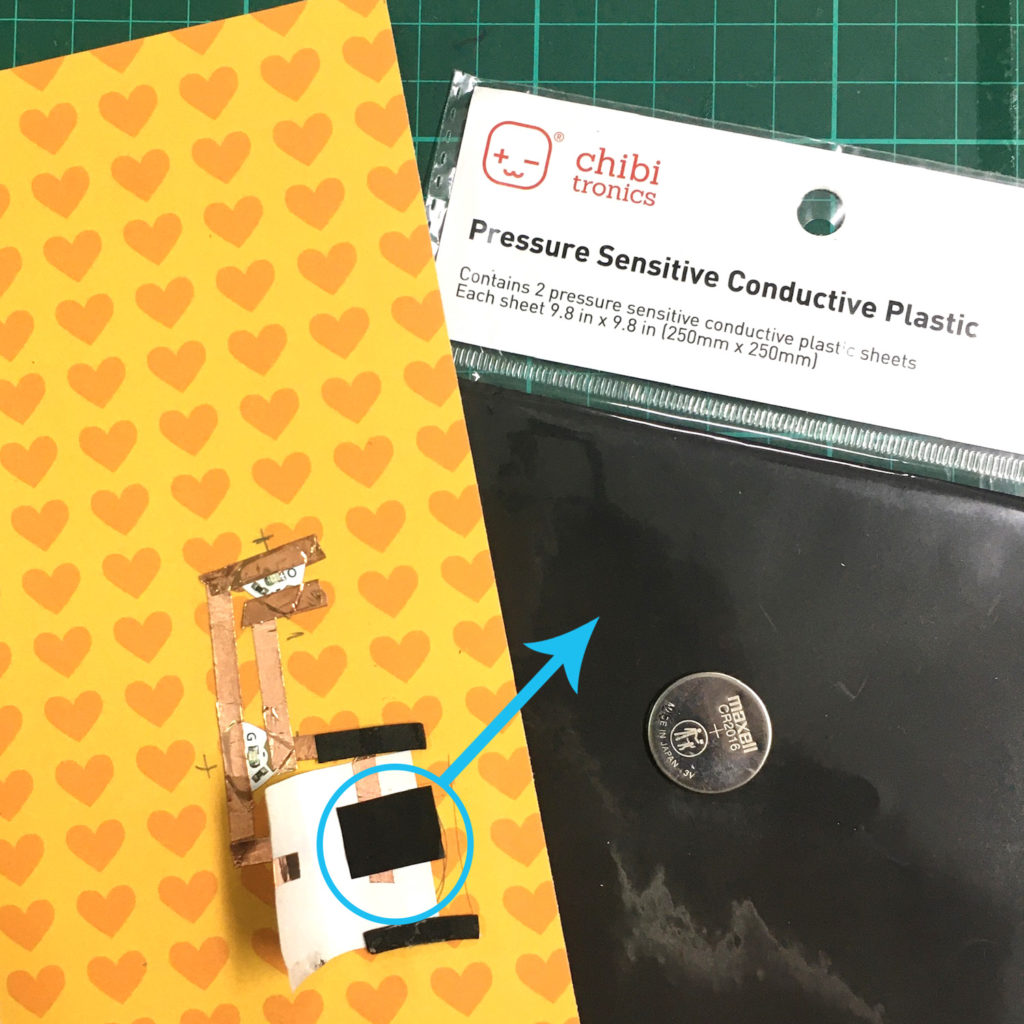
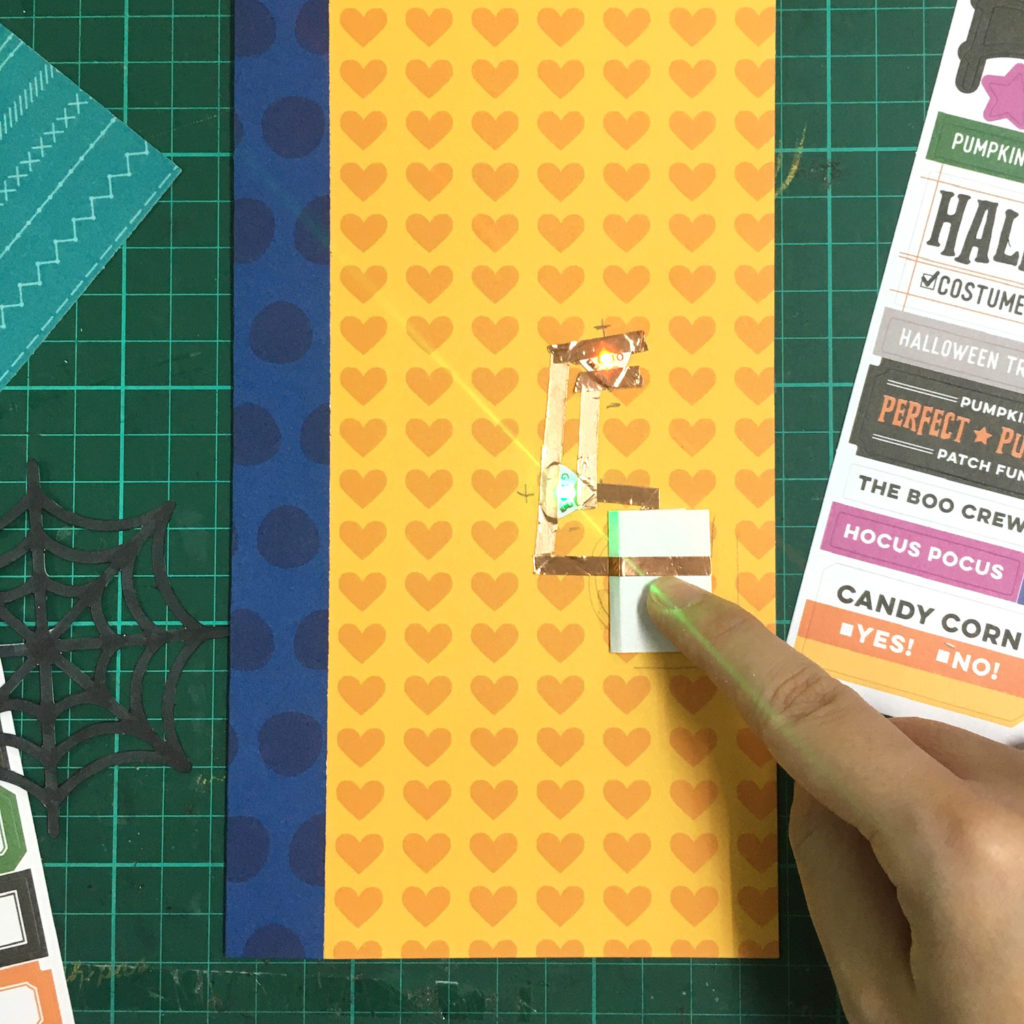
Second, I drew the parallel circuit template on the TN cover base. After sticking the Copper Tape over the template, I added two Pink, Orange, Green MegaPack (30 stickers). I also put a piece of pressure sensor conductive plastic on the battery holder. When you press, the light will become brighter the harder you press. This conductive plastic sheet is perfect for making DIY pressure sensors and adding a gentle fade in and fade out effect to your project.

After finishing the circuit, I adhered the cute costume image with foam tape to my TN cover. To finish, I added some adorable stickers for more interest.

The supplies I used are: Copper TapePink, Orange, Green MegaPack (30 stickers)pressure sensor conductive plastic.

Hope you liked today inspiration project!

Thank you!

Wednesday, July 28, 2021

Light Up Pop Up Mermaid Card

Hello, friends! Today I'm up on the Chibitronics blog  with this cute light up pop up card featuring Chibitronics LED and Lawn Fawn Mermaid For You stamp set.

Here are my supplies:

First, I drew the position of the battery holder and switch on the 14.2 x 20 cm white chipboard, and cut out. Then, I adhered the chipboard to the cardstock (14.2 x 21 cm white cardstock which is measured 10.3 cm, 0.4 cm, 10.3 cm in lengthwise and folded). Next, I built my circuit with Copper tape and Conductive Fabric Tape. I cut a tiny gap at the place where the switch made at there. For the switch, I adhered one piece of rectangle paper to the cardstock and I added a chipboard wrapped with Conductive Fabric Tape underneath the rectangle. The function of rectangle paper is just like pull tab.

Next, I cut two pop ups on the another 14.2 x 21 cm white cardstock. (Measured 11 cm and 10 cm in lengthwise and folded ). I adhered the pop up cardstock on the chipboard and used Conductive Fabric Tape to connect the background circuit with wave circuit.

As you see, I added the yellow LED sticker and red LED sticker to other paper piece, and then adhered them behind the waves. To complete the whole circuit, I connected the wave circuit and LEDs with Conductive Fabric Tape.

I made a step by step video or you can watch it over on my YouTube Channel:

https://youtu.be/YRoOVXTwhuA

That is all from my side today. I hope you were inspired and give Chibitronics products a try!

Have a great day.

Thank you 

Wednesday, June 23, 2021

Light up volcano card

 Hello, friends!

Today I'm up on the Chibitronics blog with this cute volcano light up card featuring Chibitronics LED and Heffy Doodle Geology Rocks Clear Stamp Set.


For this card, I created a new switch which is different from what I used to do.

This switch is just like the simple single-pole (ON/OFF) switch in our real life. When you pull it to the right (turn on), the LED lights up, and in the opposite direction you turn off the light.


Here is the circuit I used:


I used a basic and simple circuit. What I want to introduce is the switch. In fact, the switch mechanism is the same as usual, I just reformed the “pull tab” to the “horizontal switch”.


There is a little gap on the bottom right corner in the circuit. When you toggle the level to the ON position (to the right direction), the copper on the switch closes the gate, completing the circuit. When you flip the toggle lever to the OFF position (to the left direction), the gateway opens up, interrupting the flow of power to the light.


The idea of battery holder is from our talented DT member June Lee, but I adjusted a little.

Here's the tip, the thickness of the battery holder should be the same as the battery.


I made a step by step video or you can watch it over on my YouTube Channel:


 The supplies I used are: Copper Tape, Red, Yellow, Blue MegaPack (30 stickers)


That is all from my side today. I hope you were inspired and give Chibitronics products a try!

Have a great day.

Thank you 

Friday, April 2, 2021

Introduce: STAMPholic Shop printable traveler's notebook release - Spring

 Hi, friends,

Today I'm going to bring with Springy printable traveler's notebook papers. Click here for everything that's new in the shop.


Thank you for standing by.


CELEBRATIONS WITH THE ELLE'S STUDIO MARCH KIT AND ADD-ONS

 Hello crafty friends! Today I'd like to share a bit of inspiration. I visited Taipei ZOO last month and had a photo with the big cake celebrating Taipei ZOO’s 106th! The March kit and add-ons were perfect for recording this exciting moment! 

Supplies | March 2021 KitMarch 2021 LabelsHappy Birthday Journaling TagsHappy Birthday Chipboard StickersTiny Shapes and Dots Puffy Stickers – Cool TonesHappy Birthday Wood VeneersHooray Wood Veneer BannersLarge Acetate NumbersAcrylic Balloons and PresentsCelebrate 6 x 8.5 inch Paper StackMake a Wish StampHappy Birthday Metal DieParker Alphabet Metal DieHugs and Kisses Stamp

I started by adding a bit of pink watercolor to the background—just a soft application to two areas in the page. I really love the Make a Wish Stamp, so I used words and patterns to fill part of the background to add more texture.

I positioned my photo on the bottom right corner and layered it using the Happy Birthday Journaling Tags. I knew I needed more layers and embellishments because my background is soft and white. I tore patterns from the from Celebrate Paper Stack and wrinkled them to give more texture. I also tucked a piece of tissue paper between the papers to soften the layers.

I embellished with journaling tags from the March 2021 KitHappy Birthday Chipboard Stickers and March 2021 Labels.

The “cheers” banner from Hooray Wood Veneer Banners is super cute and perfect for decorating a birthday layout! I also added the dark blue Tiny Shapes and Dots Puffy Stickers for more interest.

My favorite part about creating this layout was building my title. There are not enough words to describe just how much I love the alpha products from Elle’s Studio! And I have to say that the Large Acetate Numbers and the Parker Alphabet Metal Die are AWESOME! I used them to create my title and I got the stitched look by using the Hugs and Kisses Stamp. It helps my title stand out on the background and gives it a little contrast and depth. I just love how it turned out.

The “Happy Birthday” is from the Make a Wish Stamp and Happy Birthday Metal Die.

For finishing touches, I added some of the cute Acrylic Balloons and Presents pieces and Happy Birthday Wood Veneer balloons.

I really had a lot of fun with the March kit and add-ons and I think the possibilities for the kit are endless! I hope this projects has inspired you to use the kit to create a project of your own. Happy creating!

Wednesday, March 31, 2021

Introduce: STAMPholic Shop printable traveler's notebook release - Breakfast

 Hello, everyone! I can't believe it's already in April!

I still spent lots of my time to make my design into digital. As you can see, I make twelve breakfast printable traveler's notebook papers. Click here for everything that's new in the shop.


Thank you for standing by.

Saturday, February 20, 2021

HAPPY LIFE TRAVELER’S NOTEBOOK LAYOUT

 Hello friends! Today I'm up on Elle's Studio blog sharing a bit of inspiration using the Elle's Studio February kit and add-ons.

Supplies | February 2021 KitHere’s the Story PrintablesFebruary LabelsJane Tile Alphabet Cardstock Stickers – PinkHappy Little Moments Chipboard StickersPurple Puffy Alphabet StickersHeart of Gold Wood VeneersXOXO 6 x 8.5 Inch Paper StackTiny Acrylic HeartsGood Times Tab StampNoted Vol. 3 Stamp

I printed out my photos and positioned it on the left side of the page and layered it using the February 2021 Kit. The delightful colors and patterns were perfect to add to this layout without taking the focus away from my photo. I also grabbed a piece of little black heart paper from XOXO Paper Stack and one pink February Label to tuck under the photo. Then, I embellished the layers with Happy Little Moments Chipboard Stickers, pink Jane Tile Alphabet Cardstock Stickers and the adorable Tiny Acrylic Hearts. I also added some tangled thread in a neutral color, adding some great texture to the layout. 

On the right side of the page, I focused on using the February 2021 Kit journaling tags and Here’s the Story Printables

A tag embellishment cluster is one of my favorite decorations to add to any scrapbook layout. Not only are tags a great base for a cluster, but they are easy to make. I used a scissor and punch to make these tags from kit journaling tags and Here’s the Story Printables. I placed two tags on the center of the page, and added others on the top and bottom. Each tag serves as a grounding element for all the other embellishments, so they aren’t floating on the layout. 

The sweet “one of a kind” Heart of Gold Wood Veneer piece really helped me to remember the mood of the photo. Also, the Purple Puffy Alphabet Stickers and Happy Little Moments Chipboard Stickers were a great way to add to the cluster without making the layout too heavy. They are my new favorite! I have to admit I loved using the different elements to complete my title.

Of course, I also had to add tags to my left side of the page to bring the whole layout together.

To add a few more details to my pages, I added stamping by using the Noted Vol. 3 and Good Times Tab Stamp. To finish off, I used the paper scraps that was left over from making tags to embellish and bring the whole layout together.

The lovely journaling tags and embellishments from this month’s release made it really easy for my layout to come together. I really hope this project has inspired you to use the February kit and add-ons to create a project of your own. 

Happy creating!

Saturday, January 30, 2021

Today - traveler's notebook layout for Elle's Studio 2021 January kit and add-on

 Hey, friends! I am here today sharing a traveler’s notebook layout using Elle's Studio beautiful January kit and add-ons.


I loved the light gray color and the blank lined pattern paper from XOXO 6 x 8.5 inch Paper Stack and decided to use it as my background. 

I really adore the January kit and I thought the pink and heart patterns 3″ x 4″ tags would work perfectly in my traveler’s notebook to document my family travel, so I used them to layer my photo and also added some of the die cuts from the January Kit under my photo and adhered them with my stapler for extra texture. 


Elle’s Studio has many gorgeous Alphabet products, so I decided to try and use a bunch of them on my page by creating a title. As you can see, My title consists of Dark Pink Puffy Alphabet Stickers, Navy Acetate Alphabet, and White Jane Tile Alphabet Cardstock Stickers. Then, I added "the best" die cut piece from January kit, and "so precious" from All My Heart Wood Veneers to complete my title.  


The light green tag is also from the January kit. I thought its color matched with my left side of the page, but there was not enough space on the right side to put the whole 3″ x 4″ journaling tag, so I trimmed it to be a tag. Then, I stamped some works from Daily Tabs Stamp. This stamp set is perfect for adding journalings in layouts,traveler's notebooks and pocket pages! 


I really wanted to add some stamping to my background, so I stamped some hearts and little words from Hugs and Kisses Stamp randomly on both pages to get more texture and bring the whole layout together. 

For the finishing touch, I added the adorable Puffy Heart Stickers and All My Heart Wood Veneers to my layout.

Just love how this traveler’s notebook layout turned out. I hope this has inspired you to use the January kit and add-ons to document your memories.  
Wei Wei

Related Posts Plugin for WordPress, Blogger...