Showing posts with label scrapbooking. Show all posts

Friday, April 2, 2021

CELEBRATIONS WITH THE ELLE'S STUDIO MARCH KIT AND ADD-ONS

 Hello crafty friends! Today I'd like to share a bit of inspiration. I visited Taipei ZOO last month and had a photo with the big cake celebrating Taipei ZOO’s 106th! The March kit and add-ons were perfect for recording this exciting moment! 

Supplies | March 2021 KitMarch 2021 LabelsHappy Birthday Journaling TagsHappy Birthday Chipboard StickersTiny Shapes and Dots Puffy Stickers – Cool TonesHappy Birthday Wood VeneersHooray Wood Veneer BannersLarge Acetate NumbersAcrylic Balloons and PresentsCelebrate 6 x 8.5 inch Paper StackMake a Wish StampHappy Birthday Metal DieParker Alphabet Metal DieHugs and Kisses Stamp

I started by adding a bit of pink watercolor to the background—just a soft application to two areas in the page. I really love the Make a Wish Stamp, so I used words and patterns to fill part of the background to add more texture.

I positioned my photo on the bottom right corner and layered it using the Happy Birthday Journaling Tags. I knew I needed more layers and embellishments because my background is soft and white. I tore patterns from the from Celebrate Paper Stack and wrinkled them to give more texture. I also tucked a piece of tissue paper between the papers to soften the layers.

I embellished with journaling tags from the March 2021 KitHappy Birthday Chipboard Stickers and March 2021 Labels.

The “cheers” banner from Hooray Wood Veneer Banners is super cute and perfect for decorating a birthday layout! I also added the dark blue Tiny Shapes and Dots Puffy Stickers for more interest.

My favorite part about creating this layout was building my title. There are not enough words to describe just how much I love the alpha products from Elle’s Studio! And I have to say that the Large Acetate Numbers and the Parker Alphabet Metal Die are AWESOME! I used them to create my title and I got the stitched look by using the Hugs and Kisses Stamp. It helps my title stand out on the background and gives it a little contrast and depth. I just love how it turned out.

The “Happy Birthday” is from the Make a Wish Stamp and Happy Birthday Metal Die.

For finishing touches, I added some of the cute Acrylic Balloons and Presents pieces and Happy Birthday Wood Veneer balloons.

I really had a lot of fun with the March kit and add-ons and I think the possibilities for the kit are endless! I hope this projects has inspired you to use the kit to create a project of your own. Happy creating!

Tuesday, June 25, 2019

Light up scrapbooking layout using Chibitronics LED stickers

Hi, today I'm sharing a scrapbooking layout using Chibitronics LED stickers!  I also used the gorgeous Pink Paislee collection for my project!


I started my layout with a piece of white cardstock. I thought a cut file moon would be great to show off Chibitronics LEDs!  I cut out the moon with my Silhouette and backed with vellum.

For the circuit, I used some colorful LED stickers.


Once I had the cut file moon done, I decided to go with a colorful painted background.  I added some soft watercolors. After the colors dried, I added foam tapes to the back of the cut file moon and adhered it in place.  I also added my photo to that next. 


Then, I added many floral die cuts for embellishment.


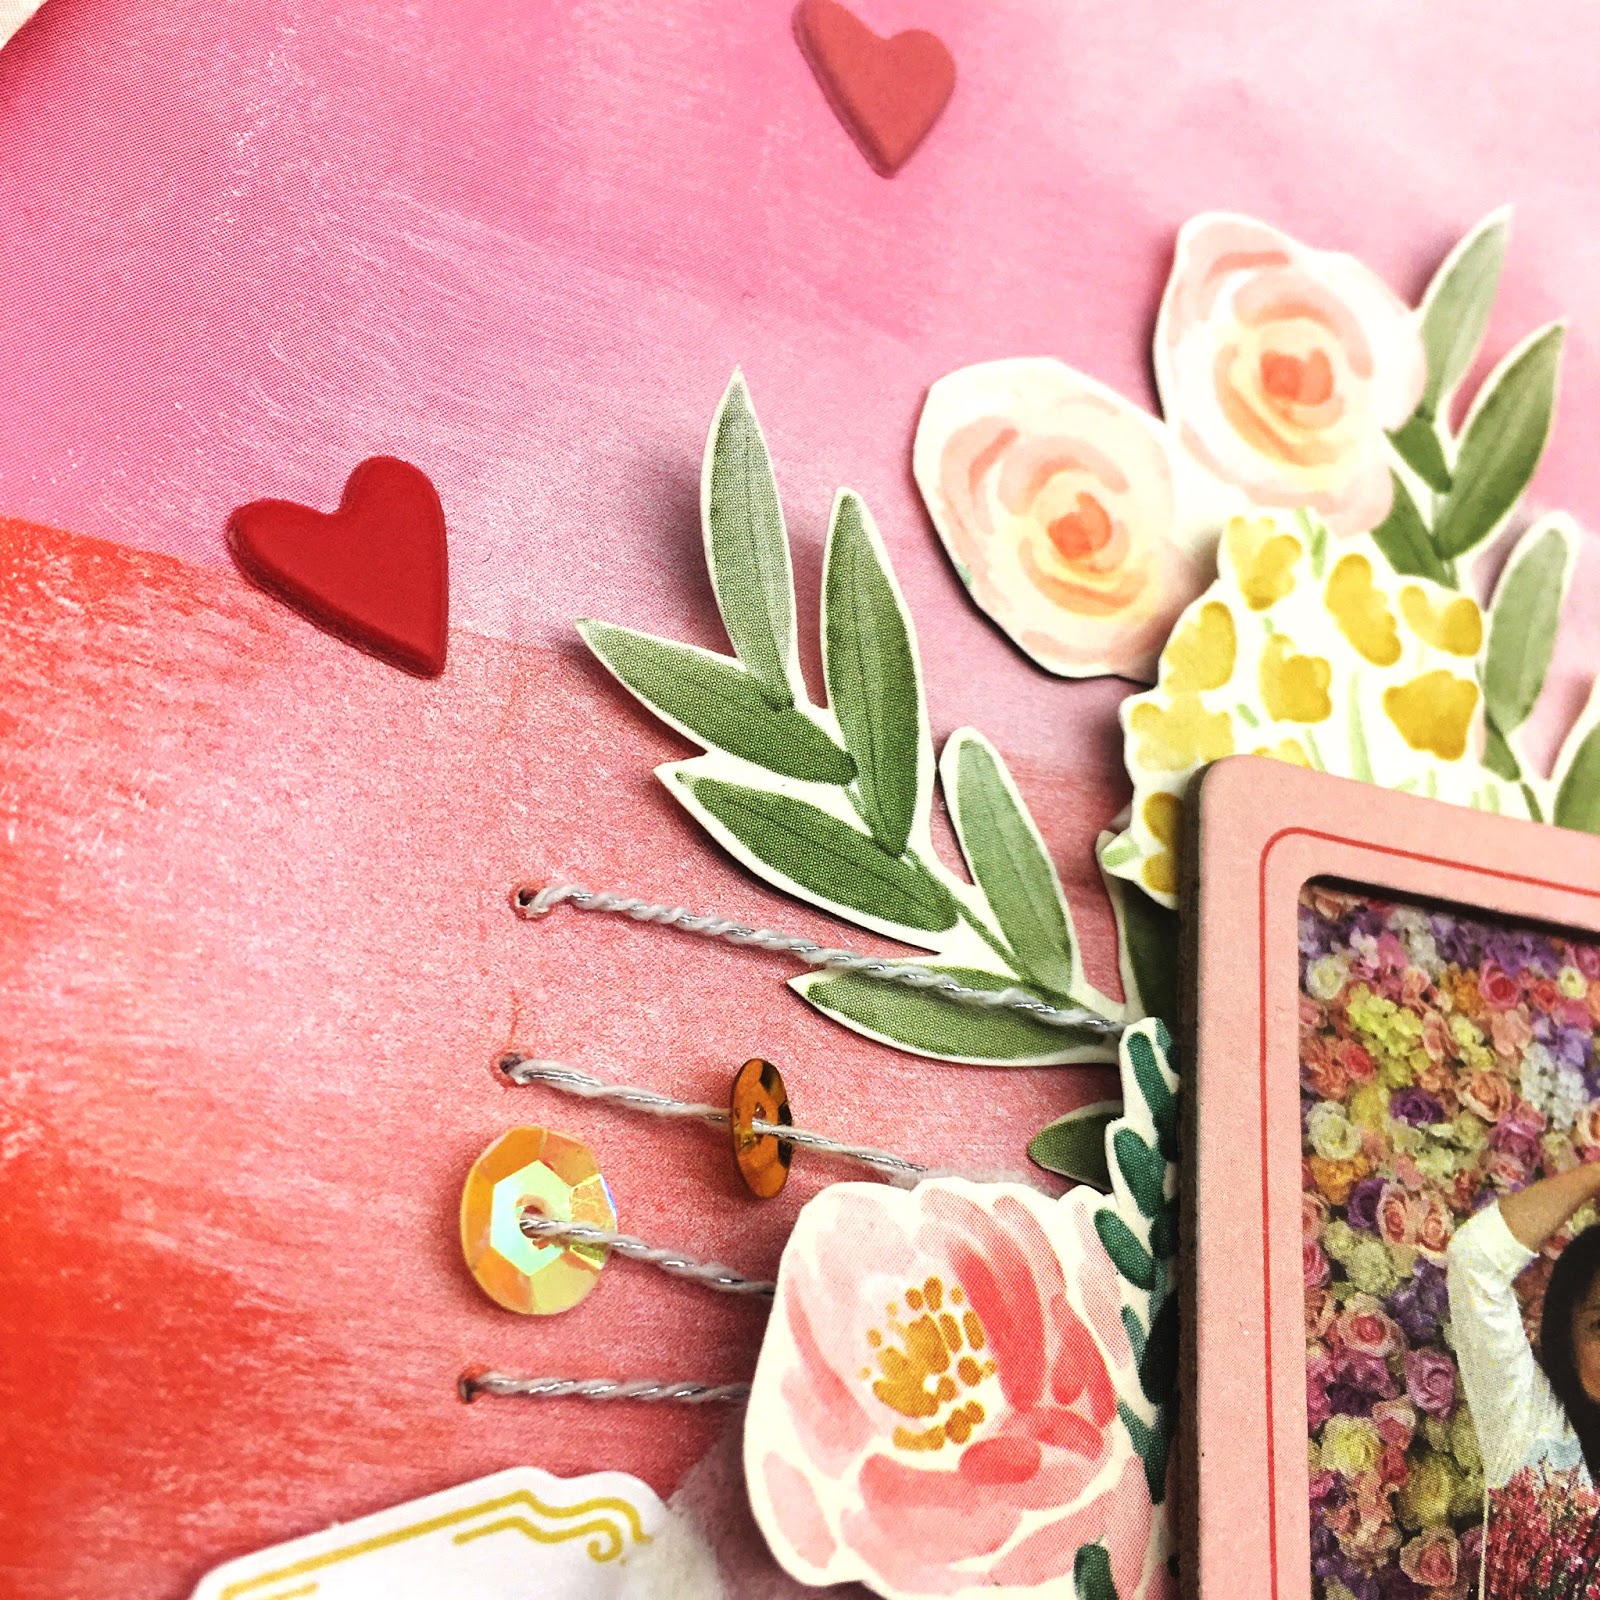
For my finishing touches, I added puffy sticker sentiments and heart stickers in coordinating colors.

You can check out a tutorial here that shows you how to make this scrapbooking layout. please click my youtube channel.


Thanks so much for visiting! Have an amazing day!

Friday, March 29, 2019

Mixed Media & Fussy Cut Flowers | Hip Kit Club 相編

Hi, I'd like to share a scrapbooking layout made for Hip Kit Club!


Please see the scrapbooking process video below (or over on YouTube) to watch how I create a mixed media & fussy cut flowers layout!


Here are some close-up :


You can find the 2019 Feb main kit and embellishment kit here: https://www.hipkitclub.net/february-2... https://www.hipkitclub.net/february-2... You can learn more about Hip Kit Club here: Website: https://www.hipkitclub.net Blog : https://blog.hipkitclub.net Facebook: https://www.facebook.com/scrapbookers... Pinterest: http://www.pinterest.com/HipKitClub/ Instagram: http://instagram.com/hipkitclub/ You can find more about me: https://www.instagram.com/weiweiwang_12/


Friday, March 22, 2019

Flower frame - Traveler's notebook spread

Hey, Today's theme is "create dimensional embellishments".
I have posted this TN spread on Hip Kit Club FB.


For this TN spread, I'm featuring the Carta Bella "Flower market" pattern paper included in HKC Feb main kit. I really love this gorgeous floral paper and decided to make a floral frame.


First, I cut out the part in the middle with scissors. Then, I glued this cut out flower paper on my TN. I also embellished the paper with some fussy cut flowers.

Next, I layered the photo with pattern paper from Pink Fresh and also added a piece of tissue paper. 


To add more interest, I decorated the layout with a few ephemera pack from Pink Fresh as well as chipboard phrases from Carta Bella. 


To finish, I wrote journaling in the middle of right page.


I hope it gives you some inspiration.
Thank you!


Monday, March 18, 2019

Adore shaker pocket - Traveler's notebook process

Hi friends, I'd like to share a Traveler's notebook spread with you.


For this TN spread, I'm showcasing Hip Kit Club 2019 Feb main kit and embellishment kit.


 The special characteristic of this TN spread is using vellum shaker pocket!
Please see the video below (or over on YouTube) to watch how I create this TN spread:


Thanks for stopping by!


Friday, March 1, 2019

Join Hip Kit Club Design Team!!!

Hi friends, today I have a good news to share with you!
I'm so glad and honored to be part of Hip Kit Club 2019 Desigh Team!
This is definitely the best thing for me, because join this awesome club is my dream! 


I can't wait to begin my project with Hip Kits!
And please check out the Hip Kit Club blog to meet other talented DT members.
Thank you!

Friday, January 25, 2019

light up traveler's notebook cover

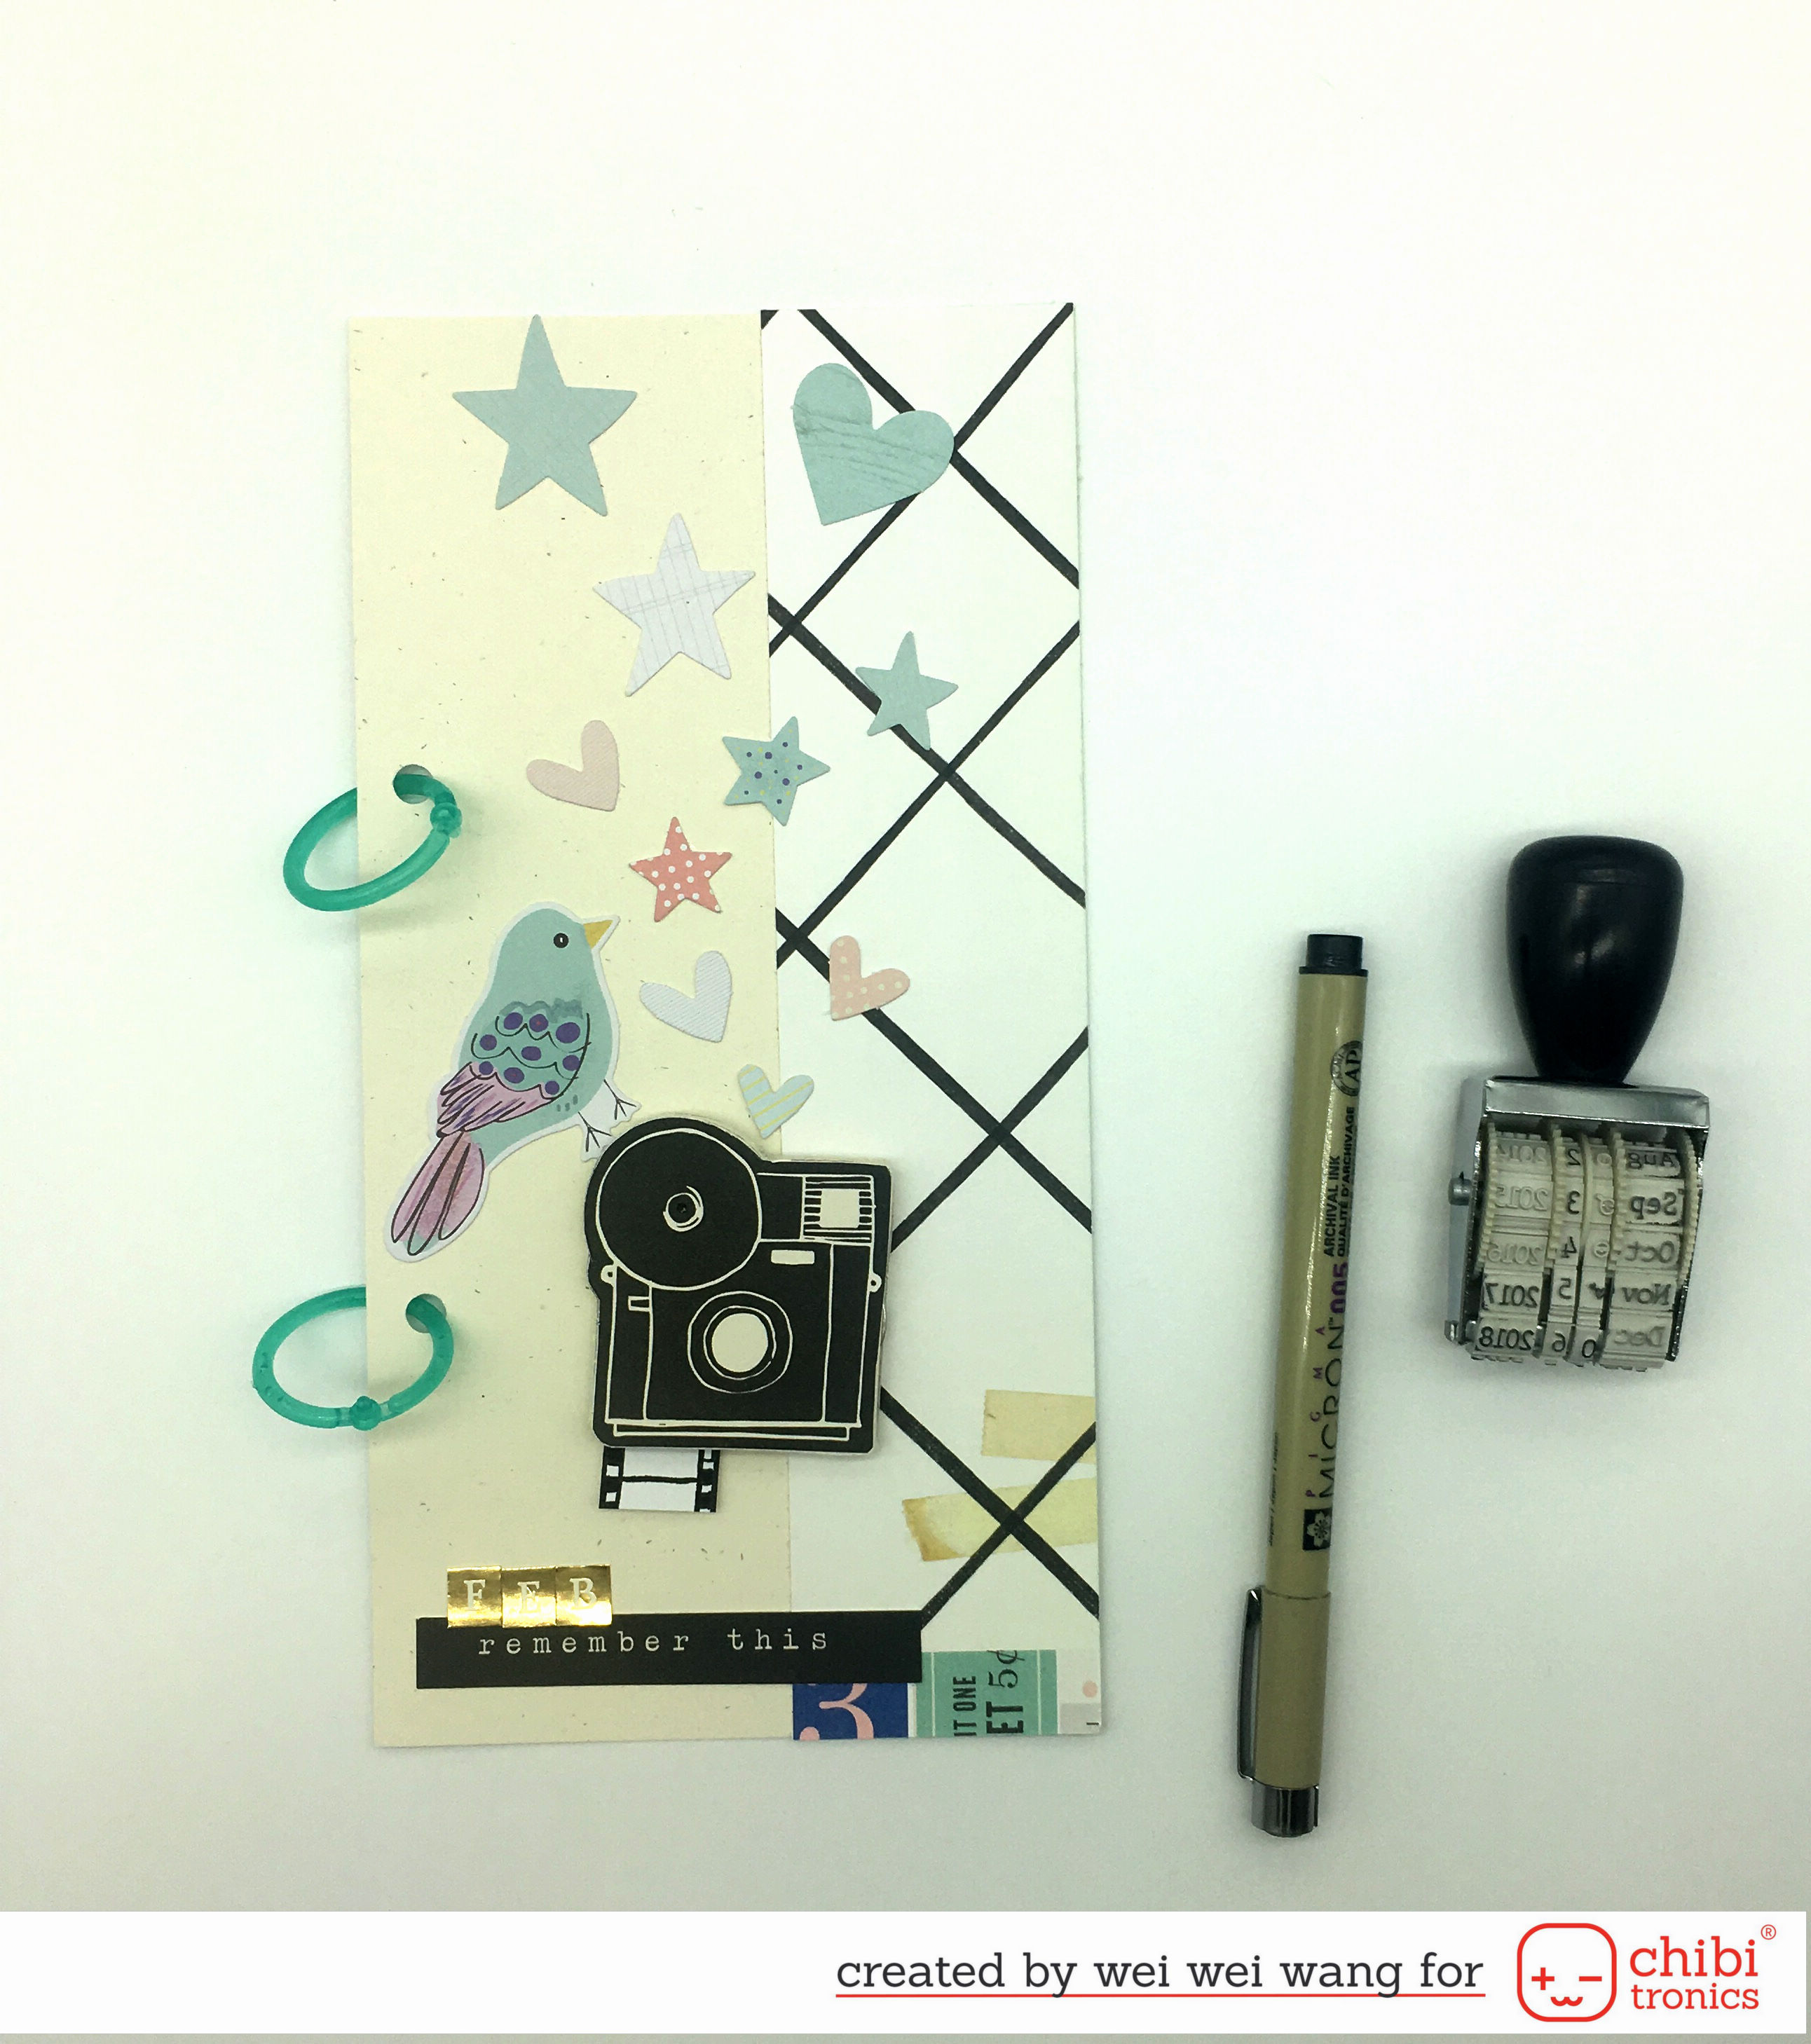
Hi Ladies! I am sharing a traveler's notebook cover made with the Chibitronics LED sticker and Citrustwist kit.

February is just around the corner. It means that Chinese New Year is coming and I'll have a night day vacation.  So I decided to prepare a new traveler's notebook for documenting my vacation. 

Here is my project:


Saturday, January 12, 2019

December daily 2017 using traveler's notebook -part 2 / 2017年12月旅人手帳生活

Hi! I am back sharing a TN about our my December daily 2017. 

December is the most busy month of the year for my working although it's full of holiday and vacation vibes. 
I didn’t have lot of time, but still wanted to keep some daily memory for myself. 
I printed out some those photos and documented them in my TN.

I used lots of different elements to make my TN diverse. Felicity Jane kits, Citrustwist kit and Studio Calico are great accessories.


Thank you for standing by!

Saturday, December 29, 2018

December daily 2017 using traveler's notebook / 2017年12月旅人手帳生活

It's not a secret, I'm a traveler's notebook addict. I took most of craft time to document my daily life in TN this year, and also designed some graphic for TN. I got lots of fun in this habit and would like to continue next year.

I'm super excited to finally share my December daily 2017 traveler's notebook earlier this month.

Here's some of my pages:


I made this simple and quick layout in my TN to document the super fun movie - wreck it- Ralph 2 I watched on December 1st.


---------------------------------------------------------------------------------------------


This page is about a family lunch. I print some small photos and arranged them on the right page. For the left page, I showcased the dessert Christmas tree, layered some Felicity Jane pattern papers along with tissue paper. 

I also added some embellished from Felicity Jane and stamped the sentiments.

One of my favorite in this page is the gold dotted vellum insert, it worked just perfect for my pic.


---------------------------------------------------------------------------------------------
This TN spread is about my new holiday candle, I love it fresh smell, so I chose mint color as my main color tone. Besides the big stamping background on the right page, I also added many tiny stamping behind the photo for the texture.


---------------------------------------------------------------------------------------------
 I layered a vellum pocket filled with sequins under the photo and also added some snowflakes die cut to the background. 
I love the white tone with a bit black and gold touch on this page !


Thanks for stopping by! Wei Wei xo


Related Posts Plugin for WordPress, Blogger...