Showing posts with label card. Show all posts

Wednesday, July 28, 2021

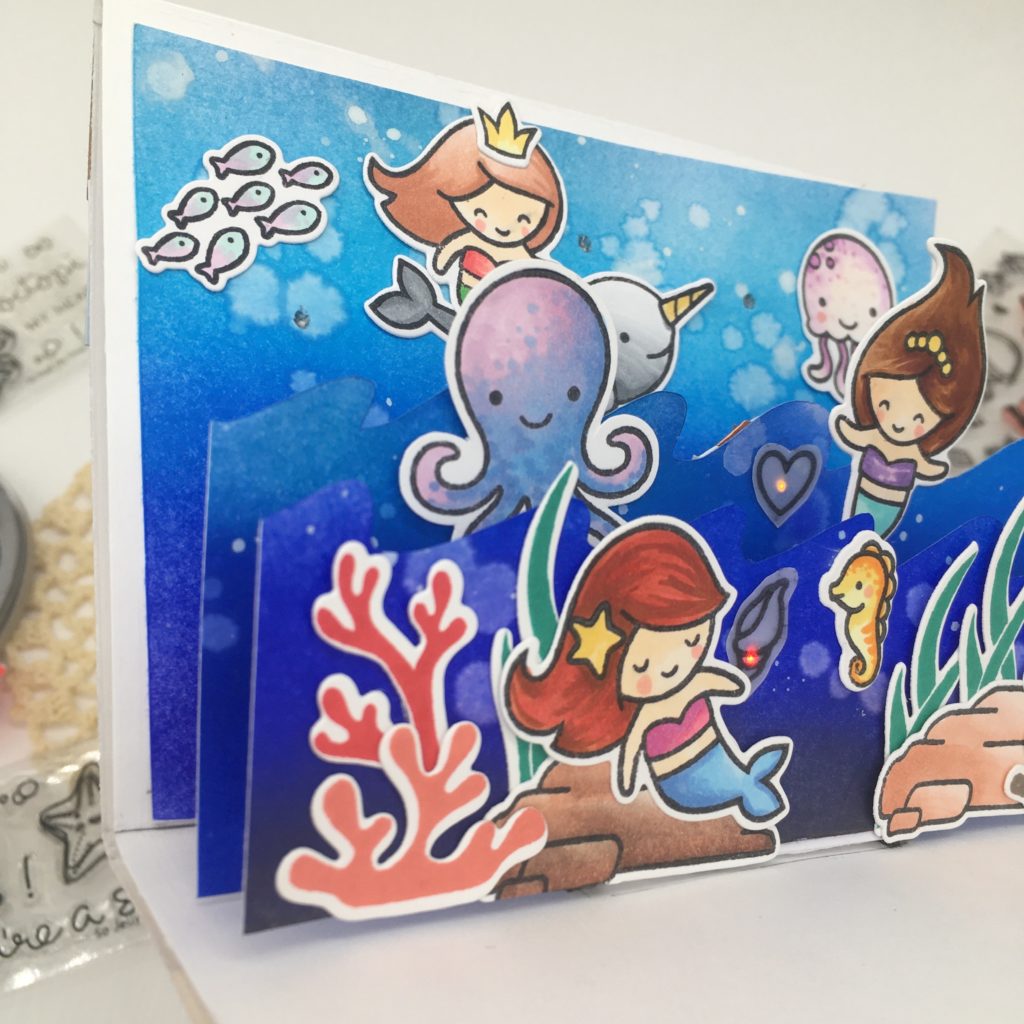
Light Up Pop Up Mermaid Card

Hello, friends! Today I'm up on the Chibitronics blog  with this cute light up pop up card featuring Chibitronics LED and Lawn Fawn Mermaid For You stamp set.
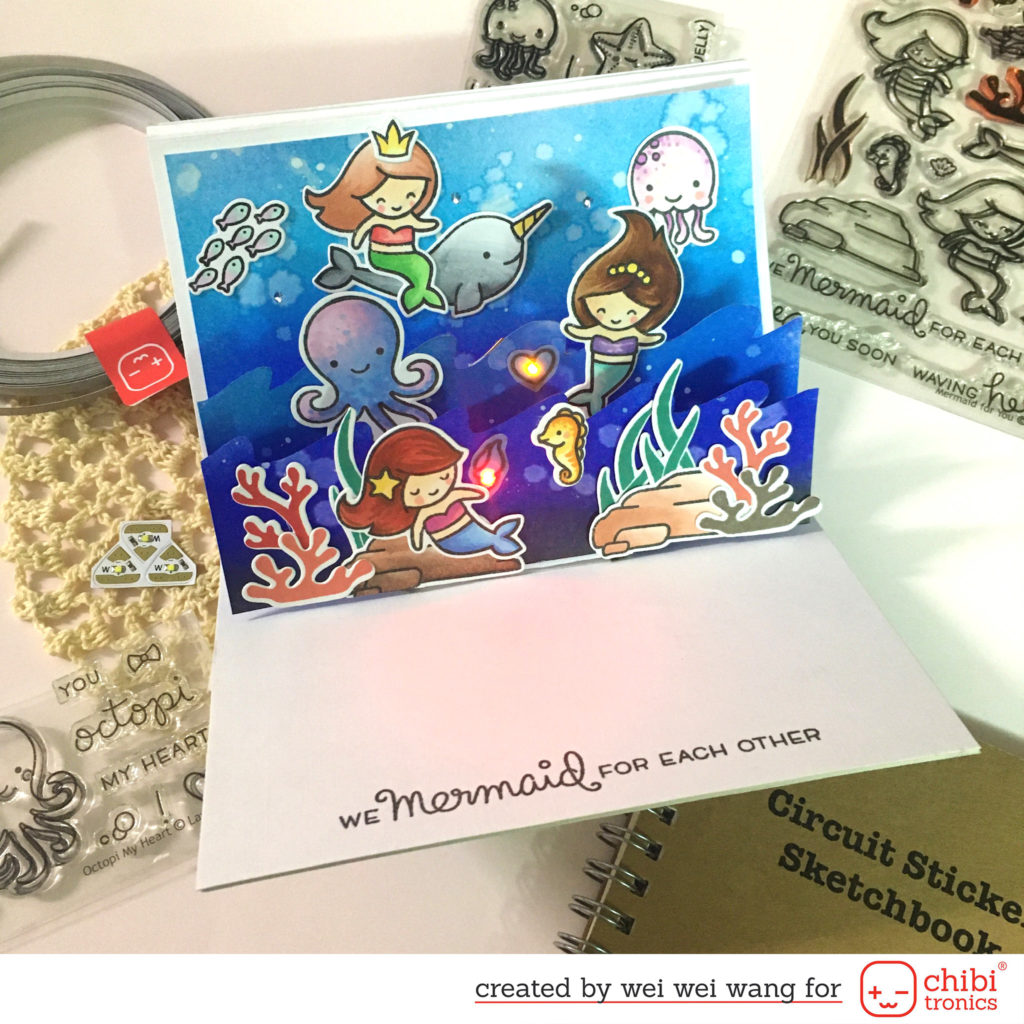
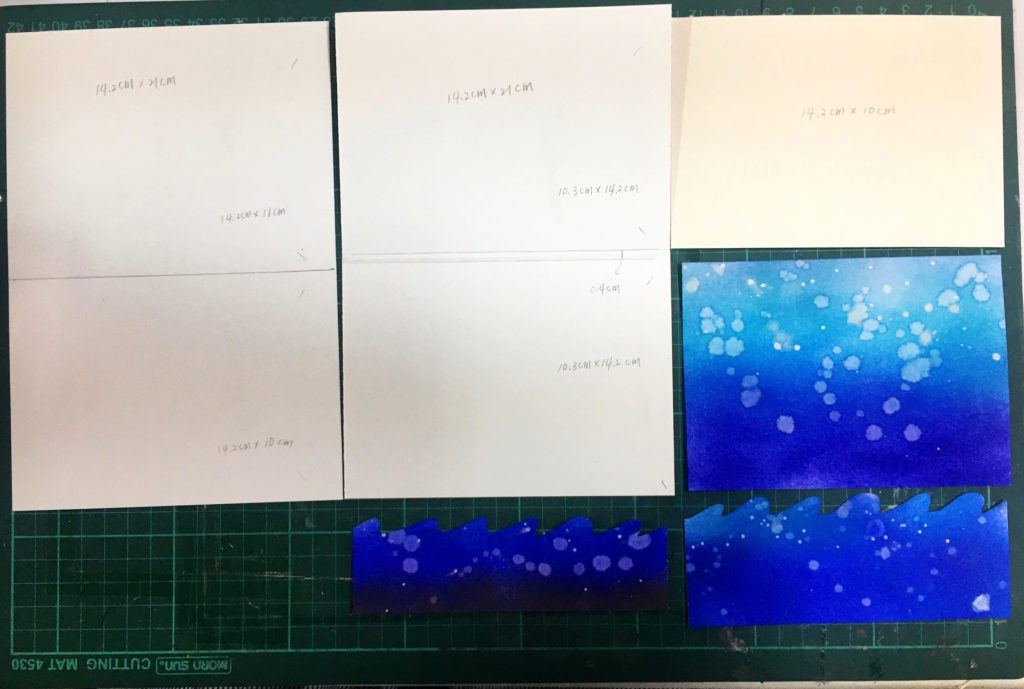
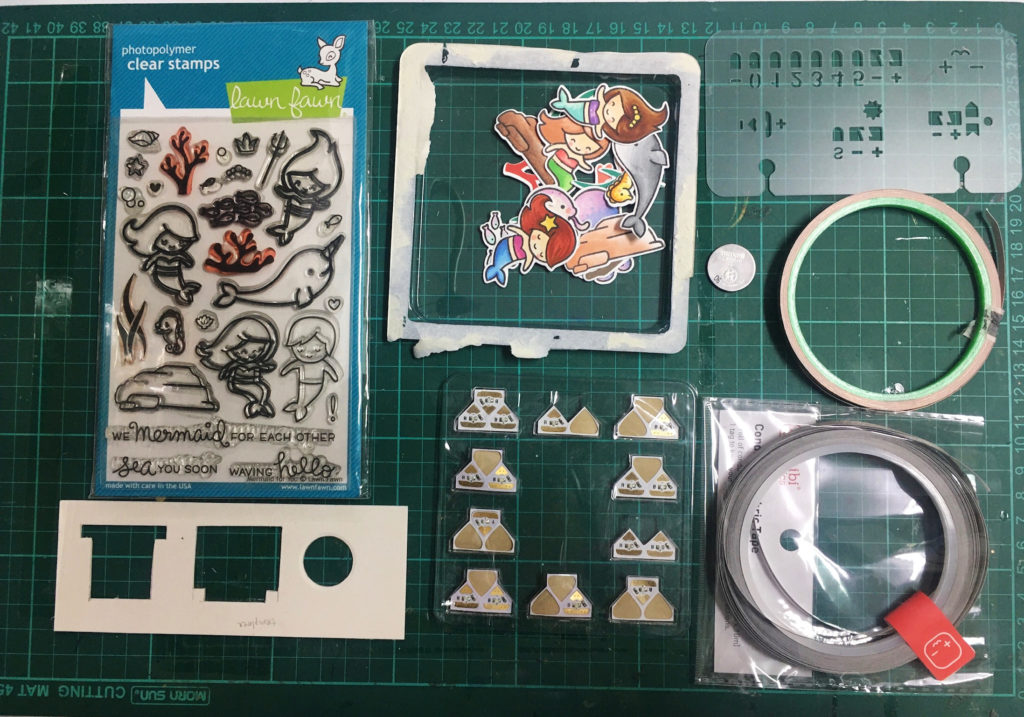
Here are my supplies:

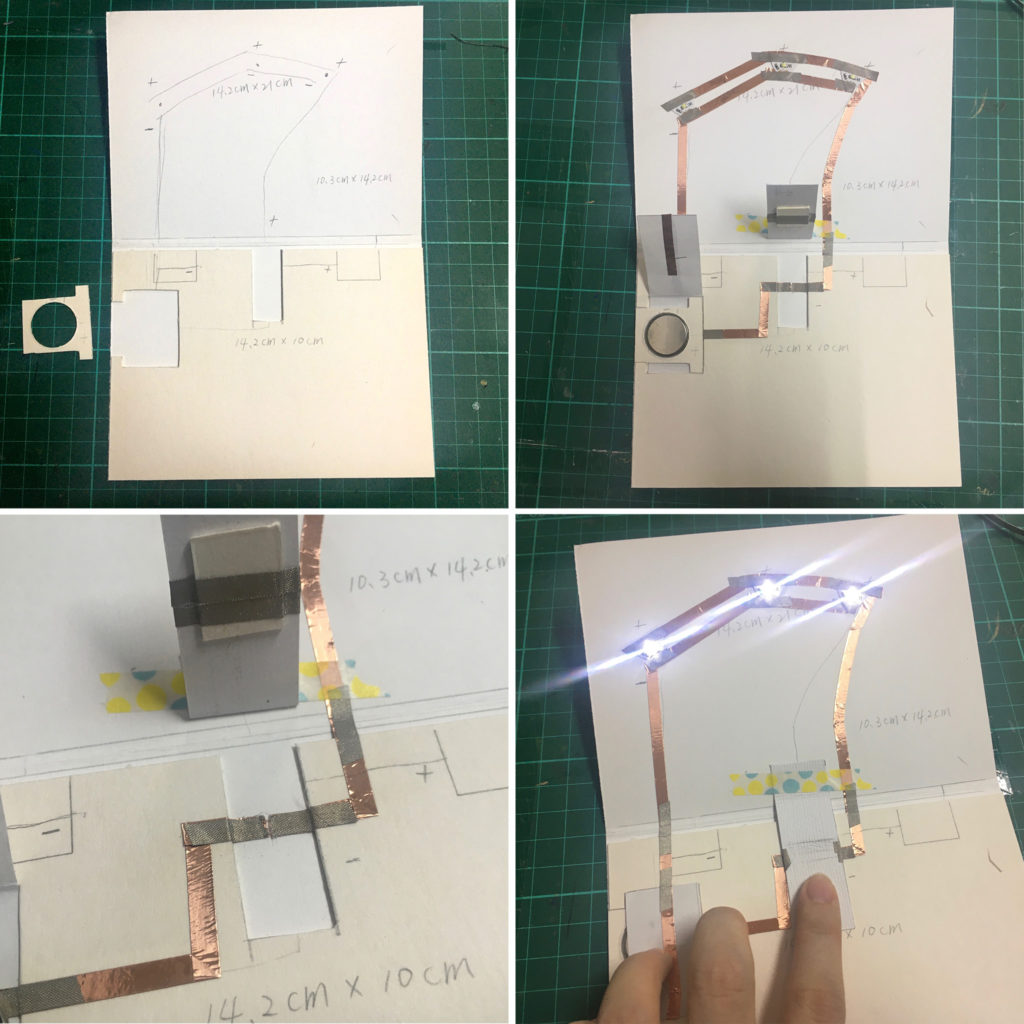
First, I drew the position of the battery holder and switch on the 14.2 x 20 cm white chipboard, and cut out. Then, I adhered the chipboard to the cardstock (14.2 x 21 cm white cardstock which is measured 10.3 cm, 0.4 cm, 10.3 cm in lengthwise and folded). Next, I built my circuit with Copper tape and Conductive Fabric Tape. I cut a tiny gap at the place where the switch made at there. For the switch, I adhered one piece of rectangle paper to the cardstock and I added a chipboard wrapped with Conductive Fabric Tape underneath the rectangle. The function of rectangle paper is just like pull tab.
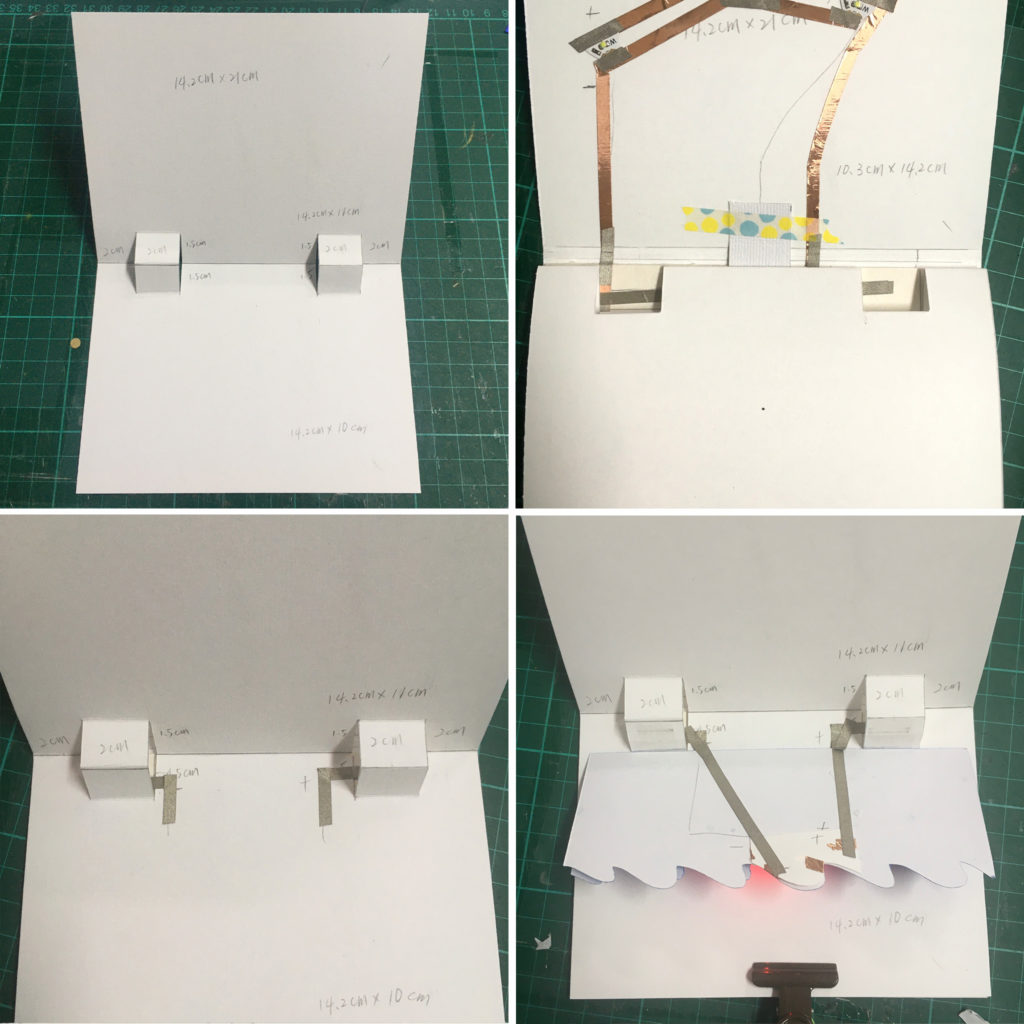
Next, I cut two pop ups on the another 14.2 x 21 cm white cardstock. (Measured 11 cm and 10 cm in lengthwise and folded ). I adhered the pop up cardstock on the chipboard and used Conductive Fabric Tape to connect the background circuit with wave circuit.

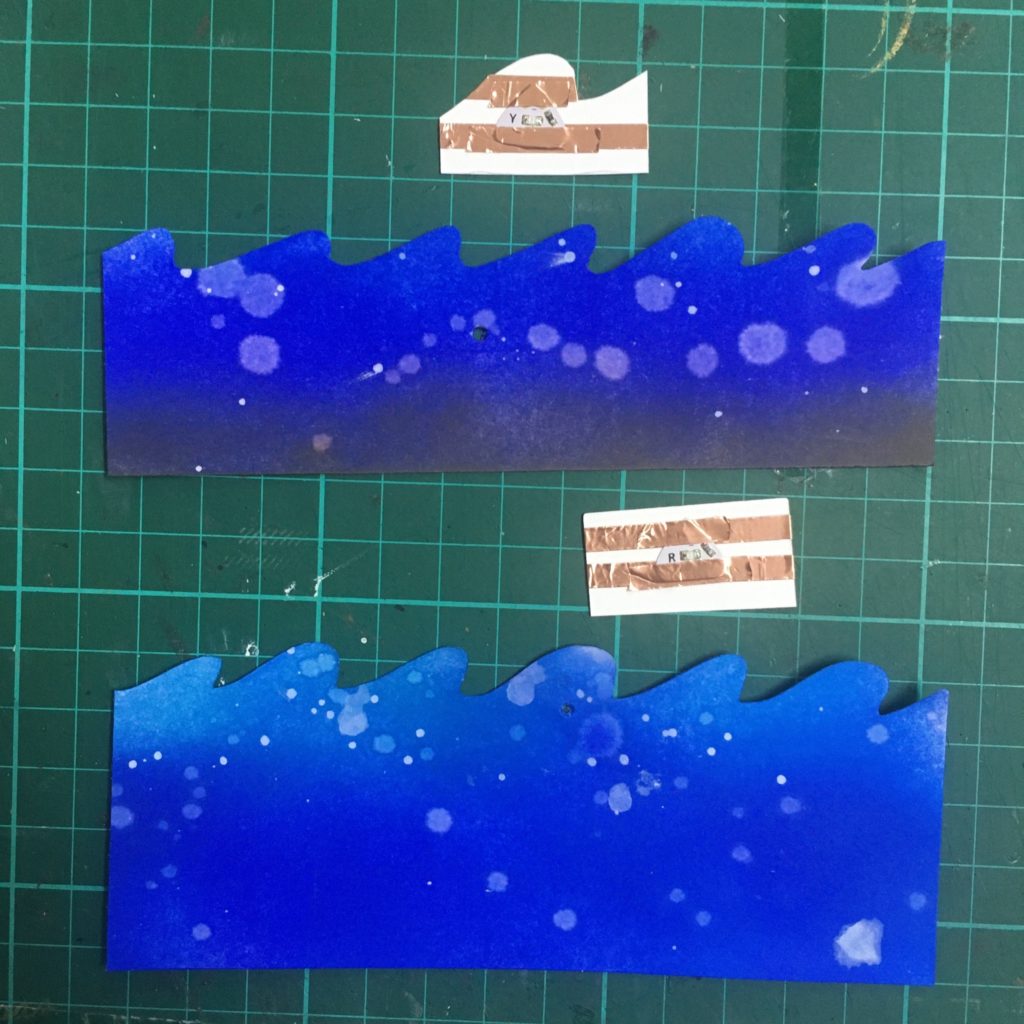
As you see, I added the yellow LED sticker and red LED sticker to other paper piece, and then adhered them behind the waves. To complete the whole circuit, I connected the wave circuit and LEDs with Conductive Fabric Tape.
I made a step by step video or you can watch it over on my YouTube Channel:

https://youtu.be/YRoOVXTwhuA

That is all from my side today. I hope you were inspired and give Chibitronics products a try!

Have a great day.

Thank you 

Wednesday, June 23, 2021

Light up volcano card

 Hello, friends!

Today I'm up on the Chibitronics blog with this cute volcano light up card featuring Chibitronics LED and Heffy Doodle Geology Rocks Clear Stamp Set.


For this card, I created a new switch which is different from what I used to do.

This switch is just like the simple single-pole (ON/OFF) switch in our real life. When you pull it to the right (turn on), the LED lights up, and in the opposite direction you turn off the light.


Here is the circuit I used:


I used a basic and simple circuit. What I want to introduce is the switch. In fact, the switch mechanism is the same as usual, I just reformed the “pull tab” to the “horizontal switch”.


There is a little gap on the bottom right corner in the circuit. When you toggle the level to the ON position (to the right direction), the copper on the switch closes the gate, completing the circuit. When you flip the toggle lever to the OFF position (to the left direction), the gateway opens up, interrupting the flow of power to the light.


The idea of battery holder is from our talented DT member June Lee, but I adjusted a little.

Here's the tip, the thickness of the battery holder should be the same as the battery.


I made a step by step video or you can watch it over on my YouTube Channel:


 The supplies I used are: Copper Tape, Red, Yellow, Blue MegaPack (30 stickers)


That is all from my side today. I hope you were inspired and give Chibitronics products a try!

Have a great day.

Thank you 

Wednesday, November 25, 2020

Light up card using pressure sensitive conductive plastic

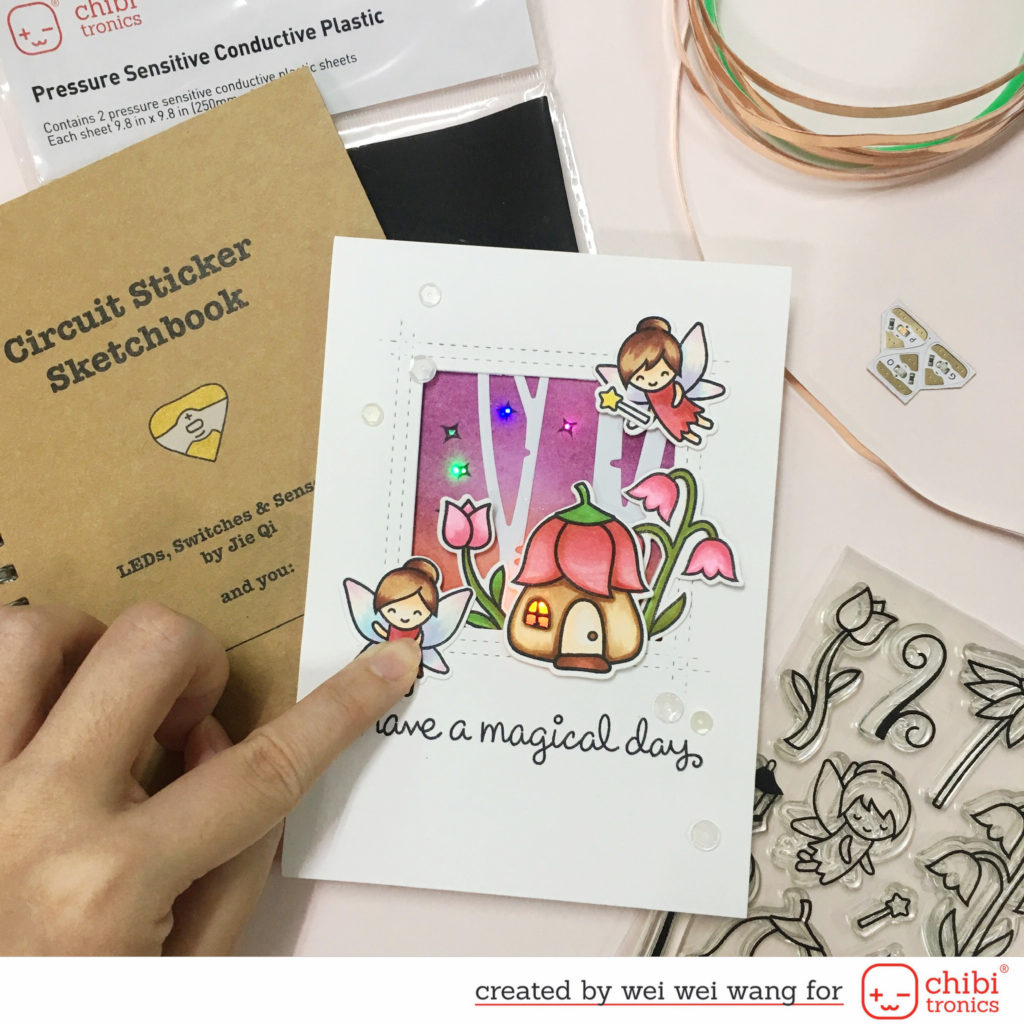
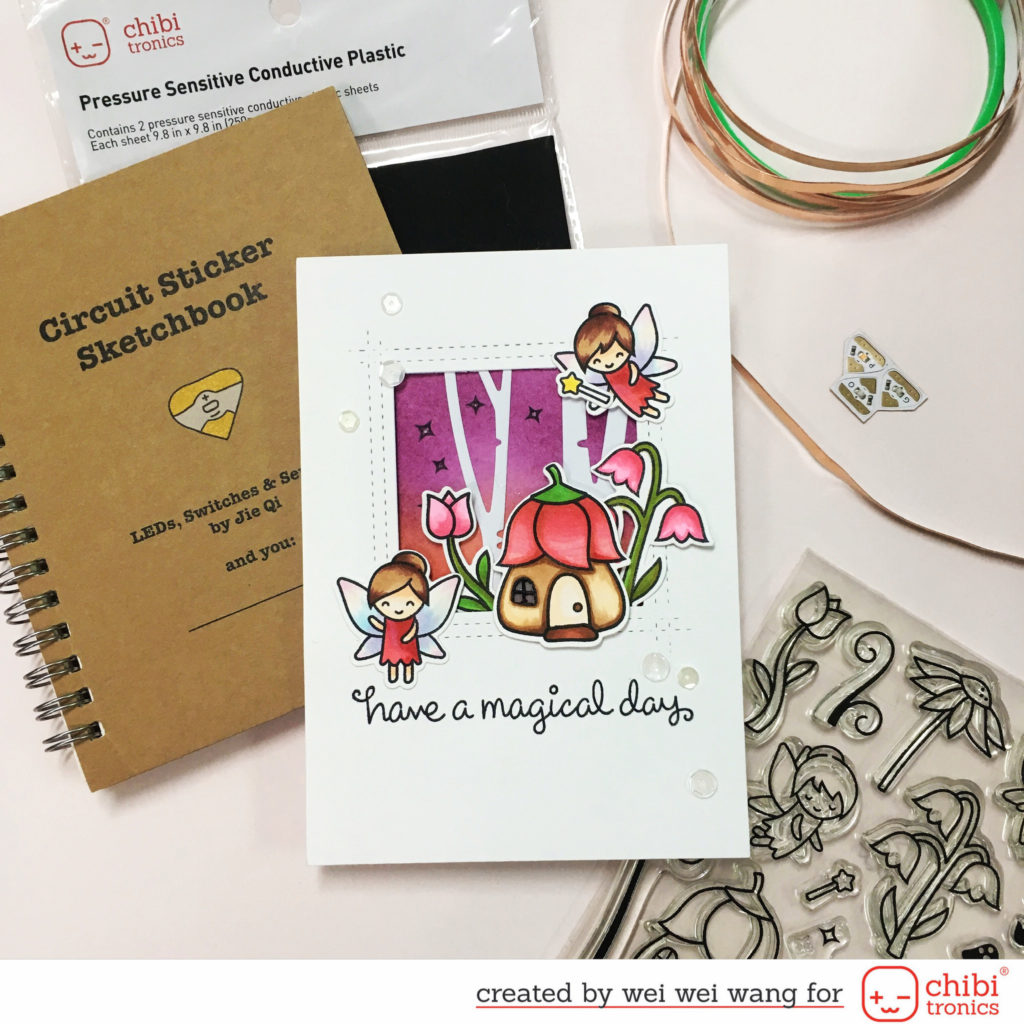
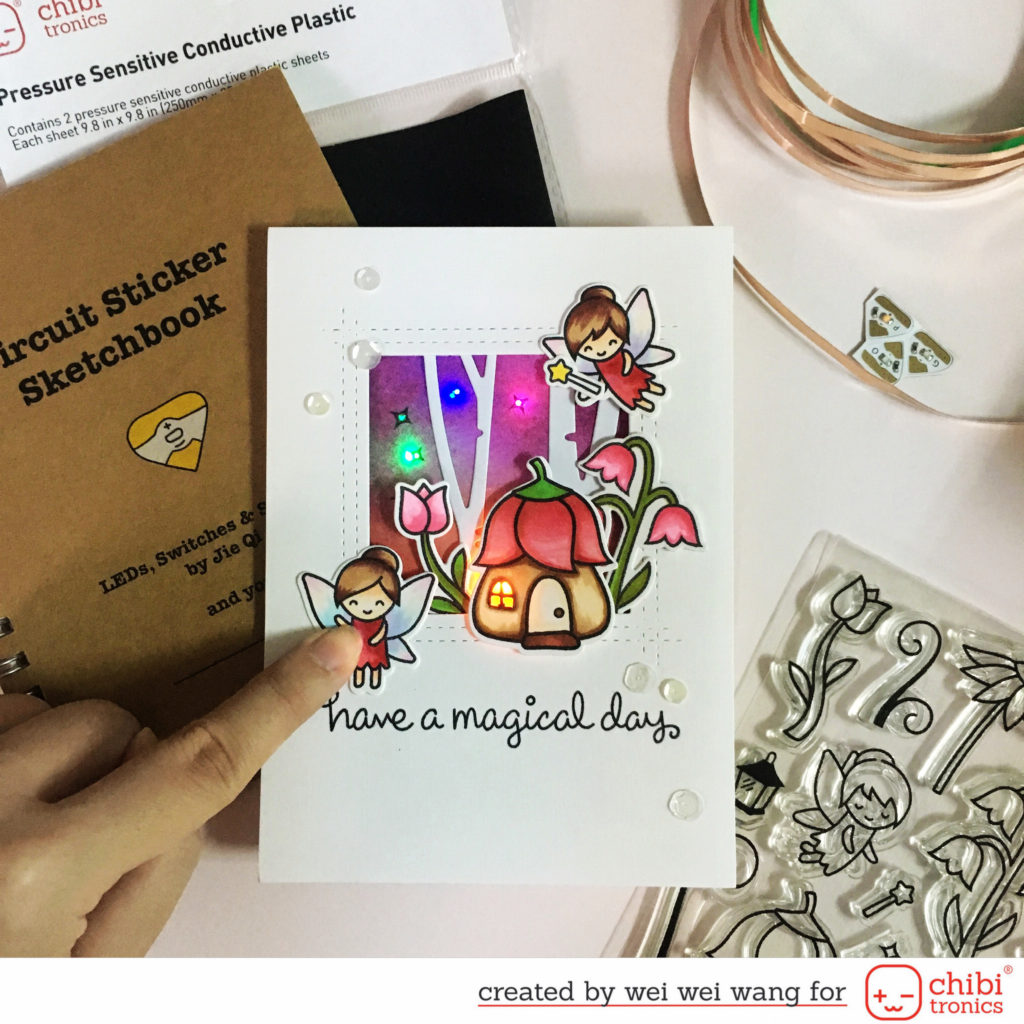
Hi friends, Today I am up on the Chibitronics blog with this adorable fairy friends card showcasing the pressure sensor conductive plastic.

This card is very easy to do. The only different is that I added the new product - pressure sensitive conductive plastic!

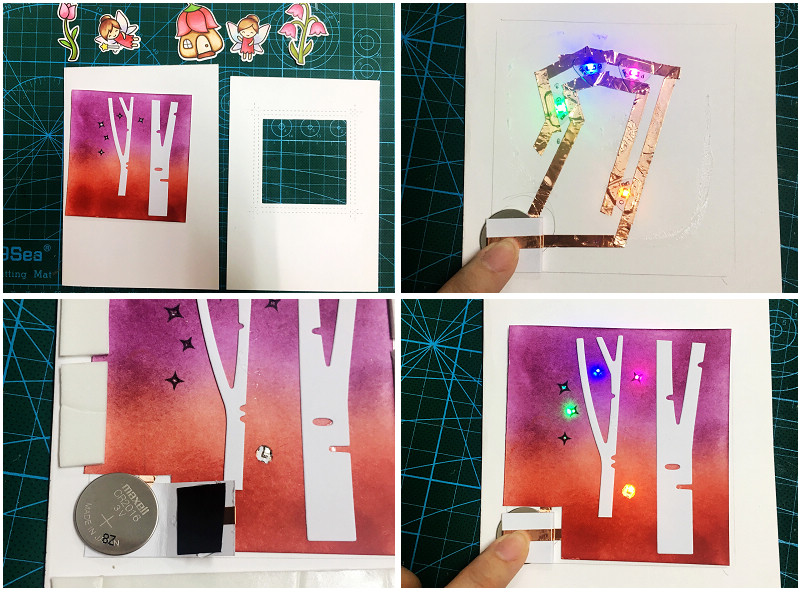
I started by creating the inking background with distress inks and blending tools. The little fairy friends, flowers and house are from Lawn Fawn. I stamped them in black, die cut and colored with Copic markers. I also cut tree using die cut.

Like always, the circuit I used is parallel circuit. I put a pressure sensitive conductive plastic on the battery holder. When you press, the light will become brighter the harder you press. This conductive plastic sheet is perfect for making DIY pressure sensors and adding a gentle fade in and fade out effect to your project.

After finished the circuit, I assembled those images and adhered them to my front card. To finish, I stamped the sentiment in black and added some sequins for more interest.

That is all from my side today. Thank you.

Sunday, October 25, 2020

Halloween Light Up Card Using Chibitronics Pressure Sensor Conductive Plastic and Lawn Fawn Stamp

Hi friends, It’s Wei Wei here. Today I would like to share this Halloween card showcasing the pressure sensor conductive plastic.

This conductive plastic sheet is perfect for making DIY pressure sensors and adding a gentle fade in and fade out effect to your project. Just sandwich a piece of this material between your paper switch to turn it into a pressure sensor!


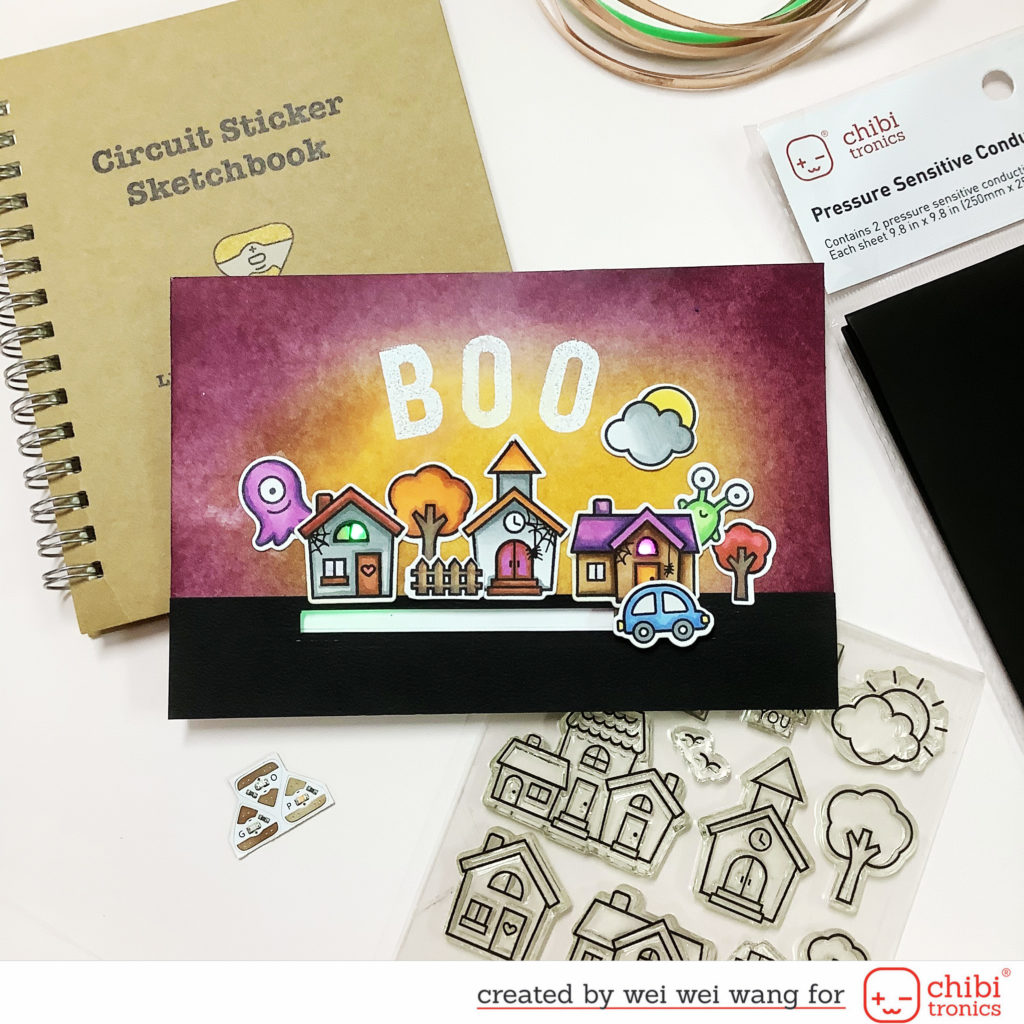
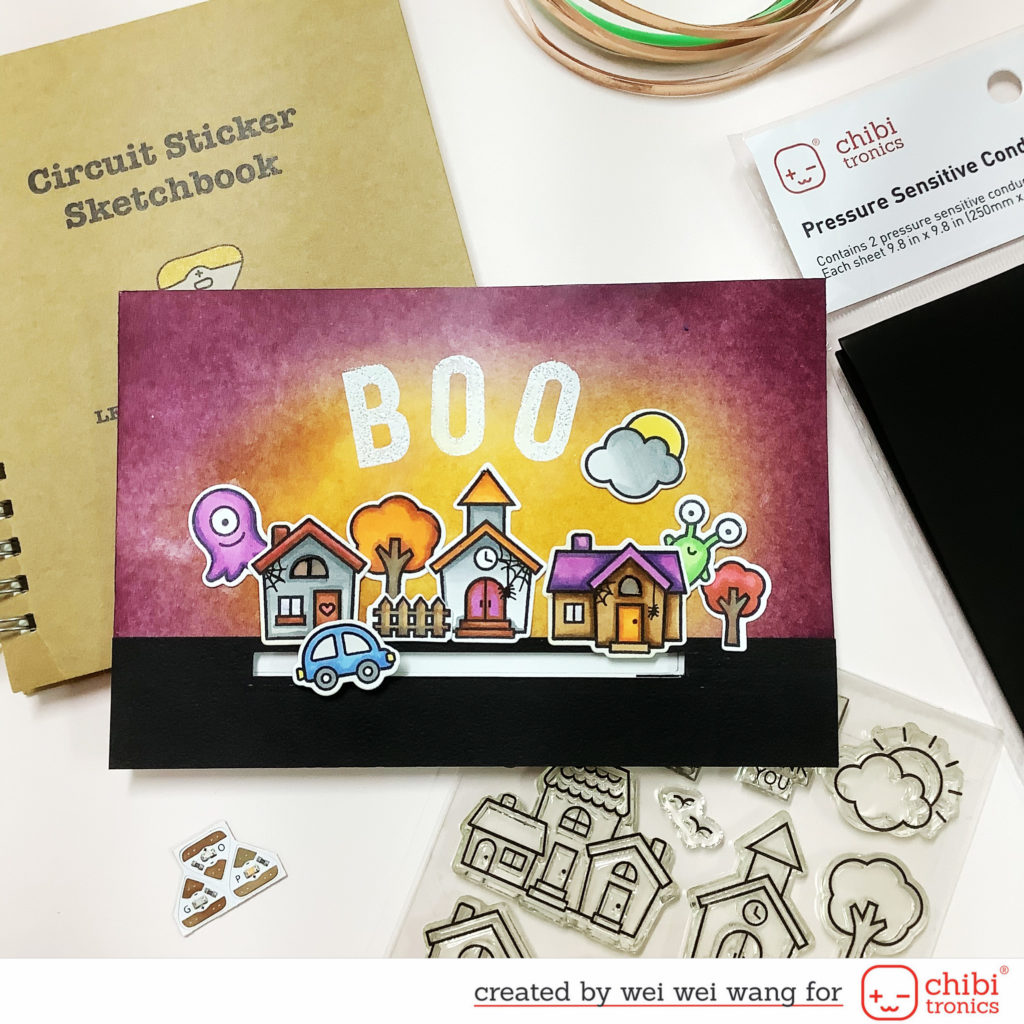
I started by creating the Halloween spooky background with distress inks and blending tools. The little house images are from Lawn Fawn. I stamped them in black, die cut and colored with Copic markers. I also cut a black paper sheet to be the road. Next, I adhered the black paper sheet to the inking background, and cut a path for driving the car.


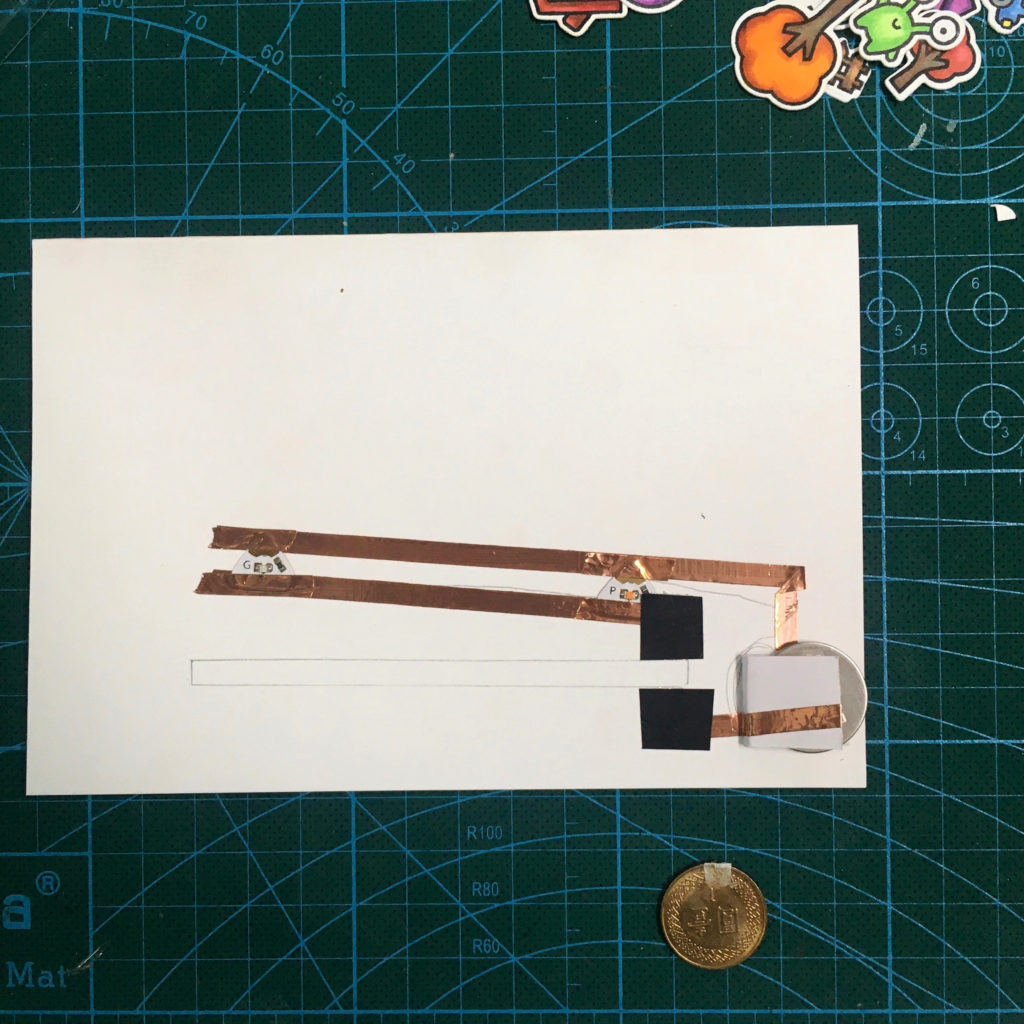
The circuit I used is below:


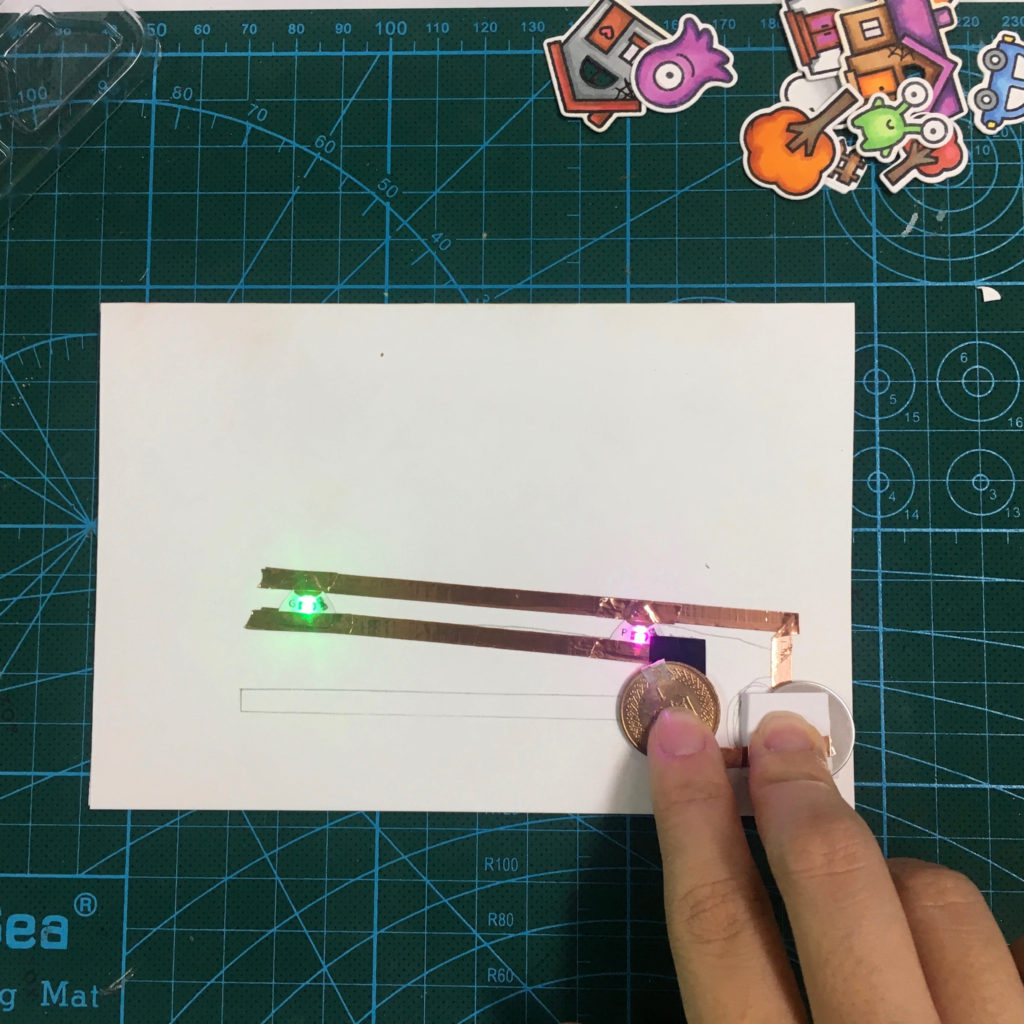
I used one penny to make the car into a spinner. Since penny is made of copper, it is a great conductor of electricity! When you slide the car from left side to the right of the card, the penny behind the car can conduct electricity, so the houses light up! I also added pressure sensor conductive plastic in order to get fade in and fade out effect.


You can check out a tutorial here that shows you how to make this card. please click my youtube channel.

That is all from my side today.

Friday, September 25, 2020

Light up + Double slider card

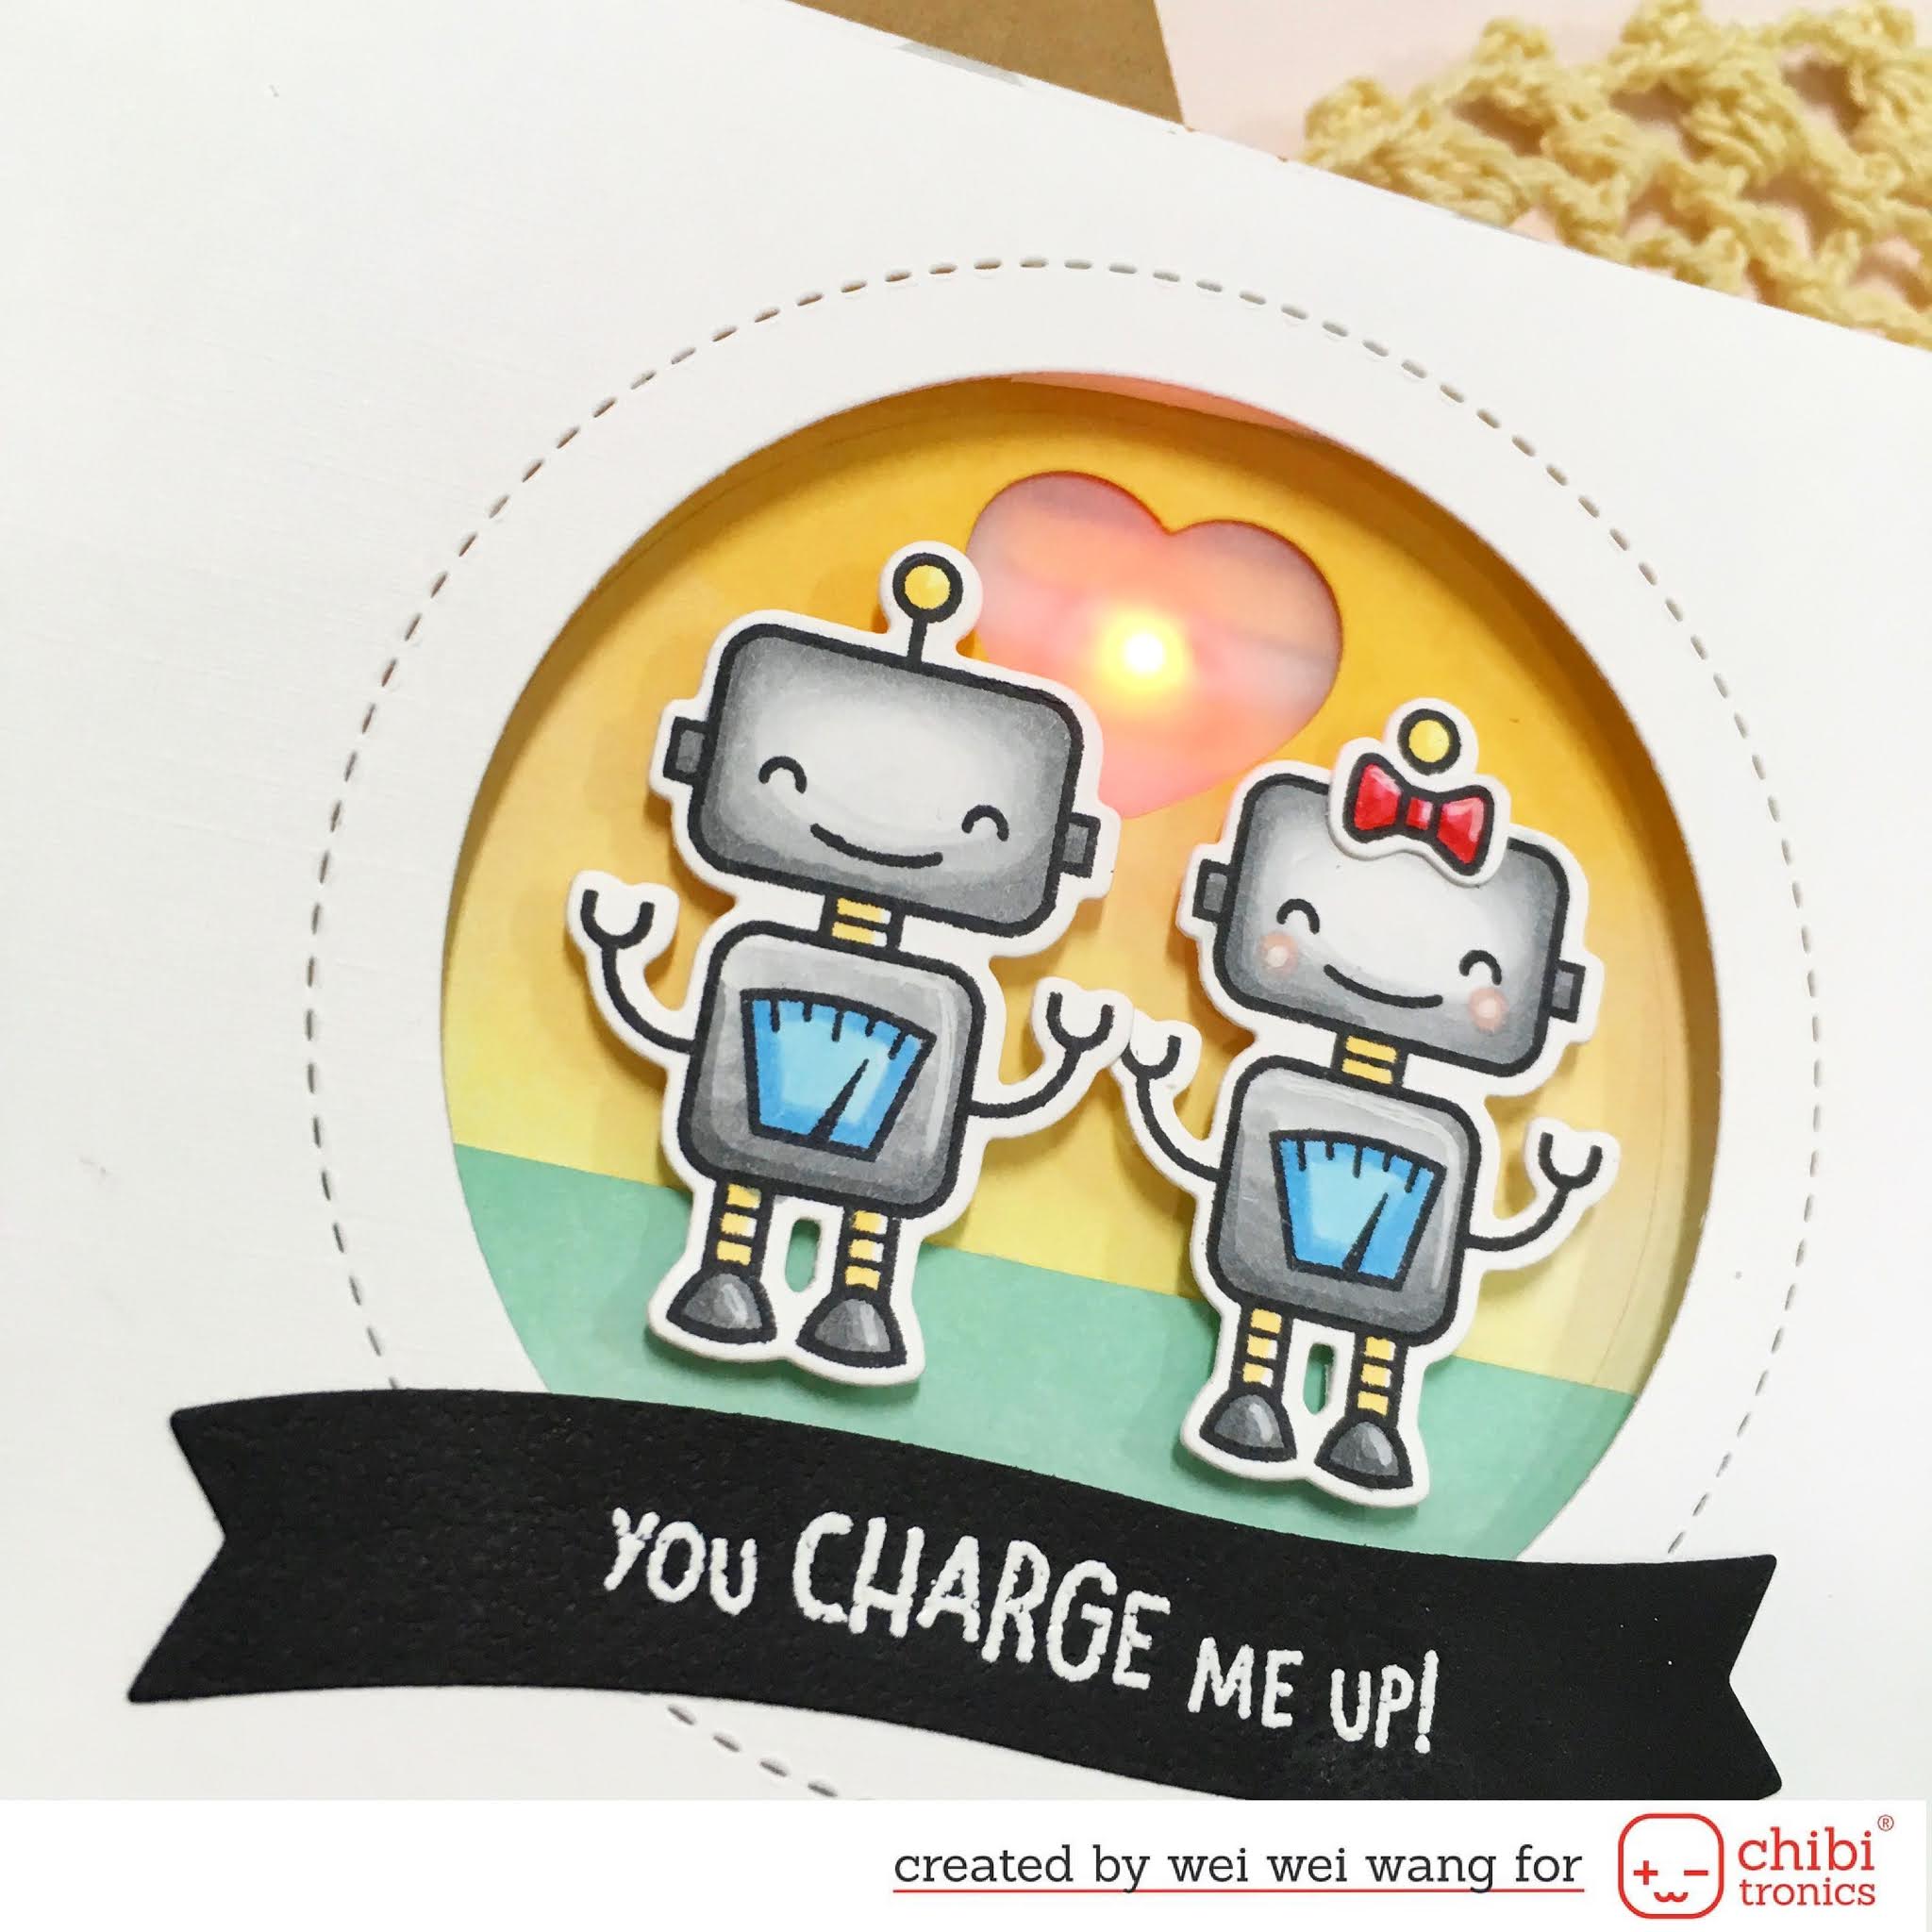
Hi friends! Today I'd like to share this light up + double slider card using Chibitronics red LED sticker and Lawn Fawn Charge me up stamp set.

Here is my card:


I also made a process viede to show how to create my LED circuit and double slider mechanism: https://youtu.be/8GOit84k0do


Thank you.

Saturday, April 25, 2020

pop up + light up card using Chibitronics and Waffle Flower stamp

Hi friends, Today I'm up at Chibitronics blog with this adorable pop up and light up card using Chibitronics Red, Yellow, Blue MegaPack (30 stickers) and Waffle flower stamp set.

There’s a video of the process at the end of this post if you want to watch that instead of reading.


I first stamped those adorable images in black, colored with markers and fussy cut out. I also used Distress inks and blending tool to create the background.


The photos above are my pop up mechanism. 


The photo above, I show you the circuit I used in my card.


I made a step by step video or you can watch it over on my YouTube Channel.


That is all from my side today. I hope you were inspired and give Chibitronics products a try!
Have a great day.

Thank you

Wednesday, March 11, 2020

Introduce: Rose and Daffodil digital stamp sets

Hi friends,
I'm introducing the gorgeous Rose digital stamp set and Daffodil digital stamp set!


I know you are dying to take a closer look at this two digital stamp set.


As you can see, this two digital stamps contains flowers, stem and leaves. The Daffodil digital stamp set even contains the entire flower.

Here are my cards.


Thank you for standing by.

Tuesday, March 10, 2020

Introduce: Fuchsia Flower and Hummingbird Digital Stamps

Hello friends! 
Thank you so much for joining me again.
 Today I'm revealing two sets from my very first collection! Just a reminder, all of my new products is available at ETSY (STAMPholicshop) for purchase!


--------------------------------------------------------------------------------------------------


The Fuchsia Flower digital stamp set includes some separate Fuchsia flowers and leaves and one stand alone Fuchsia flower set.
The Hummingbird digital stamp includes two separate birds and one sentiment.

You can resize, arrange or layer the these images easily on your computer, or you can print them out, fussy cut out, and layer them with glue or foam tape.

Here are my cards featuring this Fuchsia flower digital stamp and Hummingbird digital stamp.


Thank you for standing by! 

Related Posts Plugin for WordPress, Blogger...