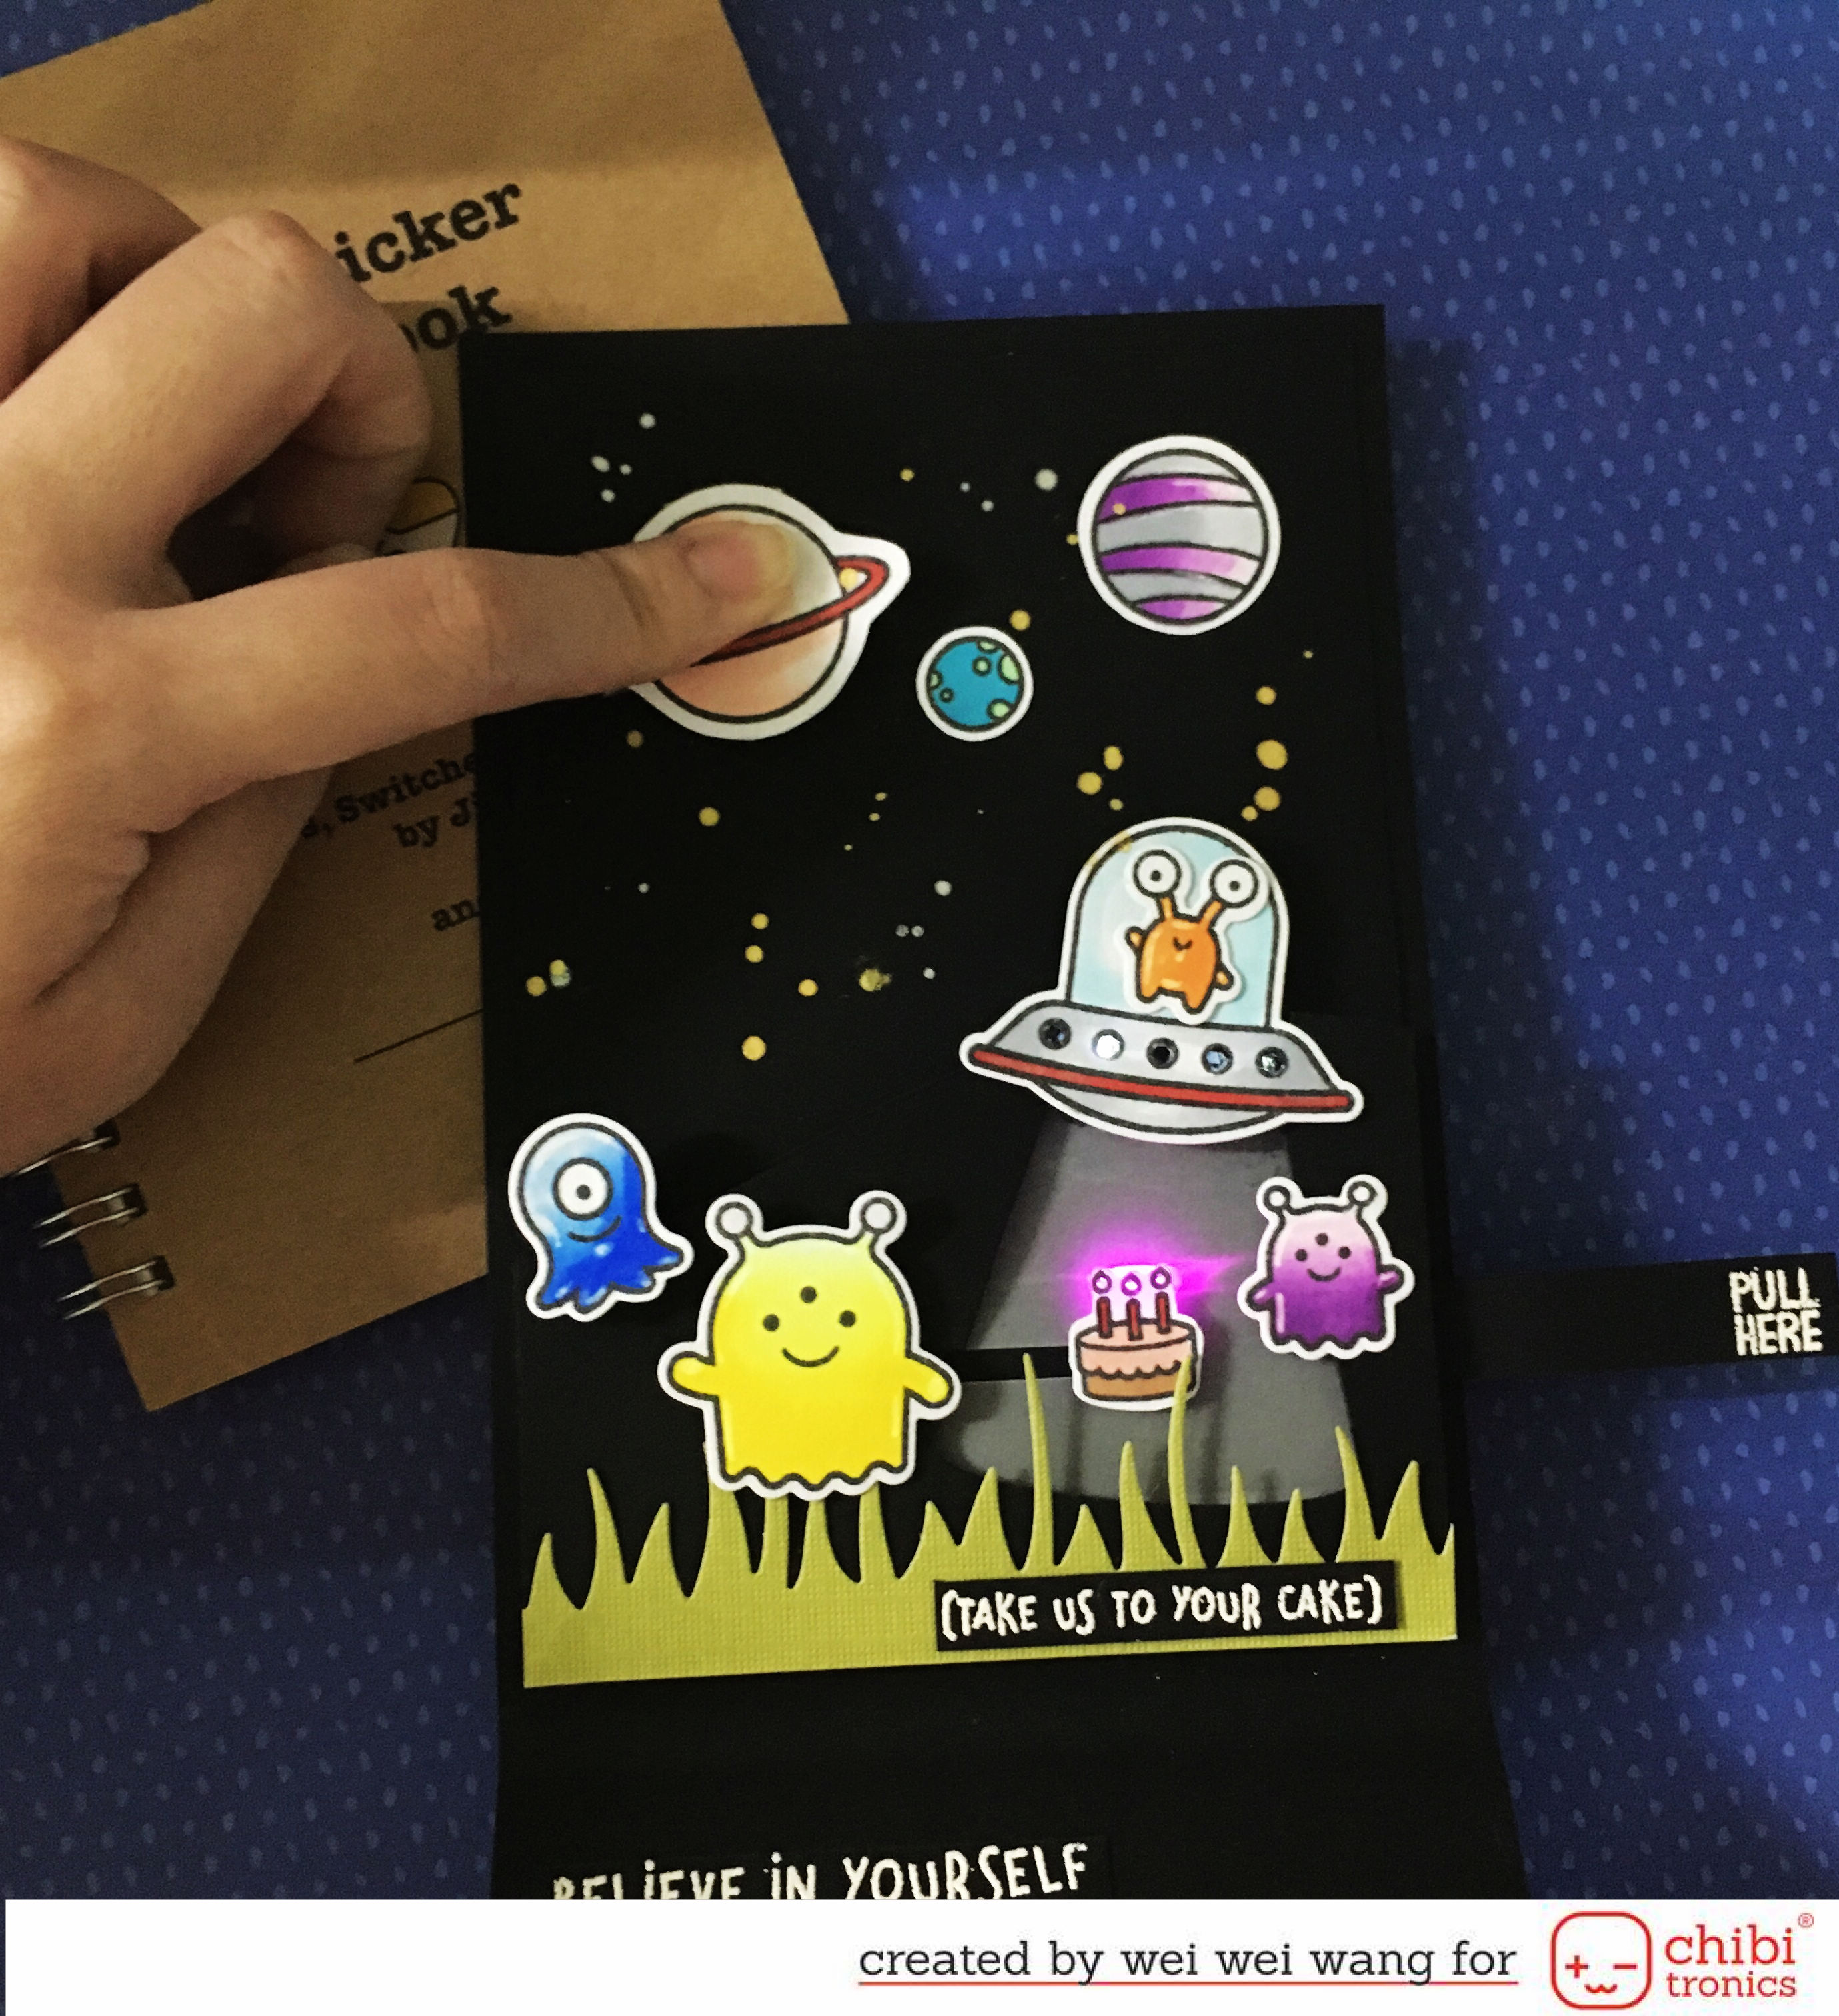
Showing posts with label interactive card. Show all posts

Saturday, December 7, 2019

【Interactive card process video】Slider light up card - intermediate level 【機關卡片教學】創意LED發光卡片 - 滑滑卡+發光卡 - 中階教學

Hi friends, Today I’ll be sharing how to create this slider light up card.

I’ll be using Chibitronics LED sticker and copper tape, coin and Squirrel Little Qua that drawn by myself to show you how. 


Squirrel Little Qua is skiing from the hillside to the street light. Once Little Qua arrival, the street light shines immediately!


I also made a step by step process video, if you don't want to take time to see my instruction, you can visit my YouTube channel to see more details.


I started by using soft and deep blue inks to create the background. I also drew the squirrel image and street light, colored them with marker and cut out.

 I prepared two hillside diecuts. I cut a slider track in the large one. Then, I used pencil to trace the slider track onto another panel.


I also measured the place where I'll put my battery and LED sticker. Then, I drew the circuit sketch. 
This circuit is very basic and easy to do. 
Please notice that I left a little gap beside the track.


For the battery holder, I prepared two piece of papers. One is 2.5cm*5cm, the other is 2.5cm*10.5cm.
I folded that 2.5cm*5cm paper in half, and glued it to the circuit panel.
Then, I divided that 2.5cm*10.5cm paper in four parts, each one is 2.5cm*2.5cm. And please notice that I left a little part 0.5cm*2.5cm.

I stacked the four parts and glued them together, so the thickness is as same as the battery. I also cut a hole which diameter is 2cm, and then put the battery into the hole.


Here's the tip, the thickness of layered battery holder should be as same as the battery, and the whole battery switch.

So how many times should you fold the paper? My answer is it depends on your paper, battery and foam tape.


After finished the batter switch, I taped down the copper tape along my pencil circuit sketch, and placed the LED sticker on top. I also applied copper tape to the both metal pads of LED sticker to increase the conduction.


That is all from my side today. I hope you were inspired!
Have a great day.
Thank you

The supplies I used are:


Monday, February 25, 2019

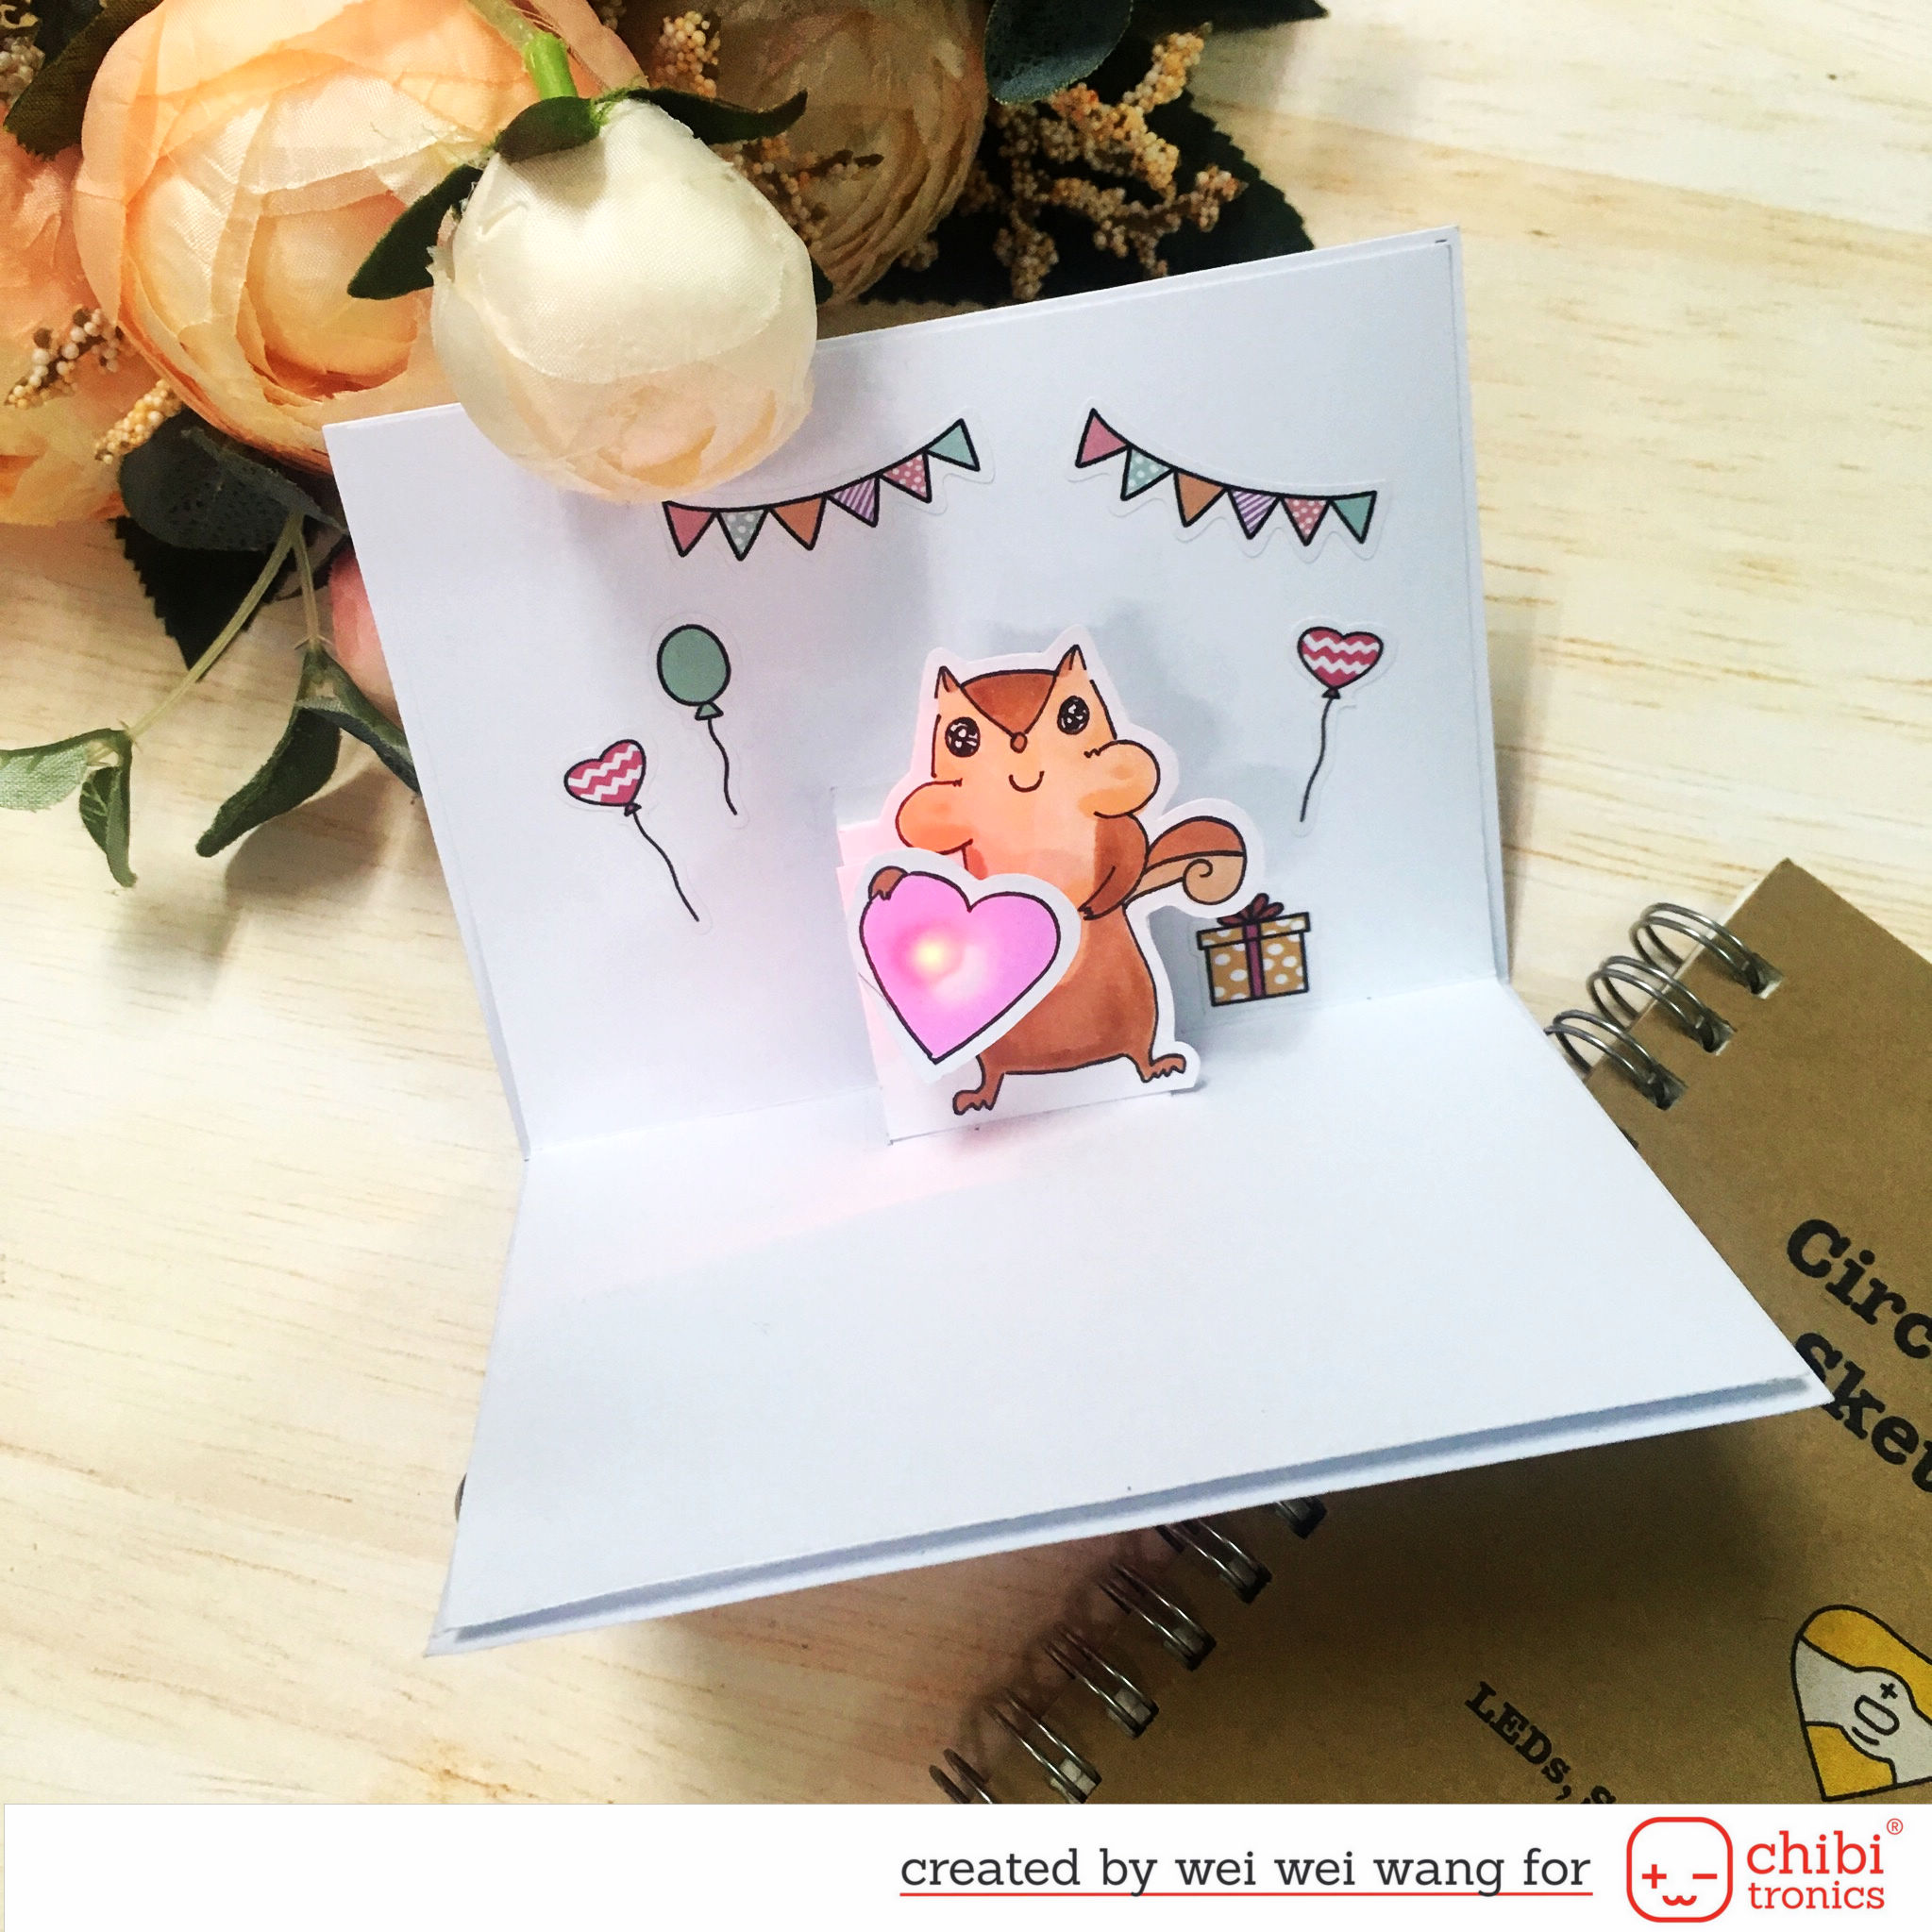
【Interactive card process video】pop up + light up card - Advanced Level【機關卡片教學】創意LED發光卡片 +立體卡 - 高階教學

Hello everyone ! Today I’ll be sharing how to create a heart pop up card along with Chibitronics LED light.
There’s a video of the process at the end of this post if you want to watch that instead of reading.


Sunday, November 25, 2018

FINDING HAPPINESS - parallel circuit Light up card - Basic Level【機關卡片教學】創意LED發光卡片 - 並聯電路 - 基礎教學

Today I have this winter vibes card featuring Chibitronics LED stickers, Avery Elle as well as Lawn Fawn stamp sets.


I started by creating the North Light background with watercolor. I also stamped starry images in white to make the background more interest.

I stamped the adorable images in black, colored them with markers and die cut.


Next, I punched some holes to the background, and then sketched the holes on white card base with pencil.


For the circuit, I used parallel circuit template. After stuck the copper tape, I added some blue, green, purple and white LEDs. 


I adhered white hillside and tore-up vellums to the background.  
Finally, I adhered the images with foam tapes and embellished the "FINDING HAPPINESS" sticker.


That is all from my side today. I hope you were inspired and give Chibitronics products a try!
Have a great day. 
Thank you

The supplies I used are:
Thursday, October 25, 2018

Light up Halloween card

Hi, it’s time for sharing a Halloween card!
Today I have this Halloween card featuring Chibitronics LED stickers and Lawn Fawn stamp sets.

Tuesday, September 25, 2018

Halloween light up card

Hello, friends!
Today I'm up on the Chibitronics blog with a Halloween card I made using some Chibitronics LED stickers and squirrel stickers named Little Qua designed by myself recently.

There is a video linked at the end of this post, so if my written instructions are unclear, watch that and it should all make sense.

Saturday, August 25, 2018

underwater shaker light up card

Hello, friends!
Today I'm up on the Chibitronics blog to share this underwater shaker light up card featuring Chibitronics LED stickers and Lawn Fawn stamp set!


First, I started by creating the background with distress inks and blending tool.
Next, I stamped the images from the Lawn Fawn stamp set with Black Ink and used the ZIG real brush pens to color the images.


 Afterward, I cut the circle on the center of inking background for the shaker window and then set the die cut circle on another white cardbase.

 For the circuit, I drew circuit template around the inking circle on the cardstock and stuck the copper tape over the template, and then stuck yellow, blue and green LEDs.

I hidden the battery behind the stone image and didn’t glue the stone image closely to the card front, so the battery can be remove easily!

Before gluing down my images onto the card front, I added some shaker elements to the shaker window. Then I glued down the fussy-cut images.

In the end, I stamped the “happy birthday” on the right corner of my card.

Here’s the step by step video or you can watch it over on my YouTube Channel:


That is all from my side today. I hope you were inspired and give Chibitronics products a try!
Have a great day.

Thank you


The supplies I used are:

Wednesday, July 25, 2018

light up fire dragon card - Basic Level【機關卡片教學】創意LED發光卡片 - 基礎教學

Hello, friends!
Today I'm up on the Chibitronics blog to share this adorable light up fire dragon card featuring Chibitronics LED Sticker and The Sweet Stamp stamp set!


First, I started by stamping the fire dragon in black and coloring with markers.


I then stamped the fire image onto another paper and cut out for LED light through. 

The circuit in this card is very simple. I drew circuit template on my cardstock and stuck the copper tape over the template, and then stuck one red LED. 

I created a removable battery cover on this card.
 I chose the " dragon" as my battery cover door and then adhered velcro tape to the back of " dragon" and my background.

In this way, you can detach and attach the battery cover door easily!


The supplies I used are:

Hope you liked today inspiration card!
Thank you

Friday, May 25, 2018

light up diamond card using Winnie and Walter stamp

Hello, friends!
Today I'm up on the Chibitronics blog to share this light up diamond card featuring Chibitronics LED Sticker and Winnie and Walter My Precious stamp set!


First, I started by creating the background with heat embossing diamonds in white and adding colors with watercoloring.
 After color dried, I stamped the heart-shaped diamond in black and cut out for LEDs light through. 

For the circuit, I drew parallel circuit template on the black card base. After stuck the copper tape over the template, I stuck some white LEDs. 

Instead of using pink LED stickers, I used white LEDs in this card. To get the pink light effect, I colored white LEDs with red marker!

Then, I heat embossed the other heart-shaped diamond in gold, and colored with pink marker. I also adhered some copper tape behind the diamond, so when you press the diamond, the copper tape which is behind the diamond will contact the circut and the LEDs will light up!


Here's a close-up photo.


Here’s the step by step video or you can watch it over on my YouTube Channel:


The supplies I used are:


Hope you liked today inspiration card!
Thank you

Wednesday, May 23, 2018

Light up cards using Chibitronics and Winnie and Walter stamps

Hello, friends!!!
Today is the collaborative blog hop for Winnie and Walter and Chibitronics.


How fun is it ? There're many talented DT creations in this hop. 
To celebrate this event, there are two prizes to give: a Chibitronics $30 starter kit and Winnie and Walter $30 gift certificate! (Each comment in this blog hop left by Tuesday, May 29th will be eligible for a chance to win!) 

Please visit all the hop stops and comment for the most chances to win!!!

Here is my DT card:


This is a interactive pop up card featuring Happy Dance stamp set from Winnie and Walter.
The party balloons light up while opeing the card! How fun is it ?


For this card, I added four LED stickers behind the balloons.
I didn't use copper tape but use copper threads from wire which is unuseful. I think this make good use of waste material.

I make copper threads pass throung the tiny holes on the LED stickers and adhered with copper tape. 


Next, I created the circuit on another card, and then connected the copper threads and circuit with fabric tape patches. 

For the switch, I started off cutting the slit with an exacto knife. I also cut a sheet paper which function just like "pull-tab" . 

The mechanics attached underneath the "pull-tab" is the thing that two squares folded in half, butting up against each other and wrapped with copper tape. That will bridge the gap in the circuit to turn the lights on.


As this photo shows, when the card is closed, the "pull-tab" can not bridge the gap in the circuit. On the contrary, when the card is opened, the "pull-tab" can bridge the gap, and the LEDs light up.


You can check out a tutorial here that shows you how to make this card, or click my youtube channel.


The supplies I used are:
Happy Dance stamp set from Winnie and Walter


Your next stop is talented  Kelly Griglione! Don't forget to visit her!

Chibitronics Blog
Jessica Frost-Ballas
Eiko Uchida
Kelly Szafron
Wei Wei Wang <------ you are here!
Kelly Griglione
Tiffany Au
Lesley Oman
Maya Isaksson
Vanessa Amann
Gayatri Murali
Heather Hoffman
Jessica Lin
Kate Capper
Keren Baker
Lea Lawson
Lydia Evans
w&w blog

Wednesday, April 25, 2018

light up mermaid card 手作卡片

Hello, friends!
Today I'm up on the Chibitronics blog to share this light up mermaid card featuring Chibitronics white LED Sticker and Lawn Fawn mermaid for you stamp set!


I am using Lawn Fawn stamps on my card today. There’s a video of the entire process at the end of this post if you want to watch that instead of reading.

Monday, April 2, 2018

Light up jellyfish card for Stamping For Autism Awareness blog hop

Hi friends, this is a cardmaking blog hop organized by Tenia Nelson and Veronica Zalis for autism awareness! 

Here is my card. I light jellyfish up blue using Chibitronics lights.


Sunday, March 25, 2018

Light up lantern cards

Hi, today I have two lantern cards to share.

The Lantern Festival falls on the 15th day of the 1st lunar month, usually in February or March in the Gregorian calendar. On the night of the Lantern Festival, people traditionally carry lanterns, eat sweet glutinous rice balls. Answering riddles is another traditional activity.
Sky Lantern Festival in Pingxi, Taiwan is one of the important events accompanying the Lantern Festival. In Pingxi Sky Lantern Festival, people write their wishes for the coming year on paper lanterns and release them into the sky. This festival is very popular but I think the remains of the paper lanterns pollute the environment. So I prefer to make light up lantern cards rather than fly lanterns into the sky.

Here are my cards:

Sunday, February 25, 2018

Thursday, February 15, 2018

Light up cards using Chibitronics and MFT stamps

Hello, friends!!!
Today is the collaborative blog hop day 1 for MFT stamps and Chibitronics. 


How fun is it ? There're many talented DT creations in this hop. 
To celebrate this event, MFT is giving away a $50 gift card to one commenter and Chibitronics is giving away a starter kit to one commenter. 

Please visit all the hop stops and comment for the most chances to win!!!


I have two cards to share using a few of the MFT and Chibitronics products.


Related Posts Plugin for WordPress, Blogger...