
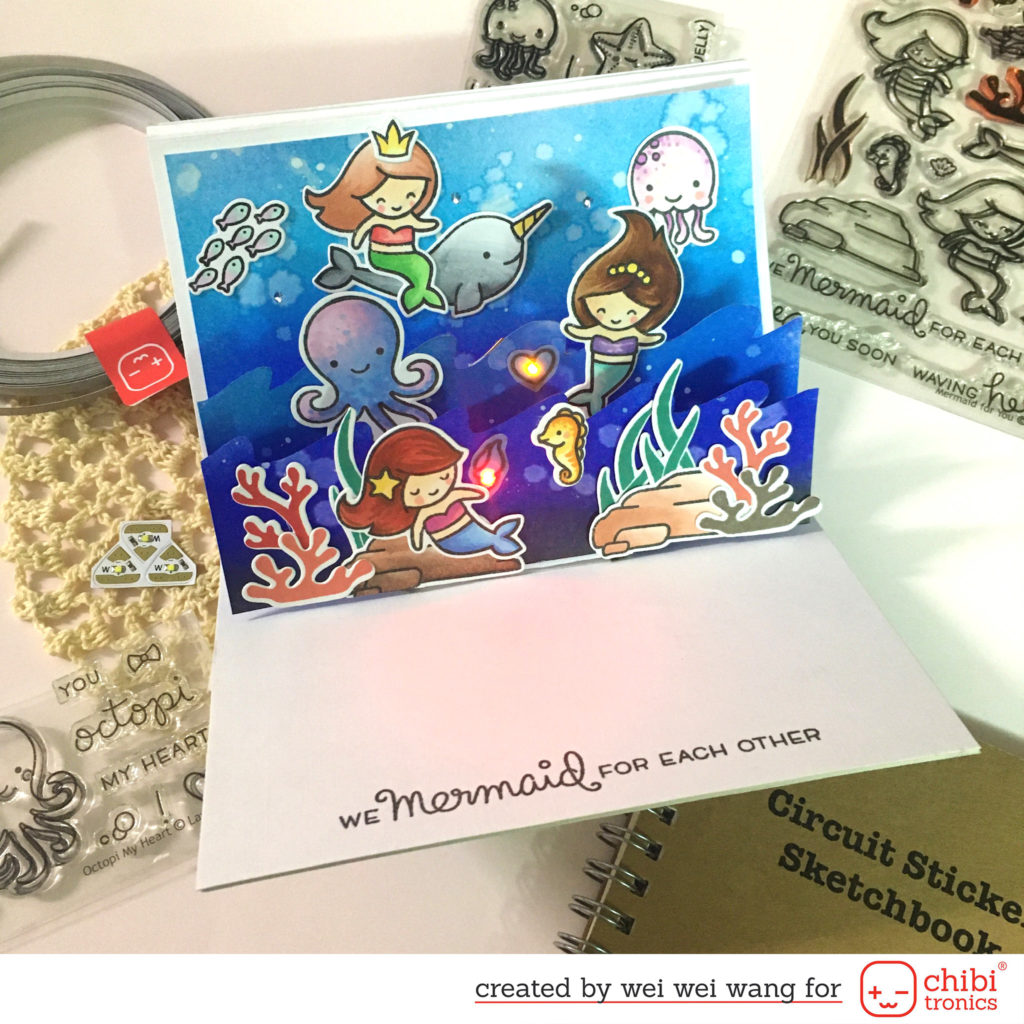
Hello, friends! Today I'm up on the Chibitronics blog with this cute light up pop up card featuring Chibitronics LED and Lawn Fawn Mermaid For You stamp set.

Here are my supplies:
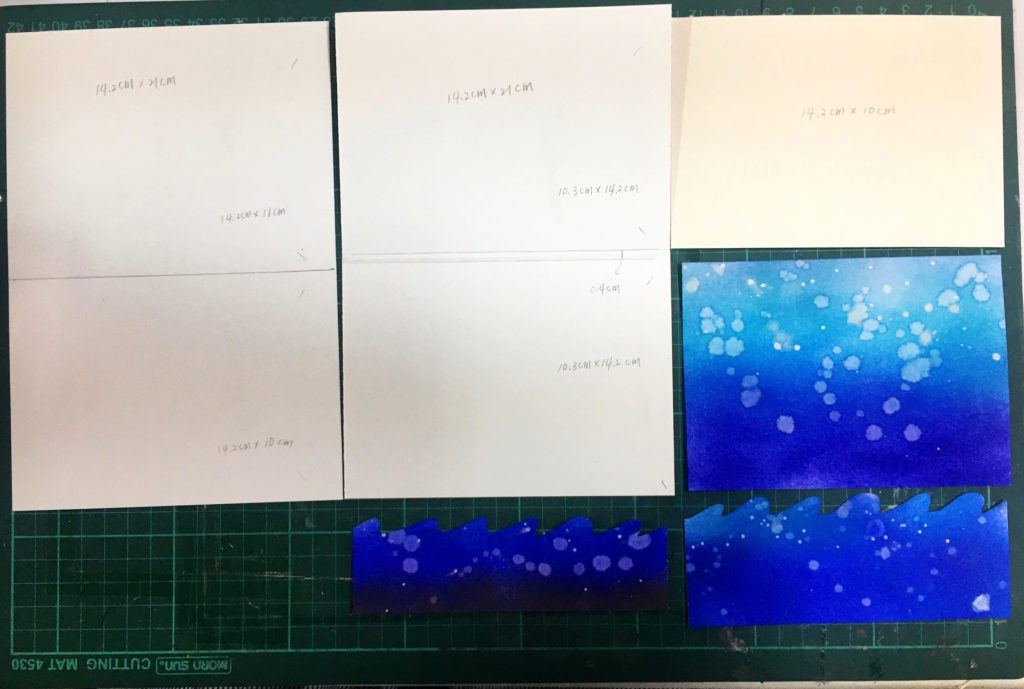
- One 14.2 x 21 cm white cardstock. (Measure 11 cm and 10 cm in lengthwise and fold )
- One 14.2 x 21 cm white cardstock. (Measure 10.3 cm, 0.4 cm, 10.3 cm in lengthwise and fold)
- One 14.2 x 20 cm white chipboard which thickness is approximately 0.1 cm, is as same as the CR2016 battery.
- Two inked waves and one inked background.
- CR2016 battery
- Lawn Fawn Mermaid For You stamp set
- Chibitronics Red, Yellow, and Blue LED Sticker Pack
- White MegaPack (30 LED stickers)
- Copper tape
- Conductive Fabric Tape
- Love to Code – Drawing Stencil
- Battery holder template made by myself

First, I drew the position of the battery holder and switch on the 14.2 x 20 cm white chipboard, and cut out. Then, I adhered the chipboard to the cardstock (14.2 x 21 cm white cardstock which is measured 10.3 cm, 0.4 cm, 10.3 cm in lengthwise and folded). Next, I built my circuit with Copper tape and Conductive Fabric Tape. I cut a tiny gap at the place where the switch made at there. For the switch, I adhered one piece of rectangle paper to the cardstock and I added a chipboard wrapped with Conductive Fabric Tape underneath the rectangle. The function of rectangle paper is just like pull tab.
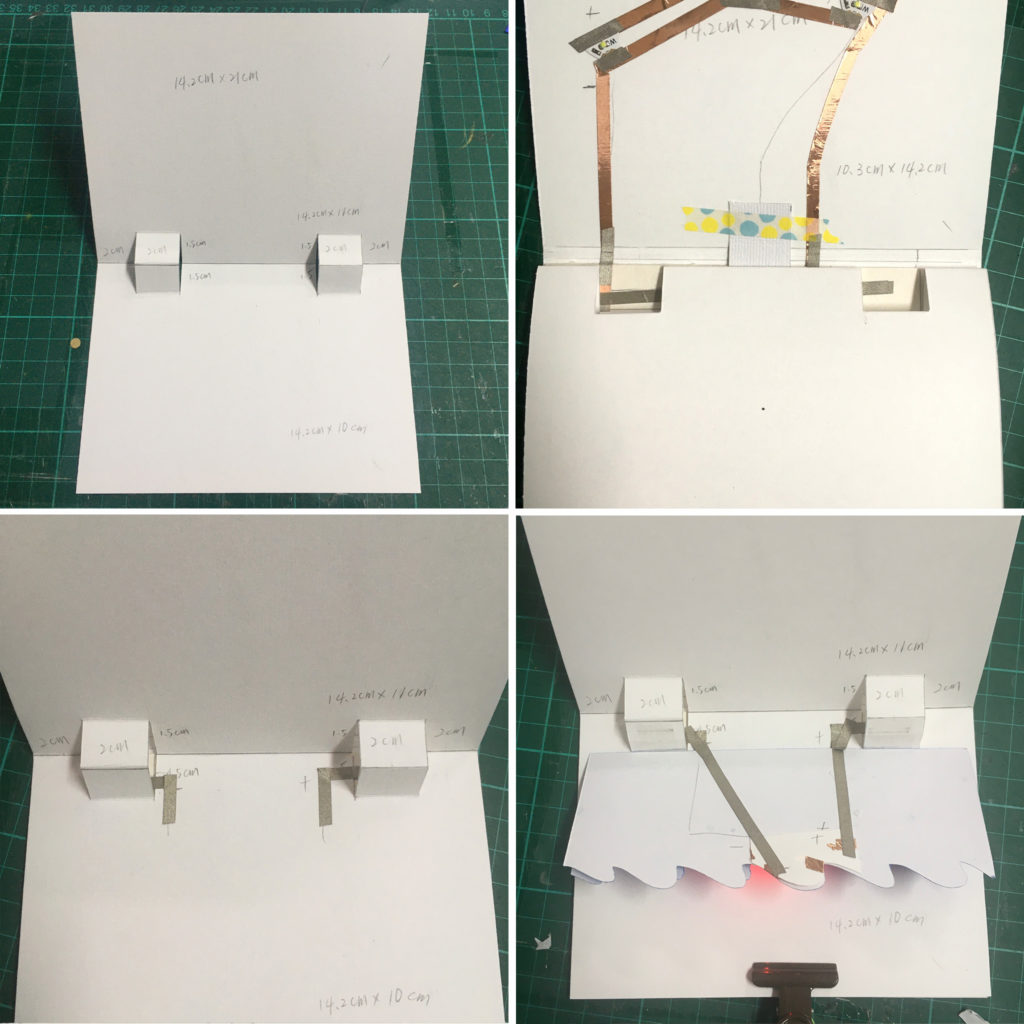

Next, I cut two pop ups on the another 14.2 x 21 cm white cardstock. (Measured 11 cm and 10 cm in lengthwise and folded ). I adhered the pop up cardstock on the chipboard and used Conductive Fabric Tape to connect the background circuit with wave circuit.
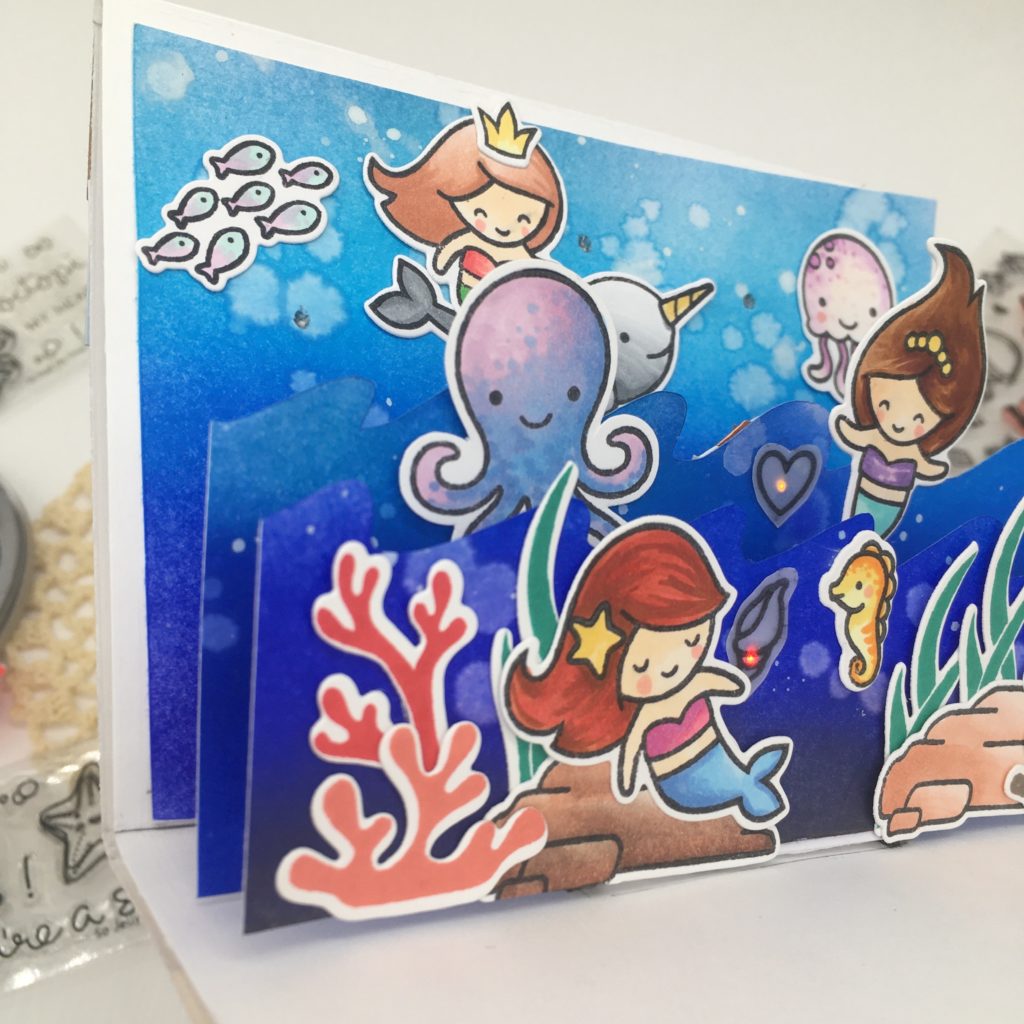
As you see, I added the yellow LED sticker and red LED sticker to other paper piece, and then adhered them behind the waves. To complete the whole circuit, I connected the wave circuit and LEDs with Conductive Fabric Tape.
I made a step by step video or you can watch it over on my YouTube Channel:
That is all from my side today. I hope you were inspired and give Chibitronics products a try!
Have a great day.
Thank you
