Wednesday, November 29, 2017

ARTplorations Stencil Blog Hop


Hi friends! Today I have two simple and clean Christmas cards made for ARTplorations Stencil Blog Hop!

This hop is an one-day event where STAMPlorations ladies feature the 8 stencils designed by Sanna. Sanna's stencils are now in the STAMPlorations store, you can check out this page for more details.


Here're my cards using Christmas Tree 1 and Leaves 2.


For this CAS card, I'm showcasing Christmas Tree 1 stencil. I first applied mowed lawn and peacock feathers distress inks on white cardstock.

Moved the stencil slightly and also drew the tree outlines with black pen. 

Then, I cut the cardstock to isosceles triangle shape and adhered it to kraft card.


I also stamped the sentiment below the tree, so the sentiment looks like tree stem.
To finish off, I added a red star on the top of the tree.

-------------------------------------------------------------------------------------------------


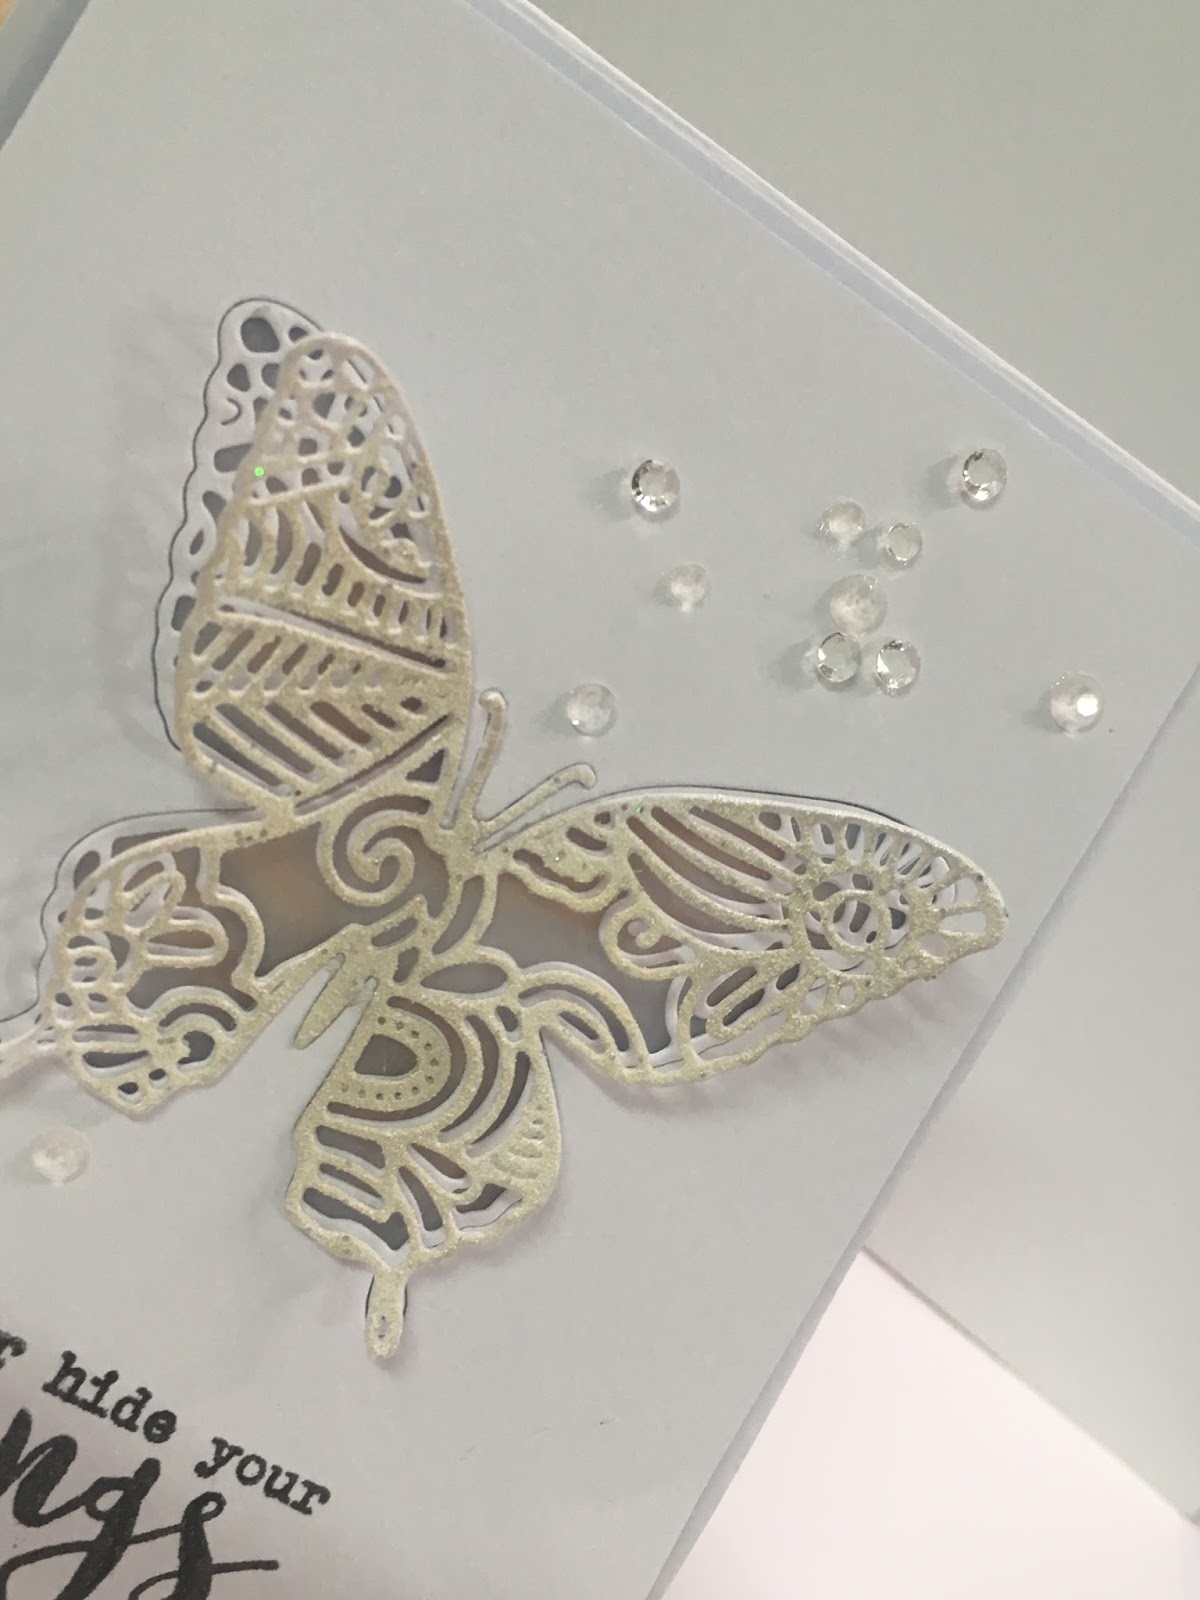
For the second card, I started by putting the stencil on white panel and applying embossing paste.
I also embossed the paste in gold.

Next, I adhered the panel on the center of card with foam for some dimension.


To finish off, I cut the sentiment from Be Jolly Phrase Die.


Thank you for standing by!

Saturday, November 25, 2017

How to create a buttery easel card using an effect sticker

Hello! Today I'd like to share my newest light up card for Chibitronics with you!
I was inspired by easel card and decided to use Chibitronics circuit stickers on my card.


Buttery is perfect for easel card. To create my card, I prepared one 3-fold card, one cardstock, one foam with the same size as the cardstock, two butterfly die cuts, and the most importantly are copper tape, circuit stickers and effect sticker.

I started by cutting a butterfly “window” on the cardstock, adhered vellum behind the “window” ,and then inlaid the butterfly die cut into the “window”.

Next, drew a butterfly outline onto the 3-fold card.
Since I wanted to build the circuit onto the 3-fold card, I drew the circuit template in advance.
For my circuit, I combined advanced circuit template with parallel ! The advanced circuit is that putting some effects stickers into circuit to make your LEDs fade, blink, twinkle or pulse a heartbeat rhythm.
And my card is showcasing the heartbeat effect sticker.

Take a closer look at the circuit!


You can check out this page for more advanced circuit template information.

After creating the circuit, I sandwiched the foam between the cardstock and 3-folder card which has circuit on it. I also heat embossed the other butterfly die cut and adhered it onto the inlaid butterfly for some dimension.


To finish off, I stamped the sentiment in black and used some sequins and pearls for embellishment.

Here’s the step by step video or you can watch it over on my YouTube Channel:


The supplies I used are:
Circuit Stickers Effects Add-On,
Pink, Orange, Green MegaPack (30 stickers),
Red, Yellow, Blue MegaPack (30 stickers),
White LEDs MegaPack (30 stickers),
Copper Tape,
STAMPlorations Flutter Zen 1 Layering Dies
STAMPlorations Trendy Butterflies 2


Hope you liked today inspiration card!

Friday, November 17, 2017

STAMPlorations sketch and theme Challenge #47 reminder post 手工卡片

Hello Friends! 
This post is a reminder for STAMPlorations sketch and theme Challenge #47
STAMPlorations每月手作卡片挑戰賽。

This month our challenge theme is STAMPS & TAGS

THEME

SKETCH

Here's my card using Trendy Leaves, Thankful & Blessed.

(If you are interested in STAMPlorations products, you can use my personal DT discount code to get 20% off on all stamps, stencils, and dies! CODE: STAMPGIRLWEIWEI)


Fall is coming in Taiwan, so I decided to create a Autumn theme card.
I first stamped some leaves (from Trendy Leaves ) in many Autumn colors, and then fussy cut.

I arranged leaves in order to take on the sketch.

To finish, I heat embossed the "grateful" (from  Thankful & Blessed) in white.


Challenge rules:
1.Players can link up to 6 projects (1 project per blog post)
2.Projects can be anything but they must feature stamp/stamping
3.STAMPlorations product is not required
4.Prizes: $10 GC for the winner; $5 GC each to the 2 top picks
5.If there are more than 50 entries: 1 player will be randomly drawn to win product of choice (3x5 stamp set OR 2 standard size stencils OR 1 CUTplorations word/phrase die) 


Hope you play along with us! 
Please visit the STAMPlorations blog to check out other talented DT's creations.

Thank you.

CFC187 手作卡片

Today, I have a card to share that I made for CAS-ual Fridays Challenge 187.


The supplies I used are THANKS stamp set and CASUAL TREES FRI-DIES.


I started by stamping the sentiments (from THANKS stamp set) in gray on the background.
Next, I cut trees using CASUAL TREES FRI-DIES, and then arranged them with a thread.

I also stamped a "thanks " in black as my theme.

To finish off, grabbed my black pen and drew a line around the edge of the card.


Link up your creations with our theme to be in with the chance of winning a $25.00 gift certificate to the store. If you use CAS-ual Fridays stamps or dies, you'll got the opportunity to win double the prize!


Thanks for looking!

Wednesday, November 15, 2017

3rd Annual STAMPlorations Giving Thanks Blog Hop

Hi friends,


I made a card using the new product for the hop. Here's my card .


Thankful & Blessed 4x6


(If you are interested in STAMPlorations products, you can use my personal DT discount code
 to get 20% off on all stamps, stencils, and dies! CODE:  STAMPGIRLWEIWEI)

For my card, the outline broken glass pattern on the kraft was drew with black pen and Broken Glass - ARTplorations Stencil.

Since pumpkin flower arrangement is an elegant take on fall decorating, I decided to use pumpkin and floral as my card theme.

I stamped the pumpkin and floral (Thankful & Blessed) in black, colored them with Copics, and fussy cut out.

I also cut the pumpkin apart so that the floral can be arranged on the pumpkin.
Then I adhered pumpkin and floral with foam tape.

To finish off, I stamped the sentiment (Thankful & Blessed) in black.


Now it’s your turn! There are many Prize Info below, hope you can play along with us.

Prizes for commenting on the STAMPlorations blog and participating designers 

blogs:
THREE (3) winners randomly drawn from all comments left on the STAMPlorations 
blog and participating designers blog will each receive a $25 certificate to the
 STAMPlorations store

Prize for liking, commenting, tagging a friend, and sharing our post on the 
ONE (1) randomly drawn winner will receive a grab bag consisting of new products 
(valued at $25 MSRP) + another grab bag of the same value to the person he/she tags

Prizes for linking up to the STAMPlorations Wishlist Linky Party:
TWO (2) randomly drawn winners will each receive products in their wishlist 
(up to $40 MSRP)

Prize for commenting and re-posting our Giving Thanks Blog Hop and 
Wishlist Linky Party post on the STAMPlorations Instagram page:

ONE (1) randomly drawn commenter will win her choice of Giving Thanks 
stamps(Thankful & Blessed; Wonderfall Time; Words of Gratitude; OR
any 2 Typografia Thankful stamps)

Commenting on the blogs and linking up to the Wishlist Linky party ends
on November 30 at 11:55 p.m. Pacific
Winners will be announced on December 10 in the November Challenges and Hops
winners post. Winners have until December 31 to claim their prize.

Thank you!

Sunday, November 12, 2017

scrapbook + planner spread

Today I have a quick post to share my latest scrapbook and weekly planner spread.


The sketch of this scrapbook is from Stuck sketch challenge.
When I saw this sketch, I immediately thought of  the photos about trip with my family in Oct.

For this scrapbook, I first added some soft watercolors and splashes onto  the baclground.

To follow the sketch I added two photos and one journaling card which was the perfect for my theme. 
I then layered the photos with patterned papers from Felicity Jane and Kikkik.k. I also added a vellum and lace underneath them.

Those florals and adorable embellishments are from Prebbleinc and butterfly die cut is from STAMPlorations

The last step was to add a "beautiful" title from STAMPlorations die and do some stamping which are form  STAMPlorations and Citrus Twist. I also added some sewing to give the layout a little more depth and interest.  


I'm entering to the following challenge:


------------------------------------------------------------------------------------------------------------


For this weekly planner spread, I added some stamping, cute stickers and little squirrels drew by my self.
Then, colored them with markers. All colors were inspired by THE INK ROAD STAMPS NOVEMBER COLOR CHALLENGE.

Thanks so much for visiting!


Wednesday, November 8, 2017

light up planner divider and tag using Chibitronics and Sweet Stamp 手帳生活 手帳裝飾

Hello, today I have two projects made for collaboration between Chibitronics and Sweet Stamp.

I spent much time to think how to promote the use of Chibitronics products to my daily life, as I don't want to create light up cards all the time. I'm addicted to planner design recently, so I decided to made a light up planner divider and tag to decorate my planner.


The stamp I used is Sweet Stamp Shops set "THIS GUY " and The sticker is "DRAGON - STICKER" .


I started by stamping and coloring the dragon on a piece of card stock.


For the circuit template, I used simple circuit since I only wanted to light up the fire. After sticking the copper tape and orange LED, I made a switch. I cut a piece of paper and added copper tape on it so that when the switch is connected to the circuit, the LED turns on. When pulling the switch out, the LED turns off.  

I then added grass shaped foam and green paper in order to hide the battery. To make the LED more brighter, I cut a hole on the fire and added a piece of vellum.

To finish off, I added a cloud shaped vellum and also stuck the rainbow, castle as well as heart stickers on it. 

I have a video for you too. Please check my YouTube channel.


----------------------------------------------------------------------------------------------------


For the tag, I'm featuring LED lights from Chibitronics red, yellow, blue megapack  and Sweet Stamp Shop "FALL INTO - STICKER".

I first colored the Christmas images with markers and then stuck them onto the patterned paper.
Next, I cut holes on the noses and star then added vellum behind the holes.

For this tag, I used parallel circuit because I want to turn on three LEDs with on battery. I also made the same switch as the planner divider's above.

To finish off, I added a white panel which has three circle on it.

You can watch the video tutorial  on My YouTube Channel.


I'm entering to the following challenge:


Thanks so much for visiting!


Friday, November 3, 2017

STAMPlorations sketch and theme Challenge #47 手工卡片

Hello Friends! 
STAMPlorations每月手作卡片挑戰賽。


This month our challenge theme is STAMPS & TAGS 

THEME

SKETCH


(If you are interested in STAMPlorations products, you can use my personal DT discount code to get 20% off on all stamps, stencils, and dies! CODE: STAMPGIRLWEIWEI)


I started by cutting the tag with Luggage Tags Nesting Dies

The gorgeous bouquet is from In Bloom: Floral Bliss Trio. I stamped it in black, colored with markers, and cut with scissors. In addition, I heat embossed sentiment from Fond Expressions in white.

Then, I adhered bouquet and sentiment to the tag with foam tapes.

To finish off, I added ribbon and as well as some NUVO crystal drops.


Challenge rules:
1.Players can link up to 6 projects (1 project per blog post)
2.Projects can be anything but they must feature stamp/stamping
3.STAMPlorations product is not required
4.Prizes: $10 GC for the winner; $5 GC each to the 2 top picks
5.If there are more than 50 entries: 1 player will be randomly drawn to win product of choice (3x5 stamp set OR 2 standard size stencils OR 1 CUTplorations word/phrase die) 


Hope you play along with us! 
Please visit the STAMPlorations blog to check out other talented DT's creations.


Thank you.

CFC186 手工書籤


Today, I have a TAG to share that I made for CAS-ual Fridays Challenge 186.


Since the challenge theme is "ANYTHING BUT A CARD", I decided to create a tag.
The supplies I used are CASUAL COMFORT stamp set, FUNKY FLAKES and LOVELY LINKS FRI-DIES.


I started by cutting the tag and layered the light green tag with white paper.
Then, I embellished the tag with two lovely links which are from LOVELY LINKS FRI-DIES.

All fabulous snowflakes are from FUNKY FLAKES. After cutting out, I arranged them onto the tag, and then added a green pearl to the center of the snowflake.

I also stamped the sentiment from CASUAL COMFORT in black .

To finish, I added a ribbon.  


Link up your creations with our theme to be in with the chance of winning a $25.00 gift certificate to the store. If you use CAS-ual Fridays stamps or dies, you'll got the opportunity to win double the prize!

Thanks for looking!

I'm entering to the following challenge:


Related Posts Plugin for WordPress, Blogger...