
Hello! Today I'd like to share my newest light up card for Chibitronics with you!
I was inspired by easel card and decided to use Chibitronics circuit stickers on my card.


Buttery is perfect for easel card. To create my card, I prepared one 3-fold card, one cardstock, one foam with the same size as the cardstock, two butterfly die cuts, and the most importantly are copper tape, circuit stickers and effect sticker.
I started by cutting a butterfly “window” on the cardstock, adhered vellum behind the “window” ,and then inlaid the butterfly die cut into the “window”.
Next, drew a butterfly outline onto the 3-fold card.
Since I wanted to build the circuit onto the 3-fold card, I drew the circuit template in advance.
Since I wanted to build the circuit onto the 3-fold card, I drew the circuit template in advance.
For my circuit, I combined advanced circuit template with parallel ! The advanced circuit is that putting some effects stickers into circuit to make your LEDs fade, blink, twinkle or pulse a heartbeat rhythm.
And my card is showcasing the heartbeat effect sticker.
And my card is showcasing the heartbeat effect sticker.
Take a closer look at the circuit!


After creating the circuit, I sandwiched the foam between the cardstock and 3-folder card which has circuit on it. I also heat embossed the other butterfly die cut and adhered it onto the inlaid butterfly for some dimension.

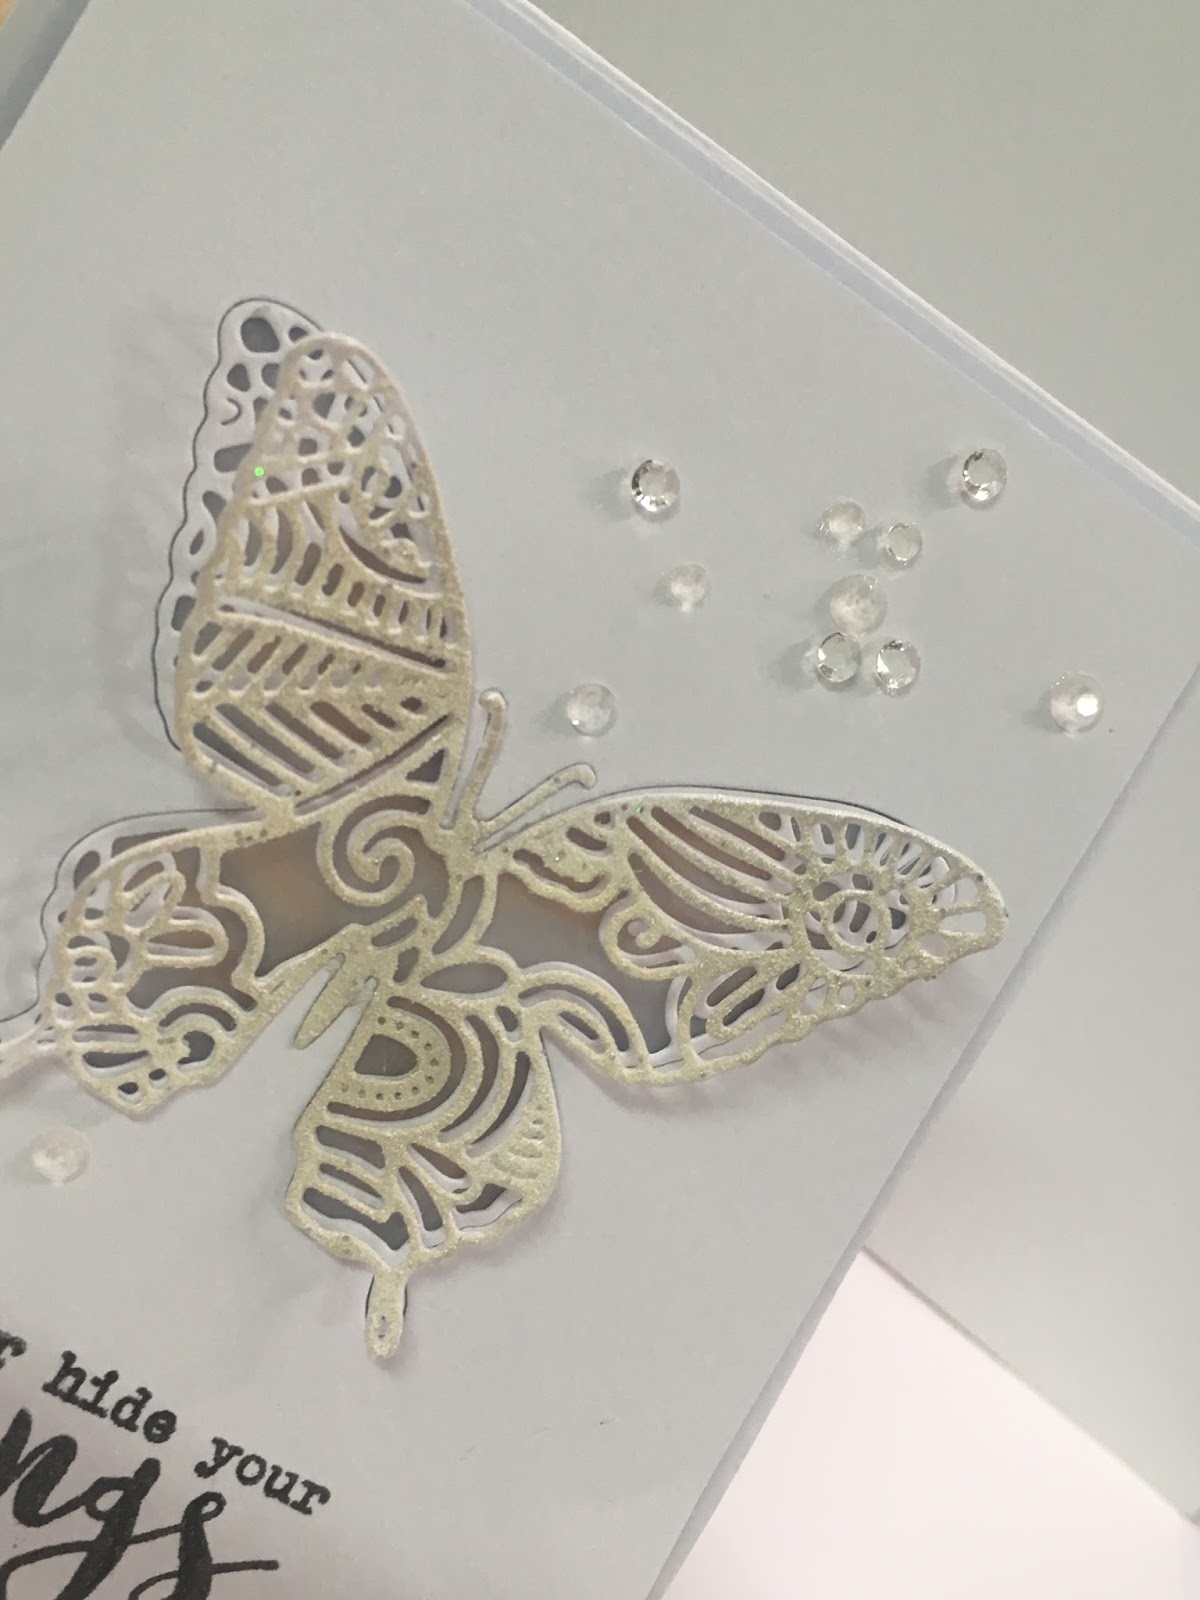
To finish off, I stamped the sentiment in black and used some sequins and pearls for embellishment.
The supplies I used are:
Circuit Stickers Effects Add-On,
Pink, Orange, Green MegaPack (30 stickers),
Red, Yellow, Blue MegaPack (30 stickers),
White LEDs MegaPack (30 stickers),
Copper Tape,
STAMPlorations Flutter Zen 1 Layering Dies
STAMPlorations Trendy Butterflies 2
Hope you liked today inspiration card!

No comments:
Post a Comment