Showing posts with label studio katia. Show all posts

Thursday, August 31, 2017

Light-Up Cards with Chibitronics and Studio Katia 手工卡片 搖搖卡

Hi friends!
It’s collaboration week with us Chibitronics and Studio Katia ! What a perfect partnership!


The collab week with Studio Katia is from August 14-18, so there will be many amazing projects showed at Chibitronics and Studio Katia blog in the next few days!

And I have two cards made for this great event! 


For the first card, I used Chibitronics Whire LED Stickers along with Studio Katia's You're So Ranunculus and Mini Thank You stamp set.


I put three LED stickers on each shaker's window. To turn on those LEDs with just one battery, I made a parallel circuit ! 
I made a cardmaking process video, so you could see the all details about my card.  You can watch the video tutorial here or on YouTube.


---------------------------------------------------------------------------------------------------------------


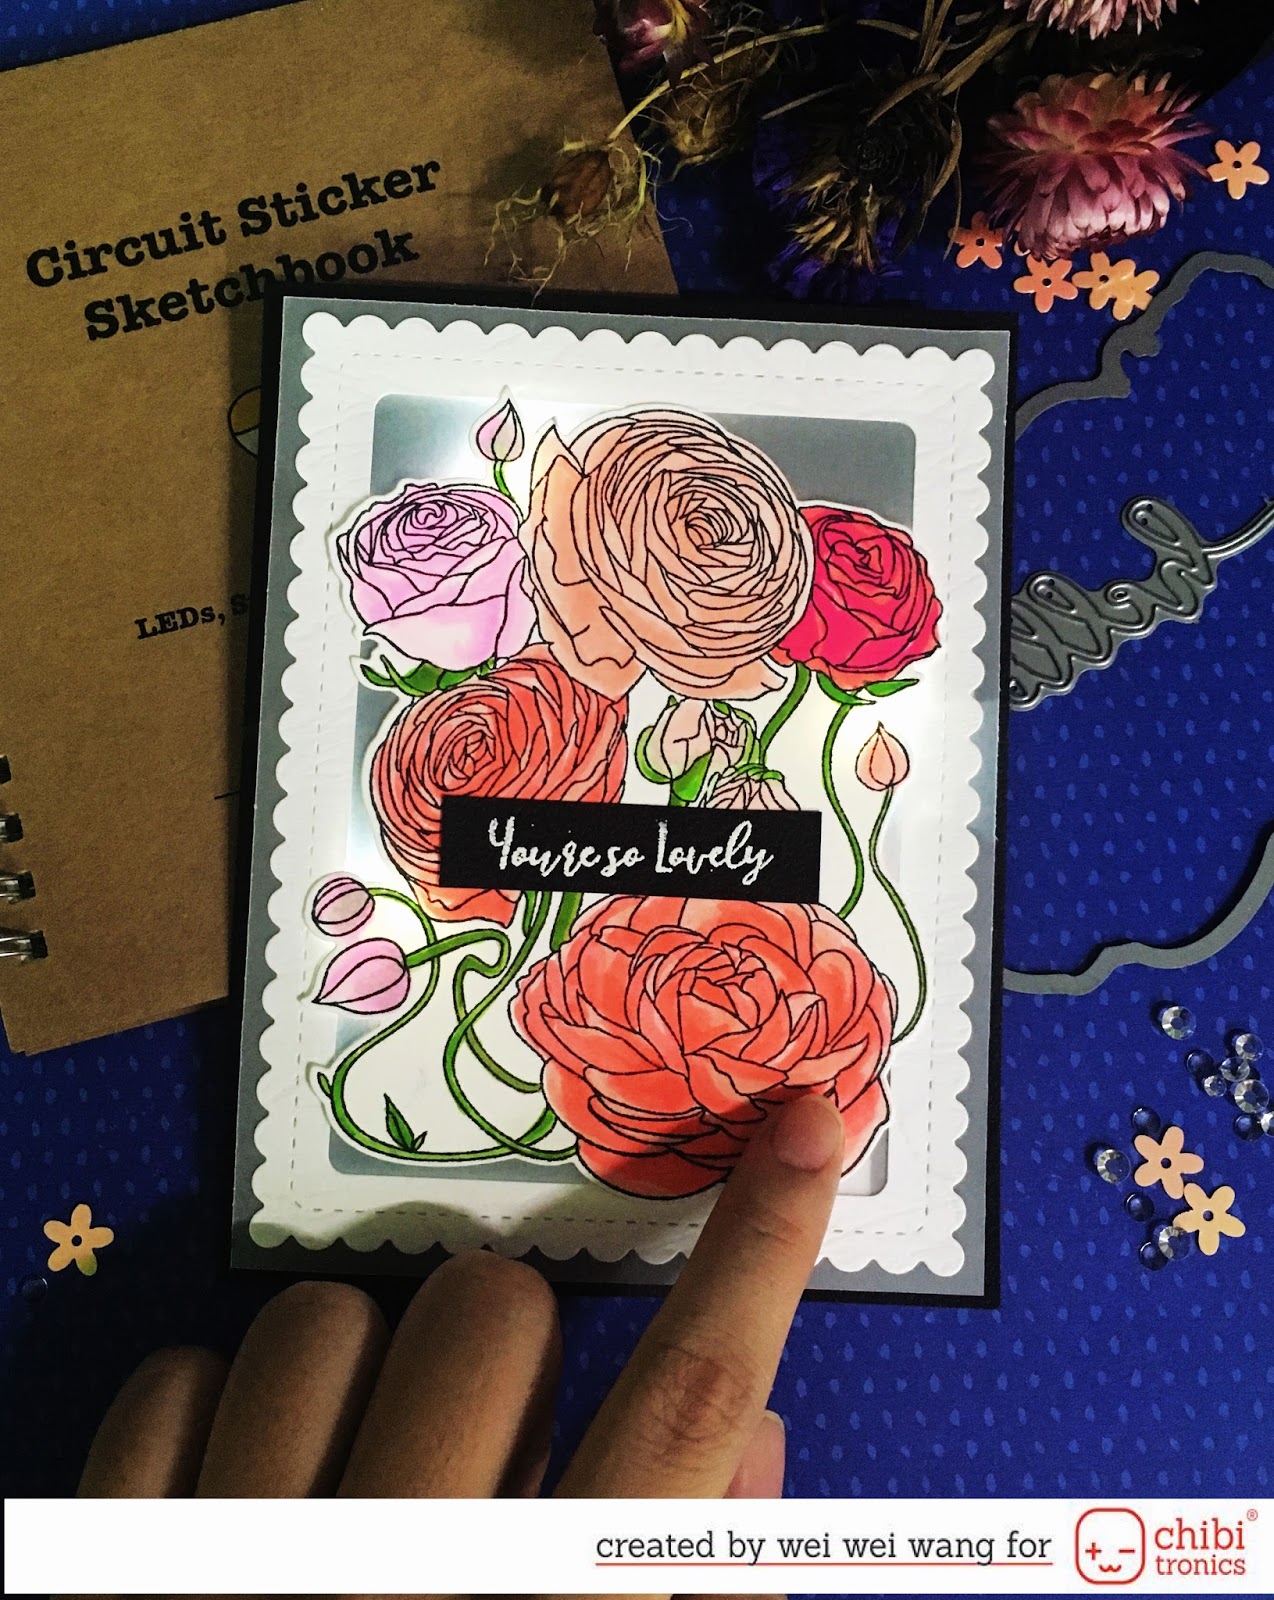
The second card featured Chibitronics Whire LED Stickers and Studio Katia's You're So Ranunculus stamp set.


I think the difference between this card and the first is the element I put in front of the LEDs.
Since the first card is a shaker, I used acetate. You can see the lights shinning through acetate clearly. 
For this card, I used vellum as my flower's base, so the light effect is misty! 

I also made a tutorial video. You can watch the video tutorial here or on YouTube.


Thanks for stopping by today!


Saturday, July 29, 2017

one stamp set, two cards

Today I have two cards using Studio Katia "You're So Ranunculus" bundle set.

Sunday, July 23, 2017

you're so lovely! + scrapbook layout

Hi friends! Today, I have two projects to share...


I used CAS(E) this Sketch #231 and also got flower and butterfly inspiration from  #GDP096 and 
Uniko Challenge #42.


I die cut the stitched panel using Lawn Fawn die. The flower and butterfly are all from Studio Katia. I let the flower be white, but colored butterflies with markers. 

Then, I layered the panel with vellum and banner.
I stamped the sentiment which is also from Studio Katia and embellished some clear and white sequins. 

To finish off, I added glossy accents onto the butterflies and hearts for the shining effect. 


I'm entering to the following challenges:


---------------------------------------------------------------------------------------------------------------------

Next is my scrapbook layout ! 

I was so inspired by the Altenew Challenge Sketch #3 so I created a layout using that awesome sketch.

I first placed my photo on the bottom of my cardstock. For my background, I added some soft watercolors. After the colors dried, I stamped hydrangea and leaf randomly.


I also die cut hydrangea and adhered with 3D foam tape for some dimension
Then, I added big title and some wooden embellishments.


I'm entering to the following challenge


Thanks for stopping by!

Sunday, July 16, 2017

wonder await + traveler's notebook spread 旅行者筆記 旅行手帳 手帳生活

Hi everyone! 
Today I would like to share a one layer card on a colored cardbase. 

Here is my card.


I stamped and heat embossed the rose (from Studio Katia) in white onto the colored card base and then used Copic to add some shadows around the rose. 

I then stamped the sentiment (from Felicity Jane) onto the center of the card and heat embossed it in black.


I'm entering to the following challenges:

HLS July Anything Goes with Dies Challenge
AAA Cards Game #94 - A Collaboration with Less Is More
The Flower Challenge #10
Less is More #336&337

--------------------------------------------------------------------------------------------------------------------

Next... my traveler's notebook spread


I made a process video, you can watch the video tutorial below or on YouTube.


Thanks for stopping by! 


Related Posts Plugin for WordPress, Blogger...